This page shows some of the highlights of my Mercedes Benz Sprinter Van Conversion.
If you decide to convert a van yourself then I would suggest you expect the conversion to take longer than you think it will especially if you don’t normally do that kind of work.
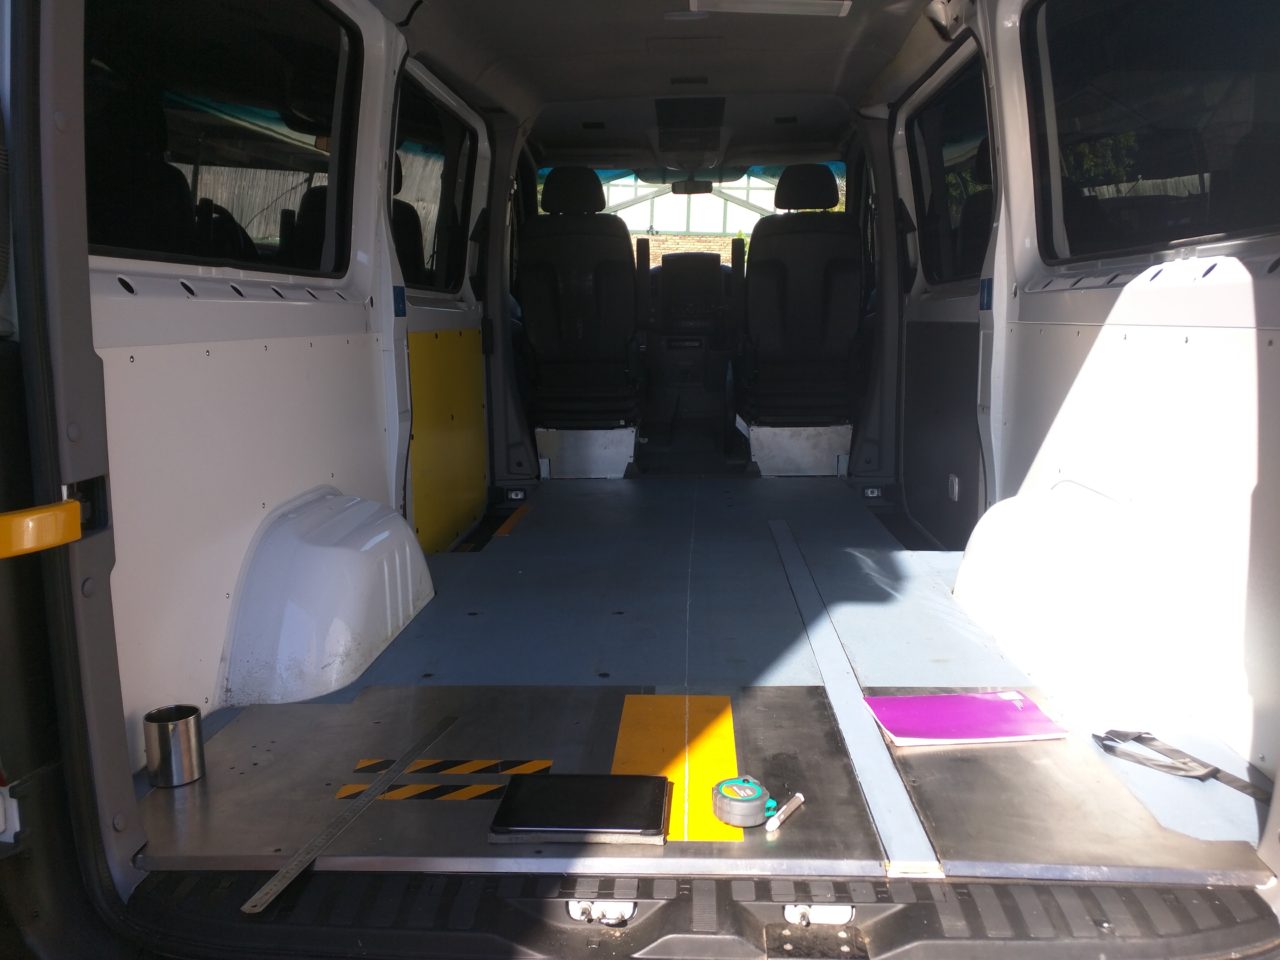
Stage 0 - Measurements and Curtains
I Did not spend a full day on this stuff and was not working real hard so I list this as Stage 0, probably a few hours of work.
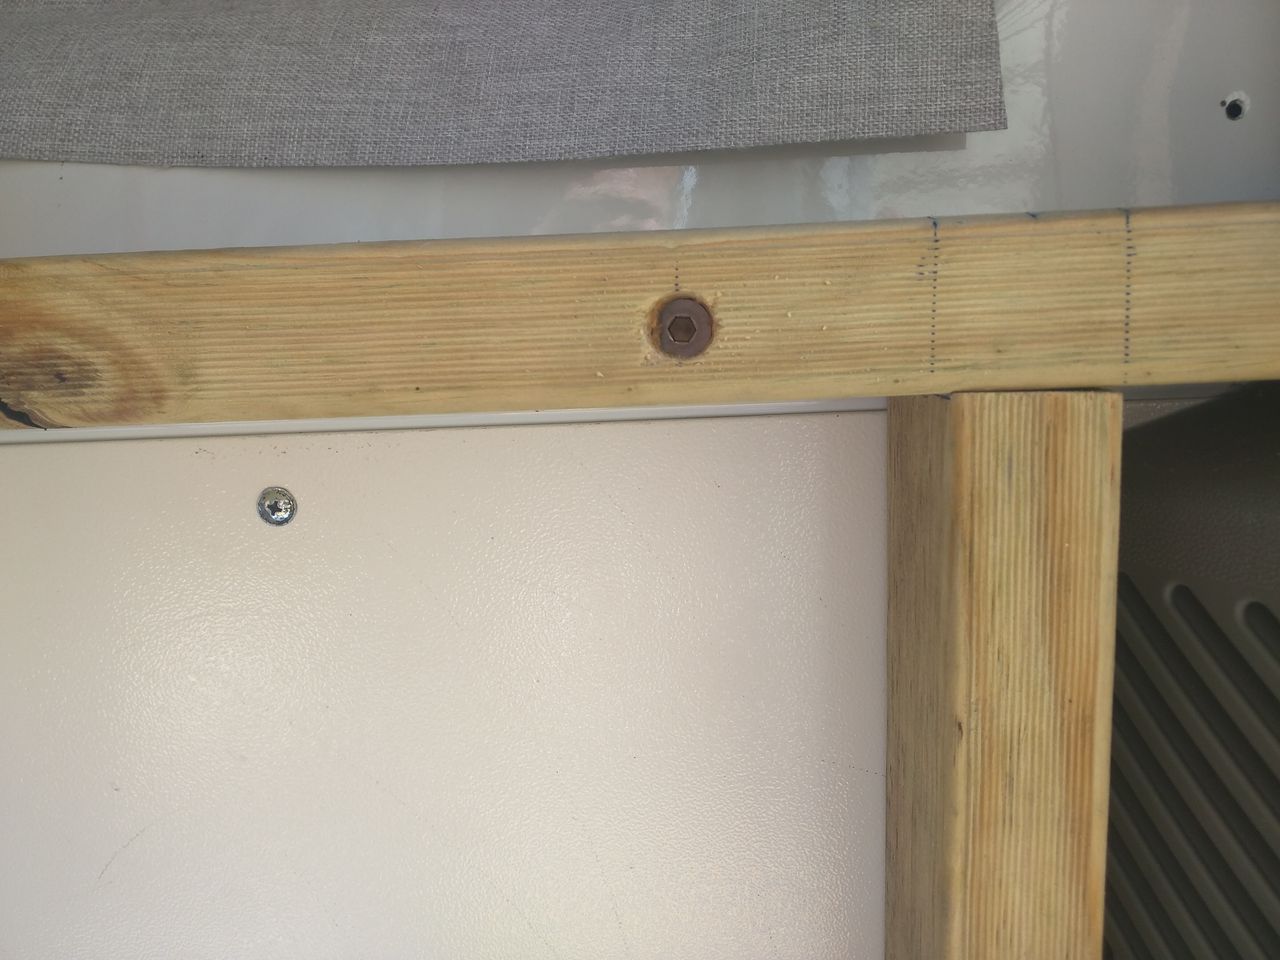
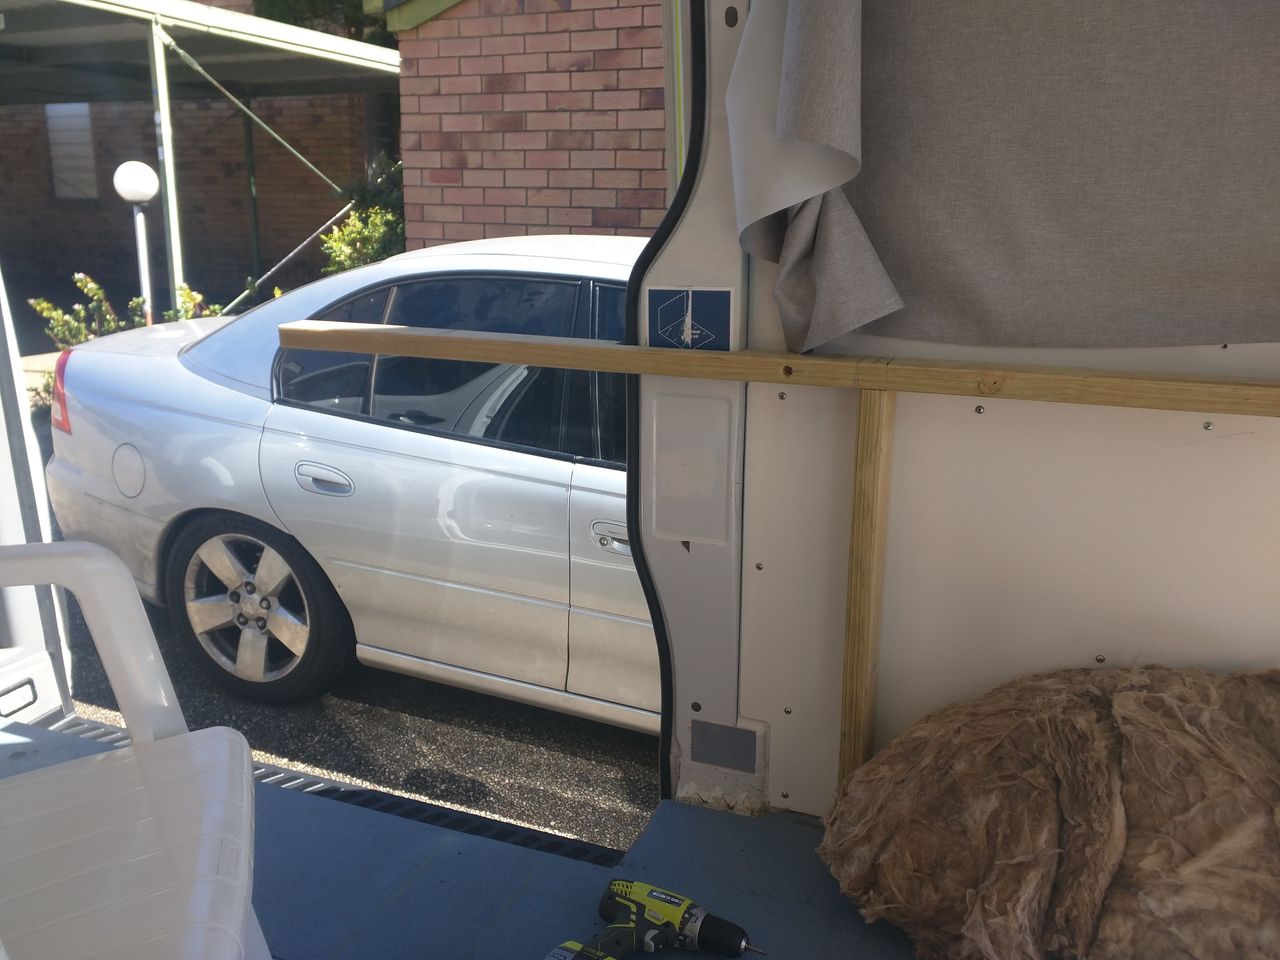
Stage 1 - Wall and Door Insulation
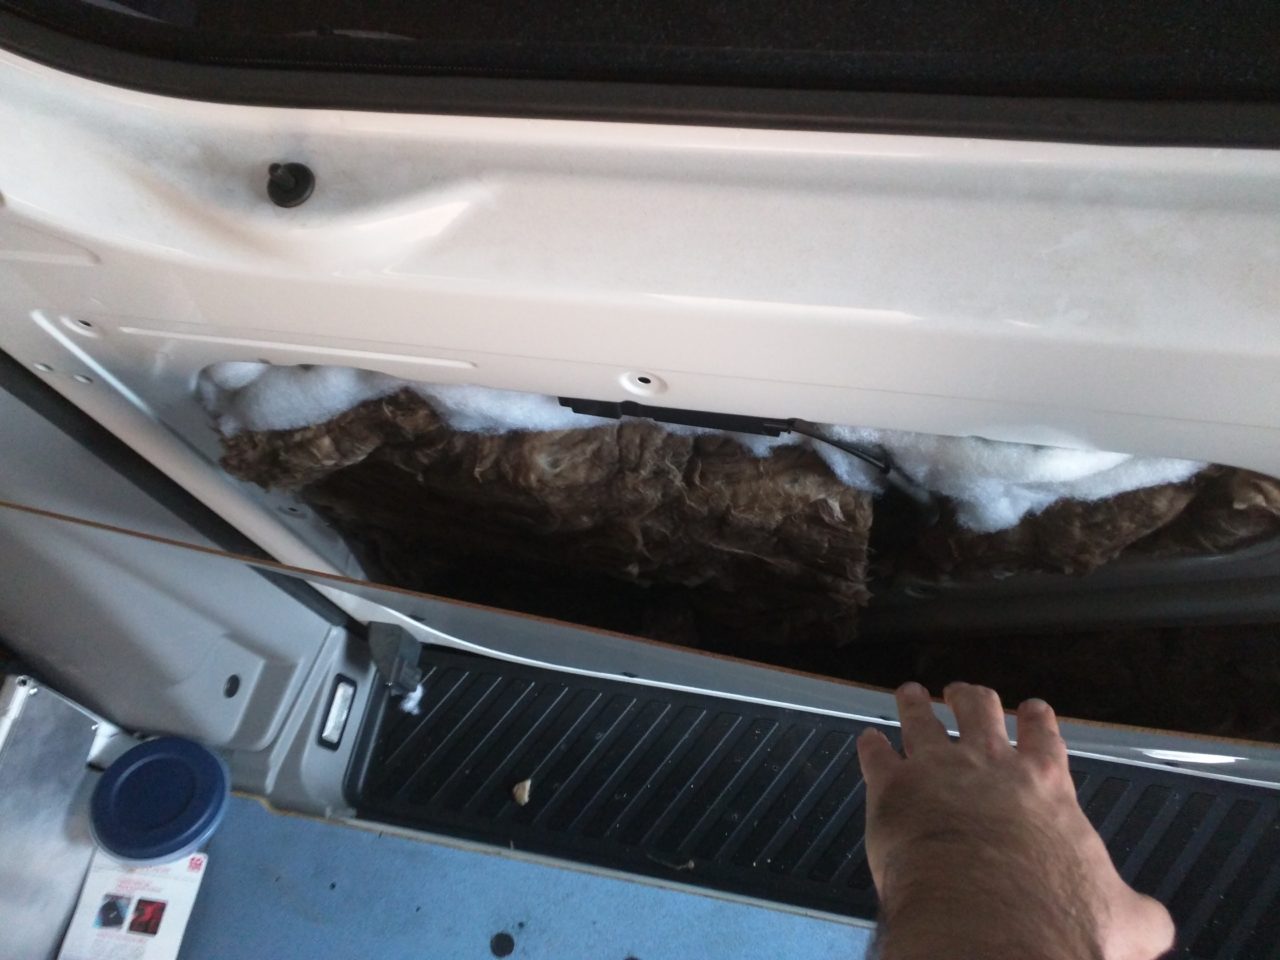
I took the side panel off the wall to see what was there in the way of insulation. You can see really thin insulation in most of the wall but nothing where the pipes are at the end.
I decided to get some better quality insulation which you can see is really thick compared to the thin white insulation that was in there when I got the van.
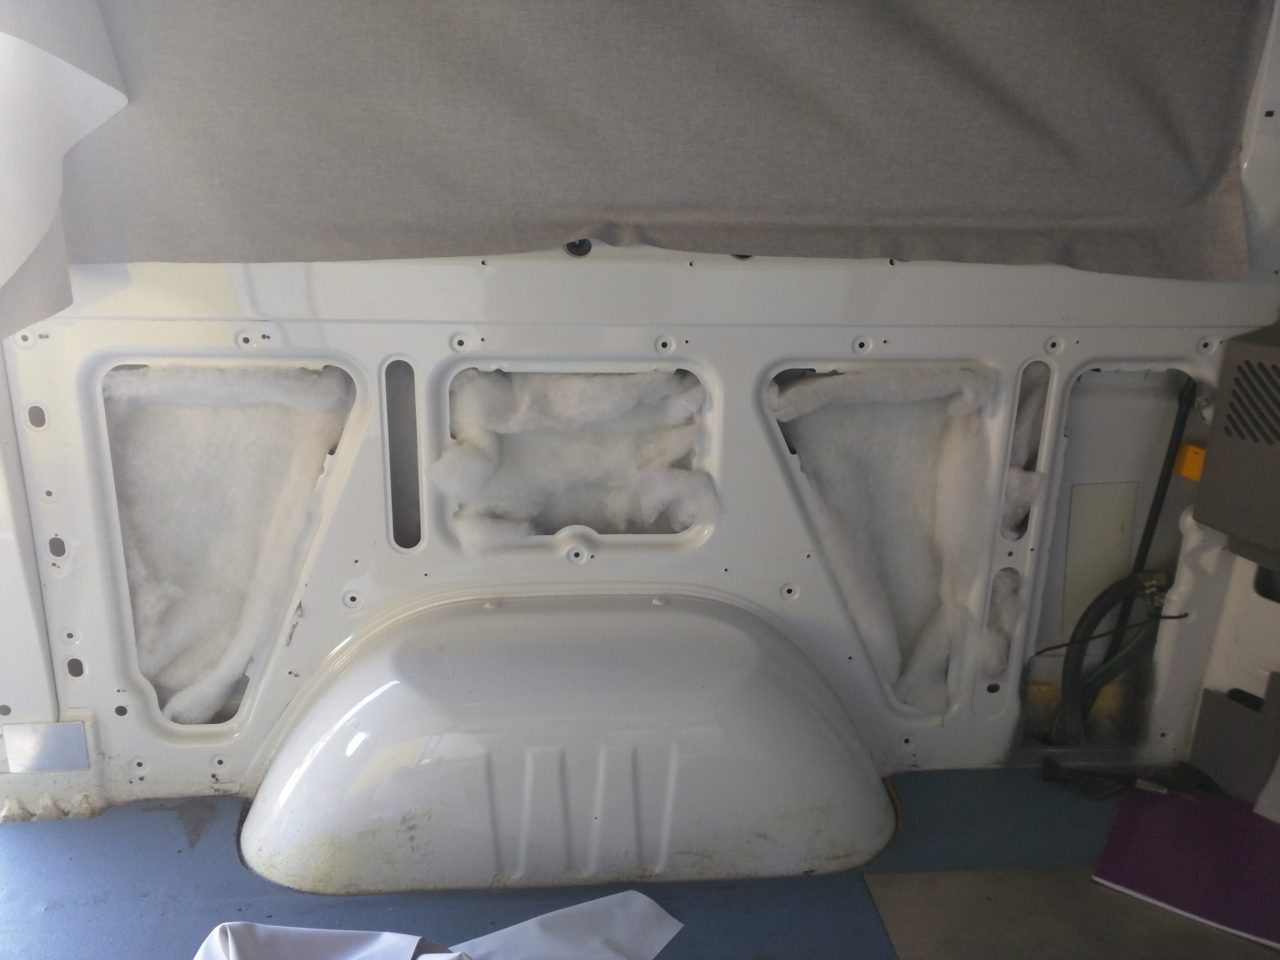
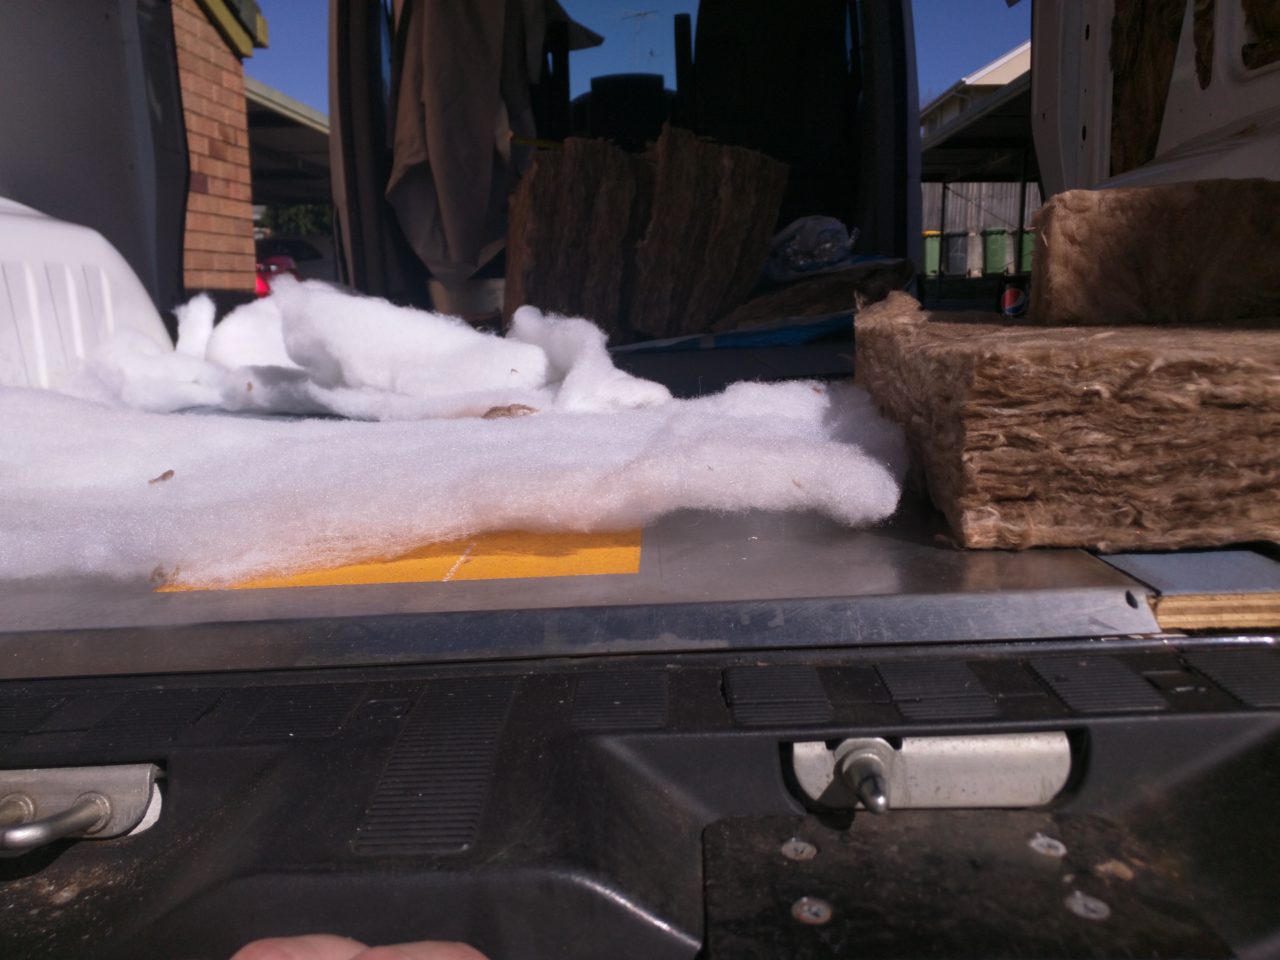
Comparing original insulation with the better thick insulation I added
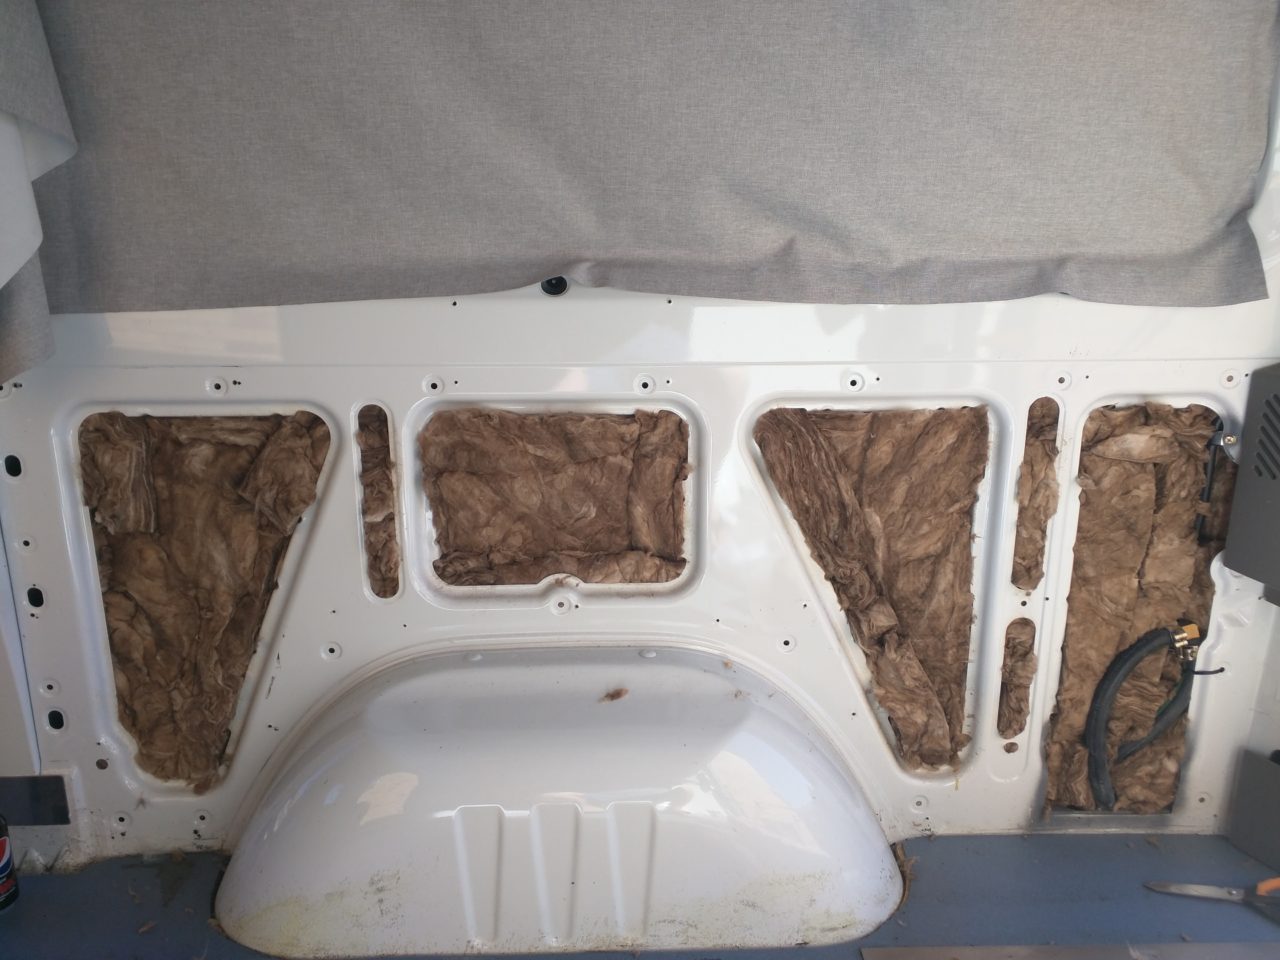
I took the side panel off the wall to see what was there in the way of insulation. You can see really thin insulation in most of the wall but nothing where the pipes are at the end.
I decided to get some better quality insulation which you can see is really thick compared to the thin white insulation that was in there when I got the van.
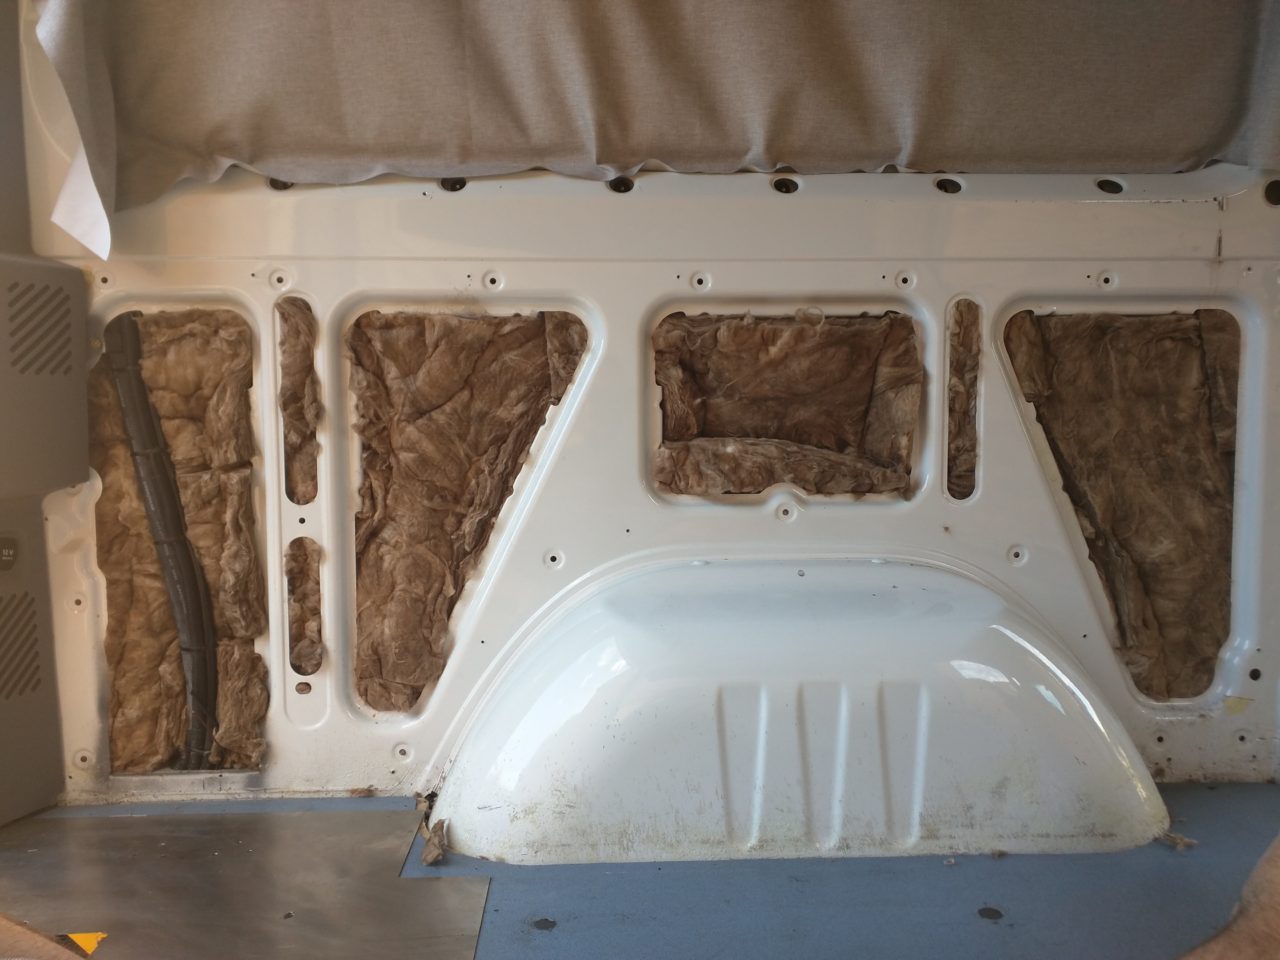
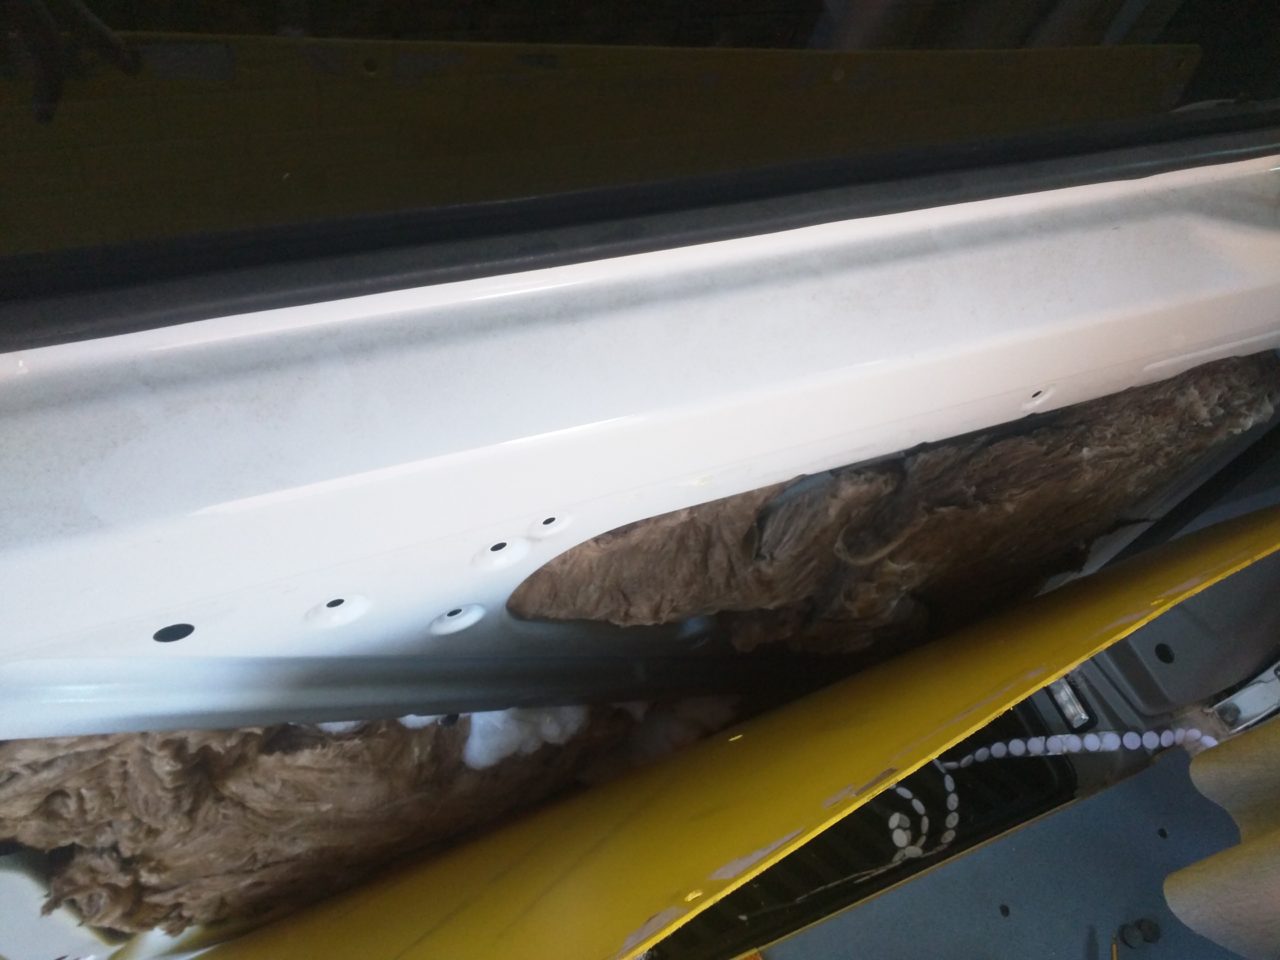
As you can see I put as much insulation in there as I could.
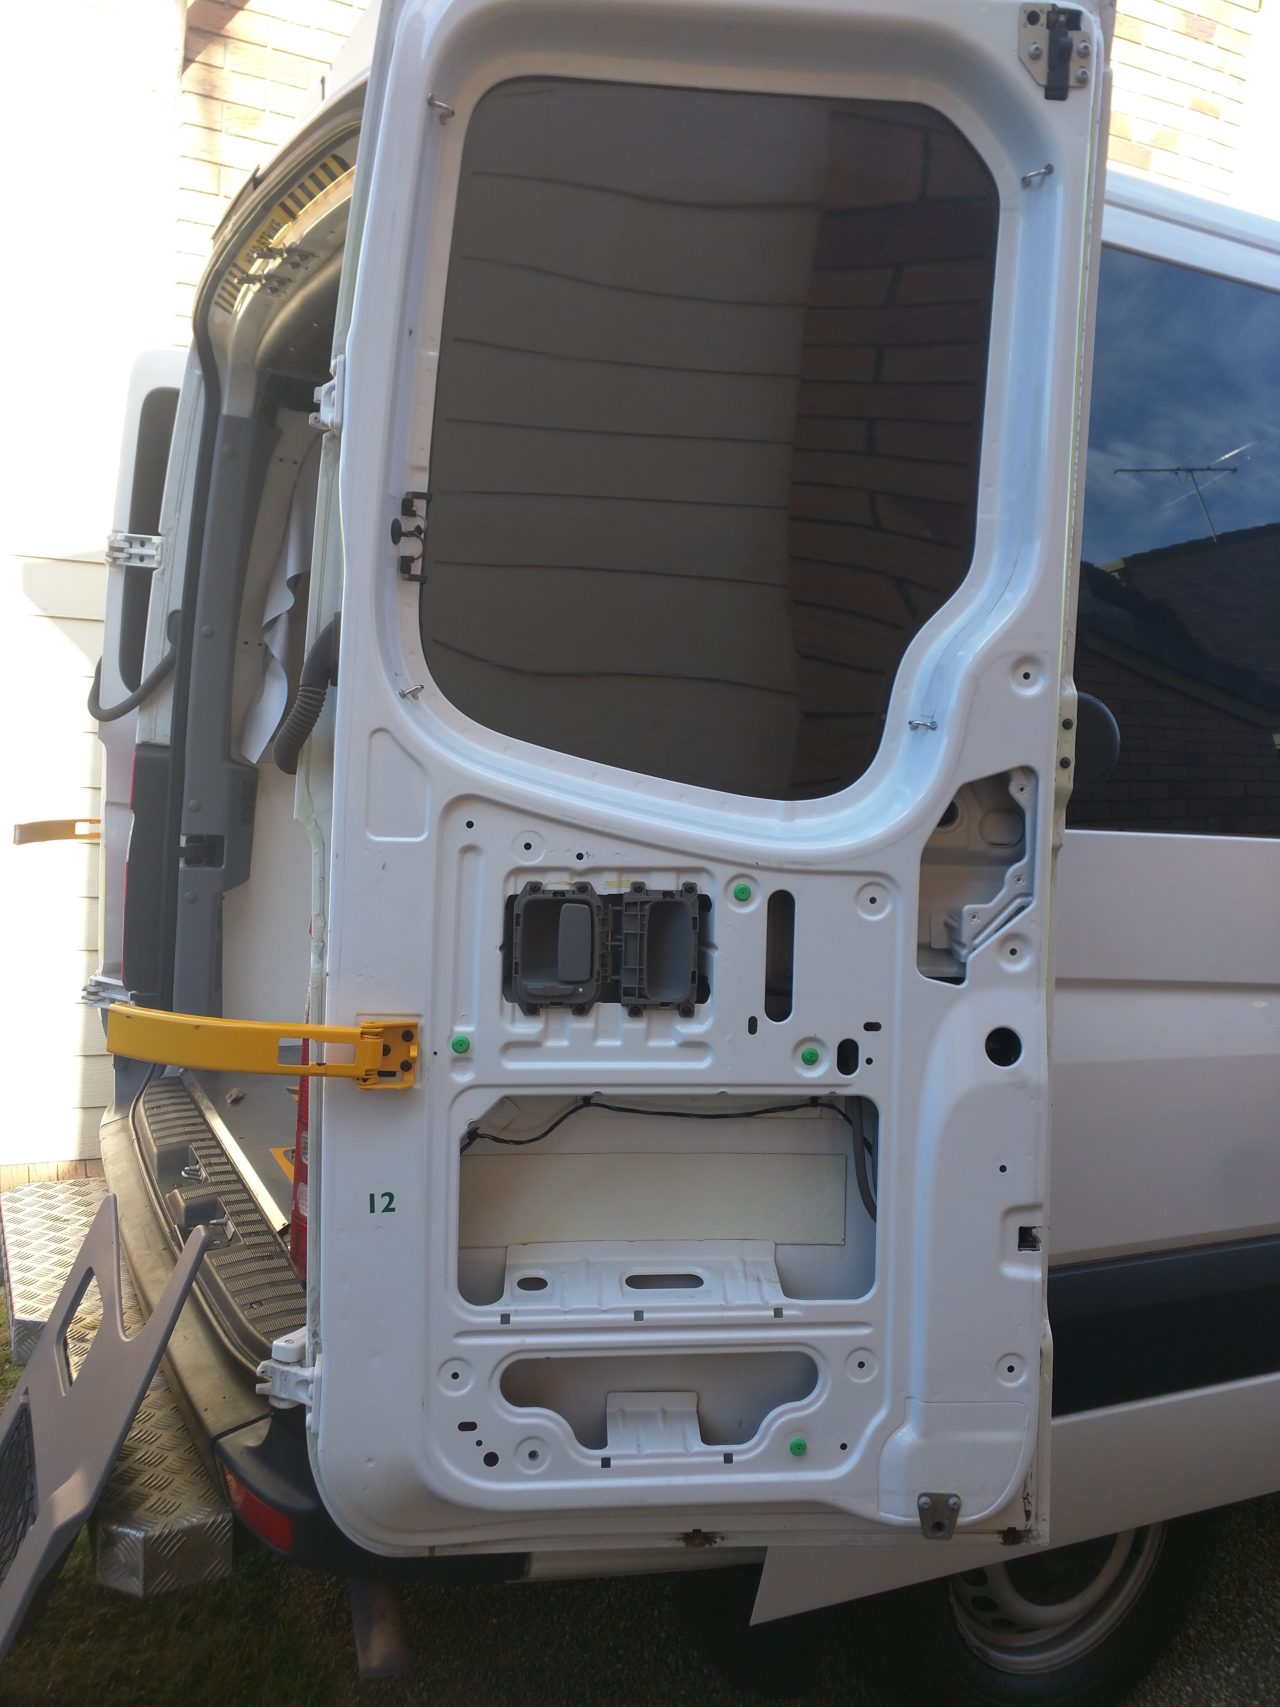
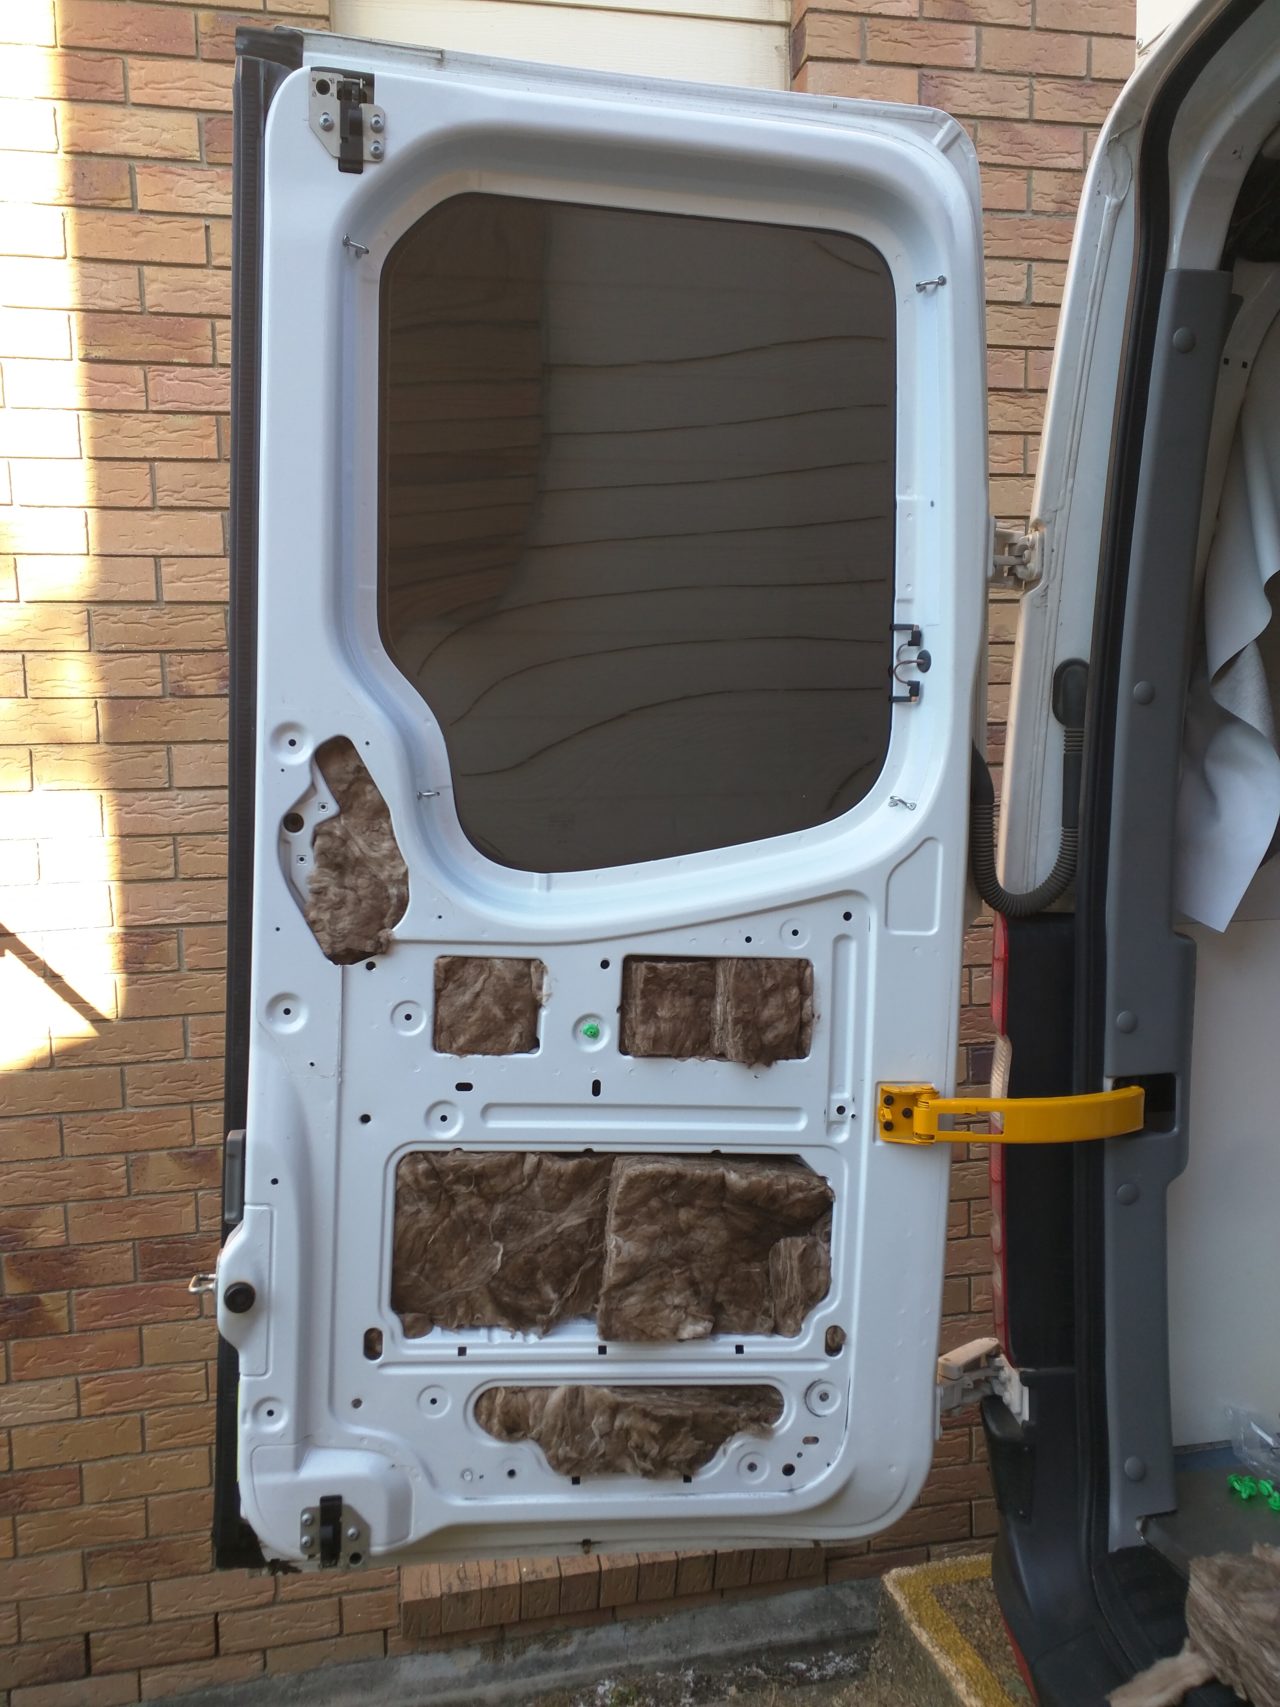
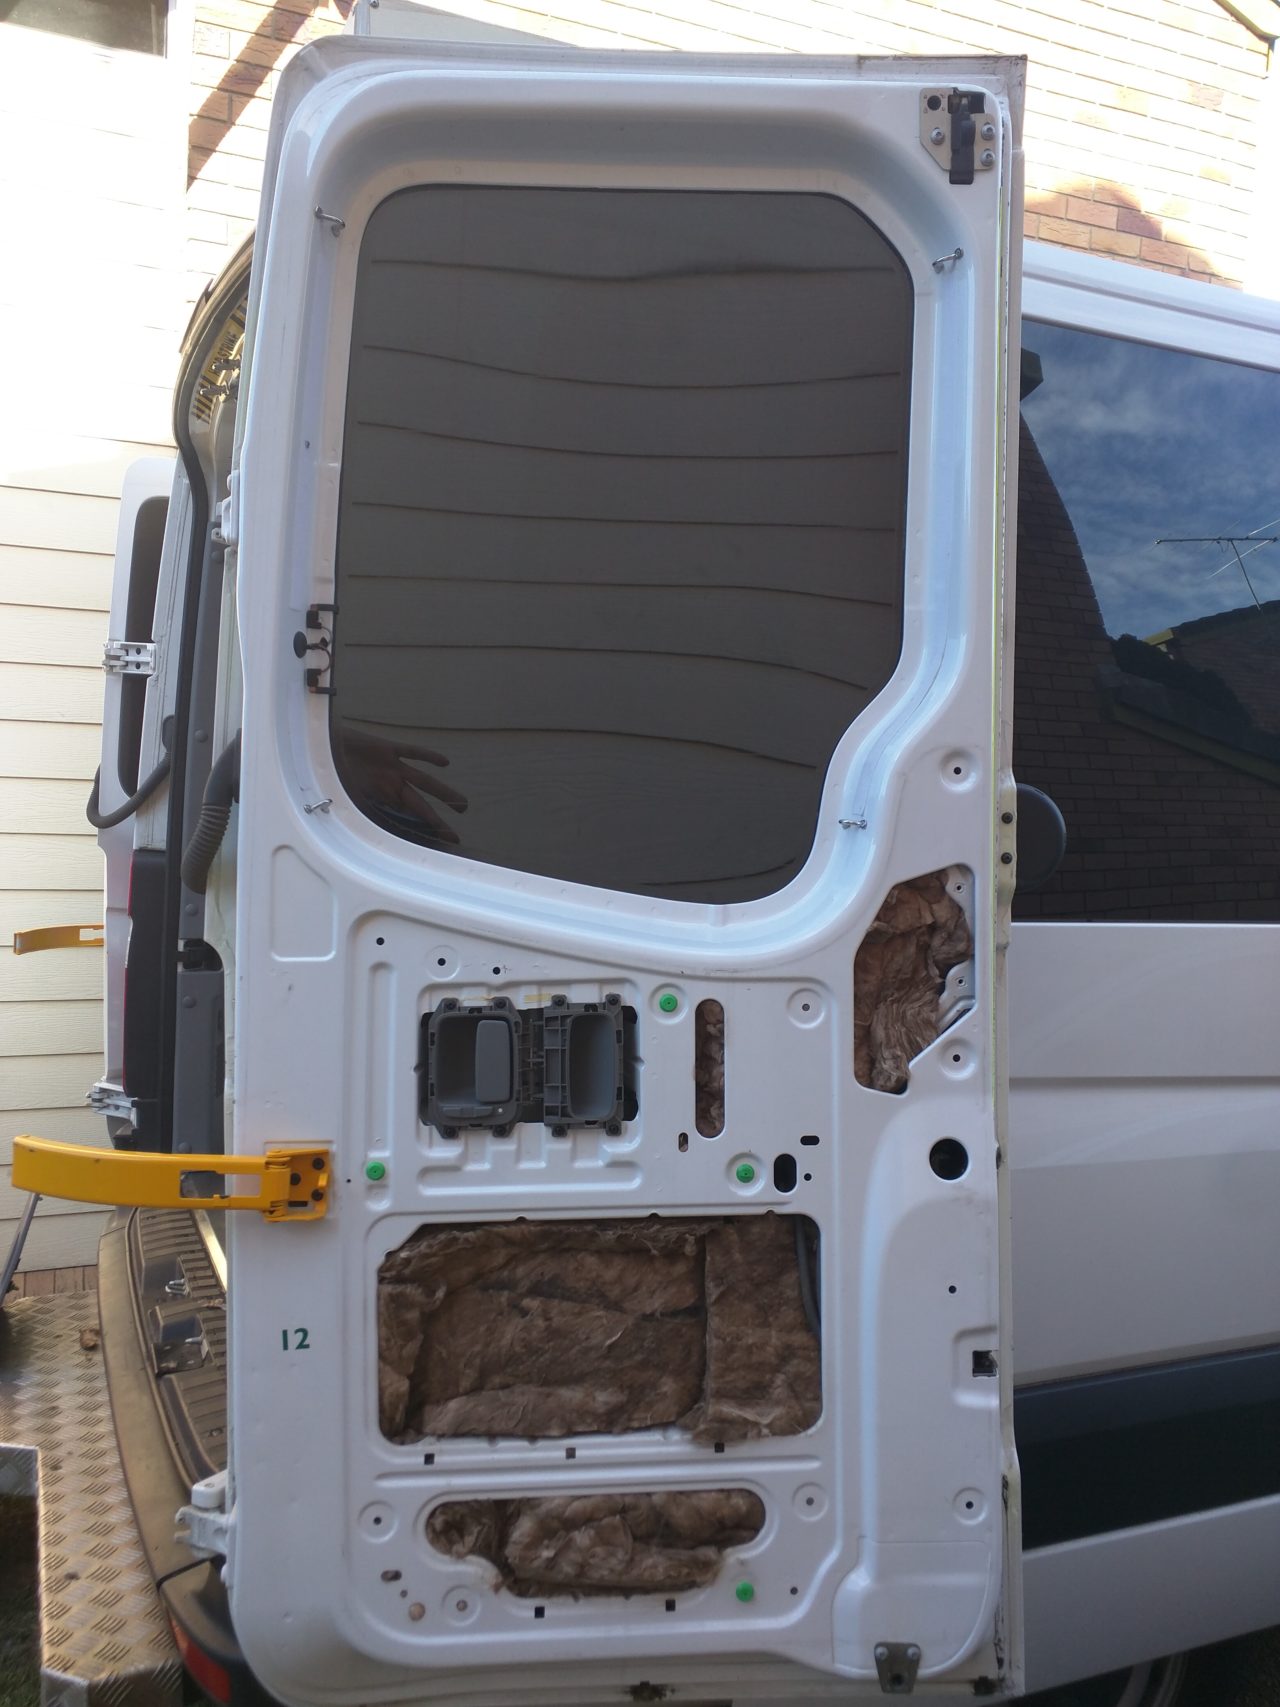
I then took the panels off the rear doors to see what insulation was there. As you can see there was no insulation in the rear doors, But now it’s packed in there for the insulation goodness.
Open side door panel
Add insulation

Open side door panel
Add insulation
This Sprinter van was an ambulance before I got it so it has sliding doors on both sides. Originally I wasn’t sure if I would like that, but while working on the van build I found it nice to get a breeze through both the sliding doors.
I ended up using a little bit of the thin white insulation around some of the cables in the door but it’s mostly packed with the thicker brown insulation.
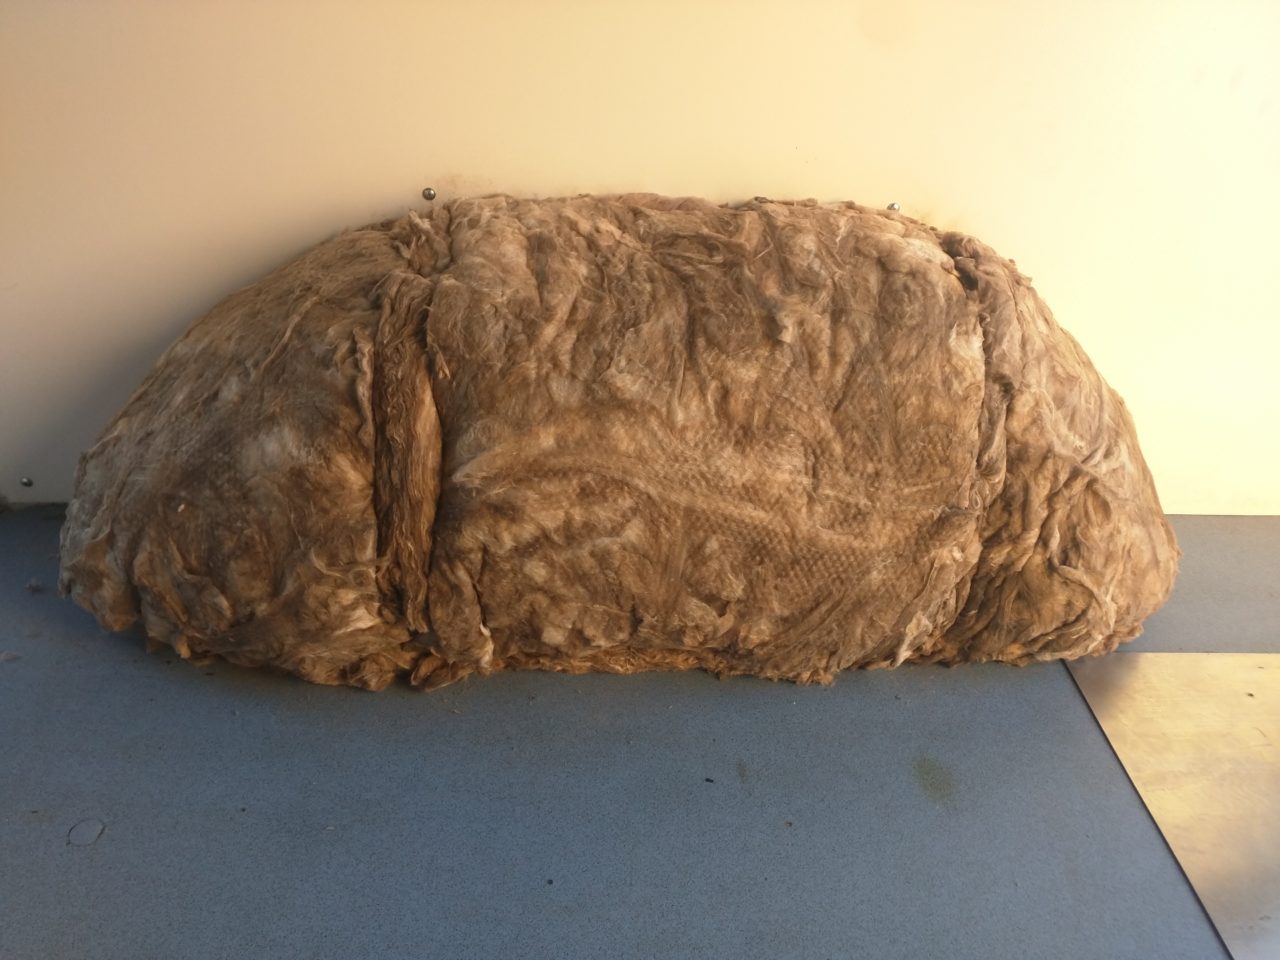
I added insulation around the wheel wells which should help insulate the van as well as reduce some of the road noise while driving.
NOTE: After doing a van build I would insulate the wheel well last as when you drill/cut holes etc it makes a mess and sticks to the insulation and you have to clean it all off.
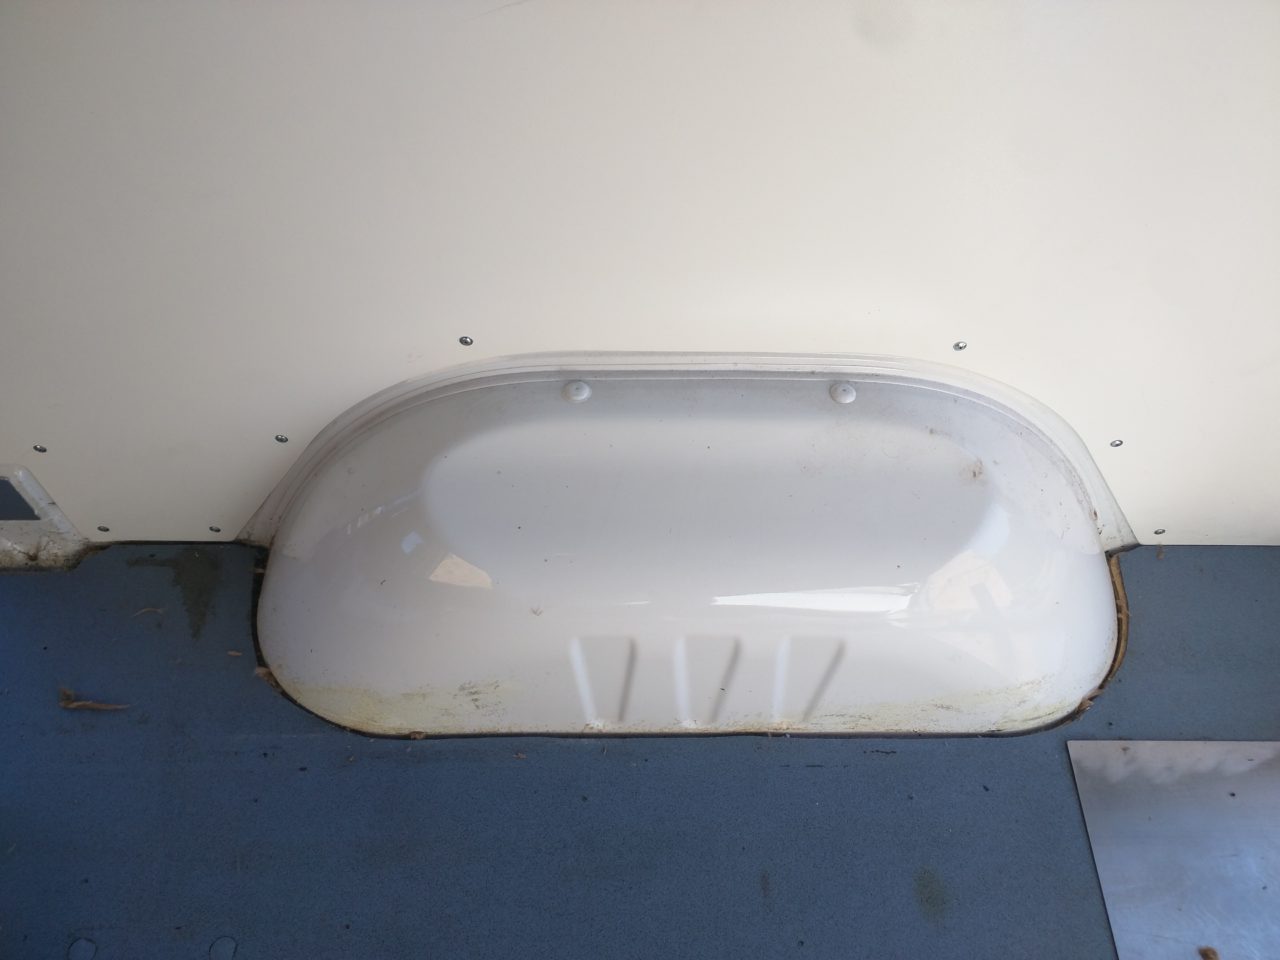
No insulation
Lots of insulation
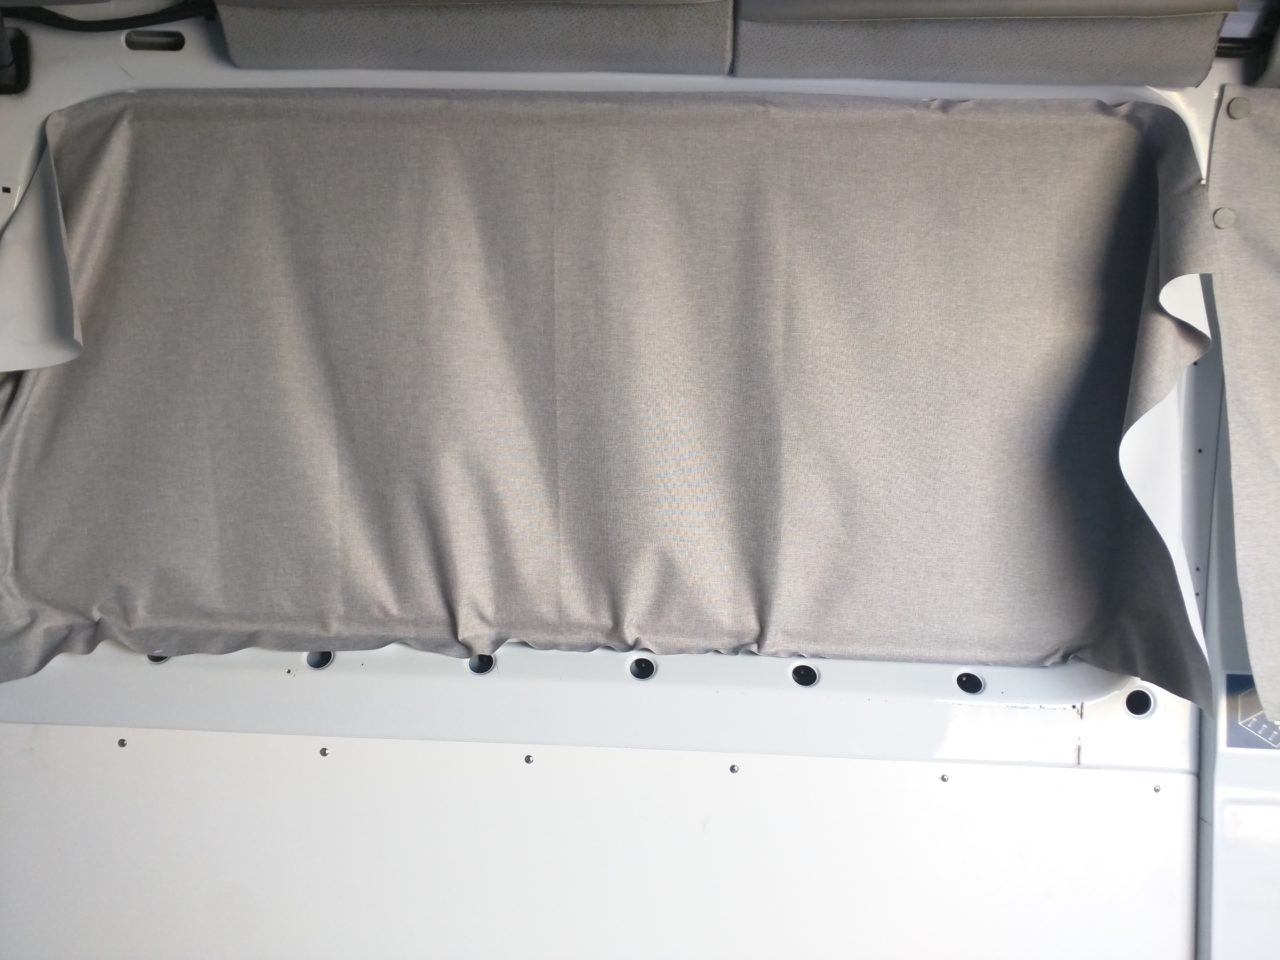
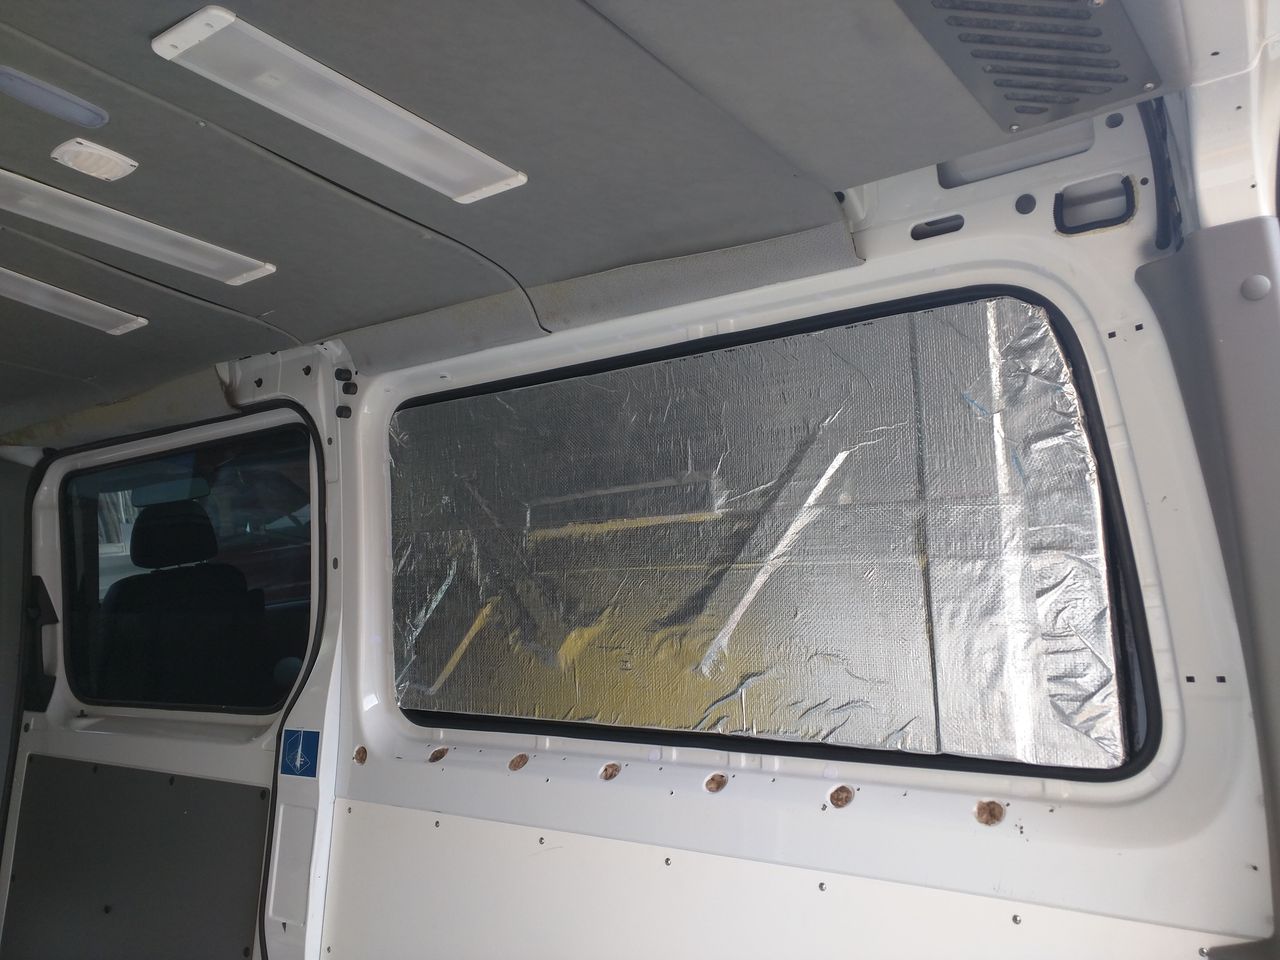
Not sure what you call this but it’s between the window and the wall so I will call it the window sill. I packed it as tight as I could full of insulation to minimise any potential thermal bridges where heat or cold could get in/escape.
Getting all the insulation done was time consuming and fiddly work. I used a pair of heavy duty hardware scissors to cut the insulation to size. On occasion but not always I used a can of spray on glue to glue the insulation in place.
My next step will be to insulate the back side windows. I also want to add some removable insulation to the windows on the back doors and the windows on the sliding doors.
Stage 2 - Adding Insulation To The Windows
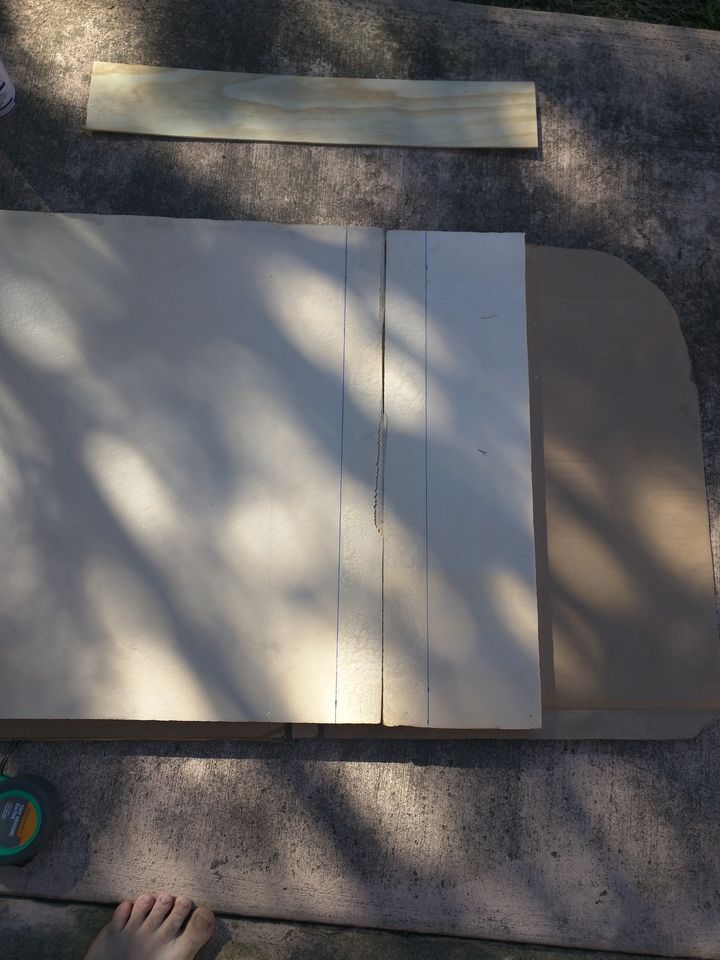
Make the insulation a bit longer then add plywood on top for strength and to hold it together
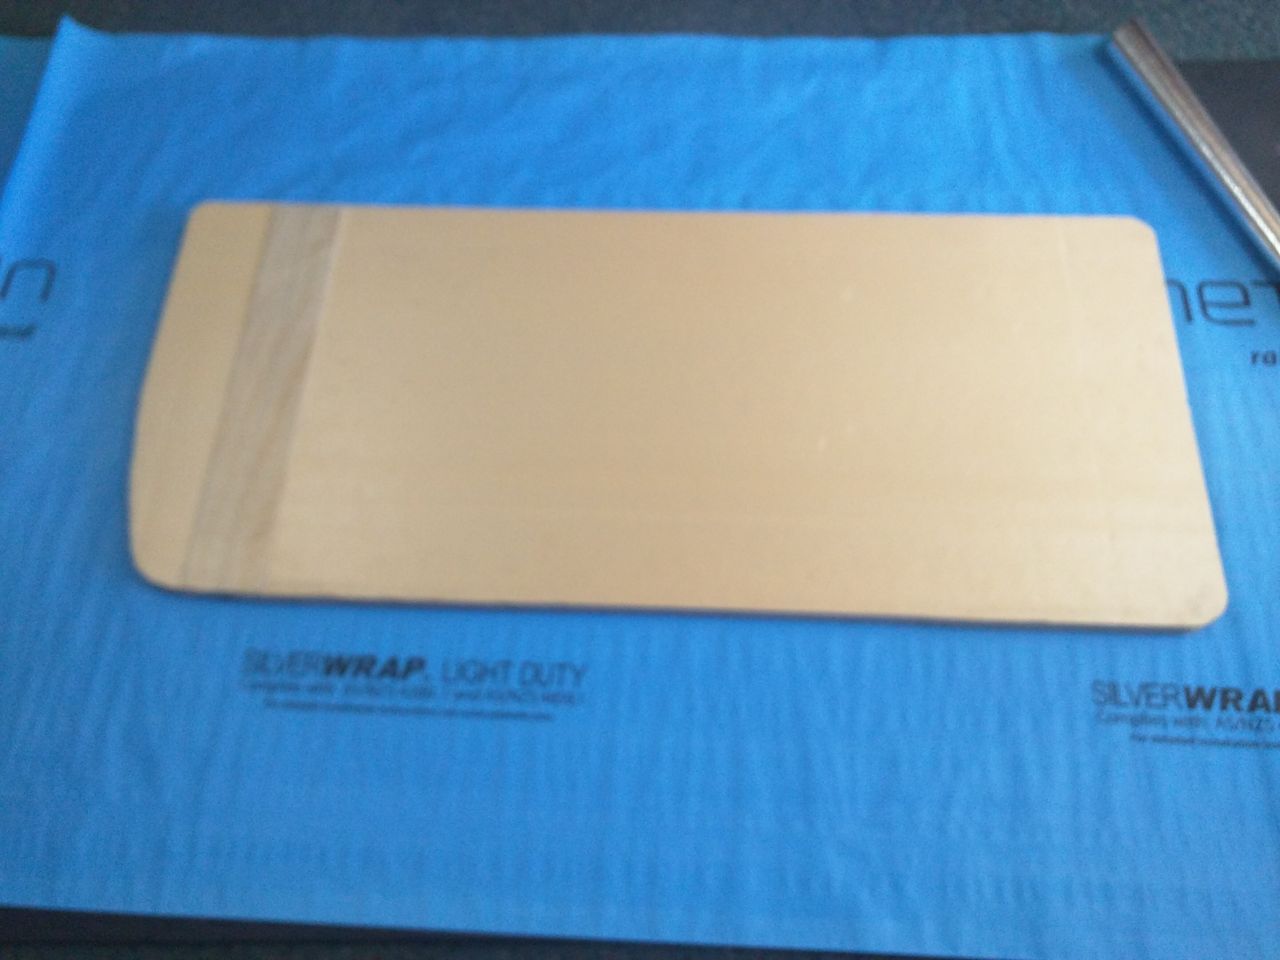
Glue insulation onto sliver wrap reflectix
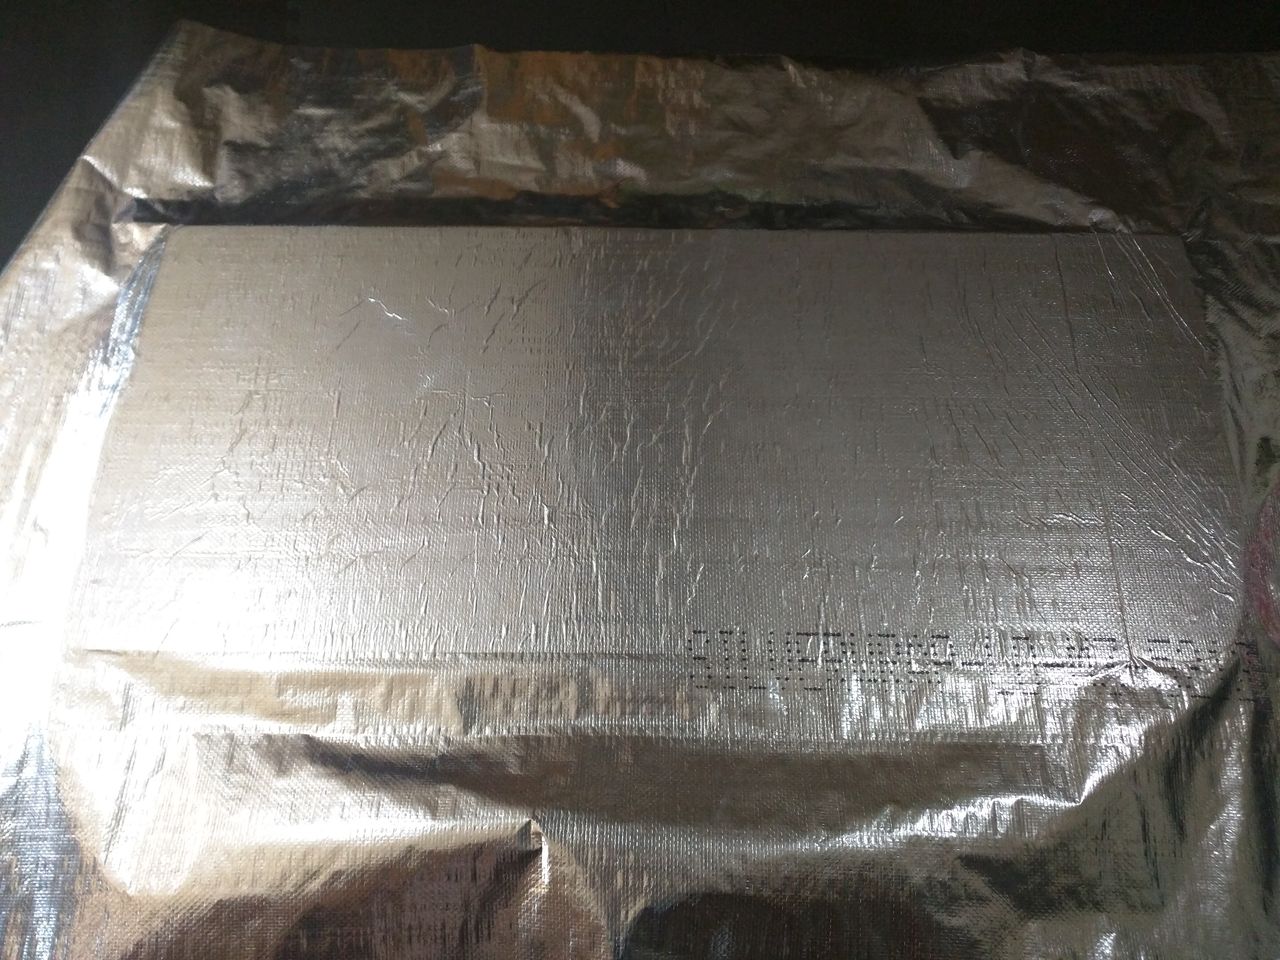
Smooth out as best you can remove air bubbles etc
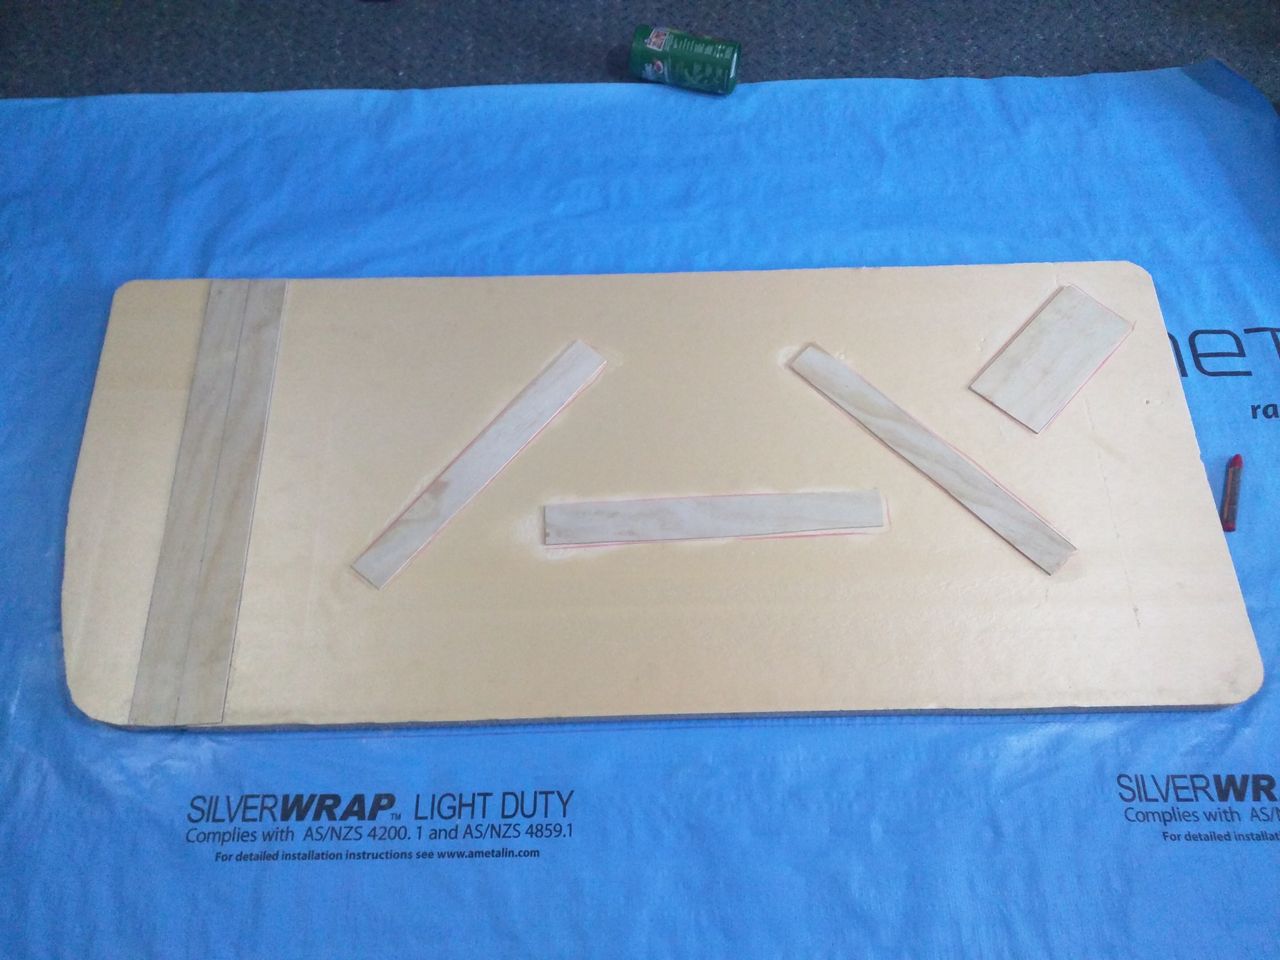
Add extra plywood for strength
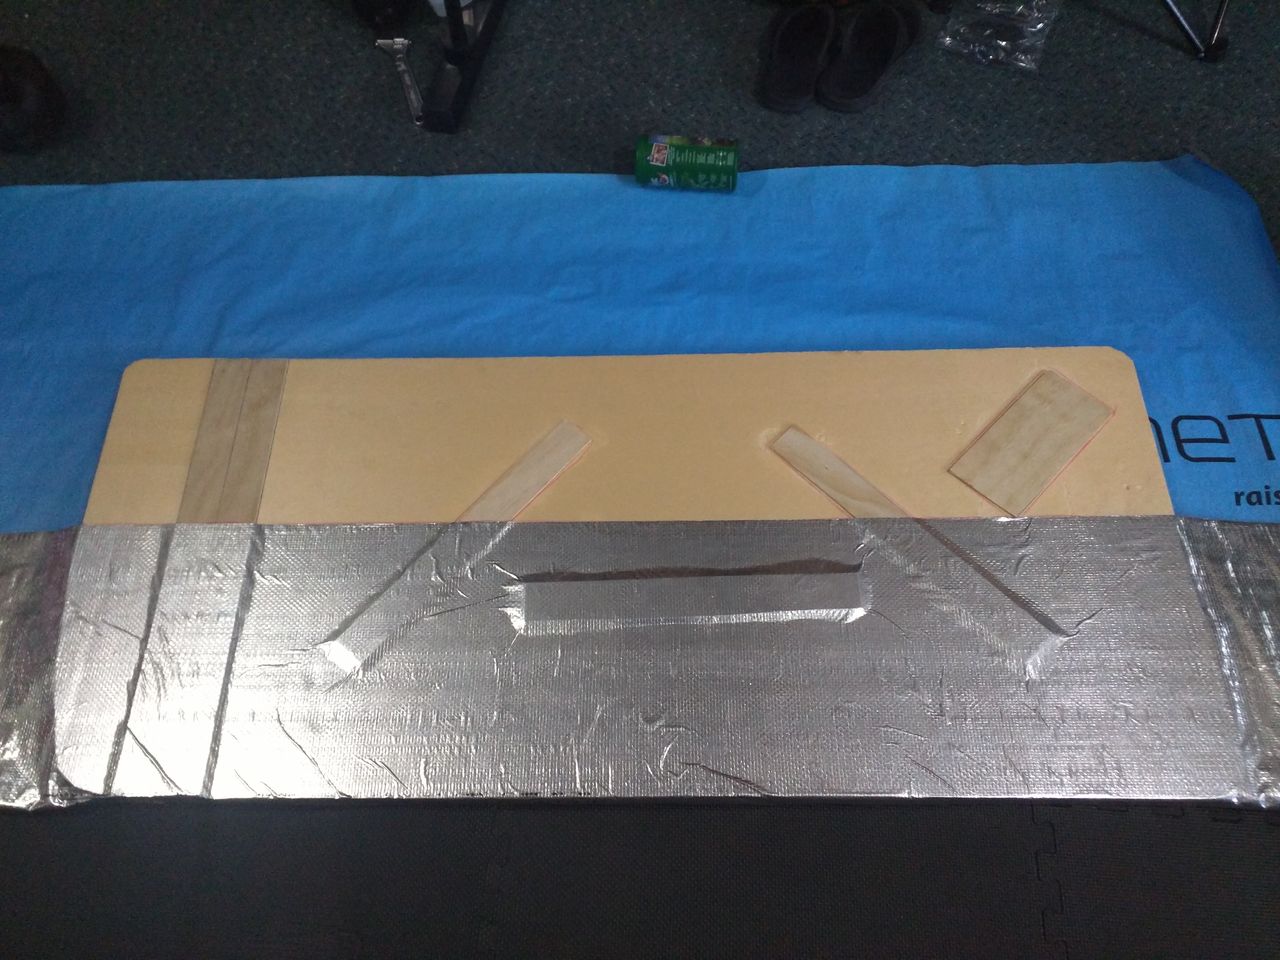
Glue remaining silver wrap reflextix down
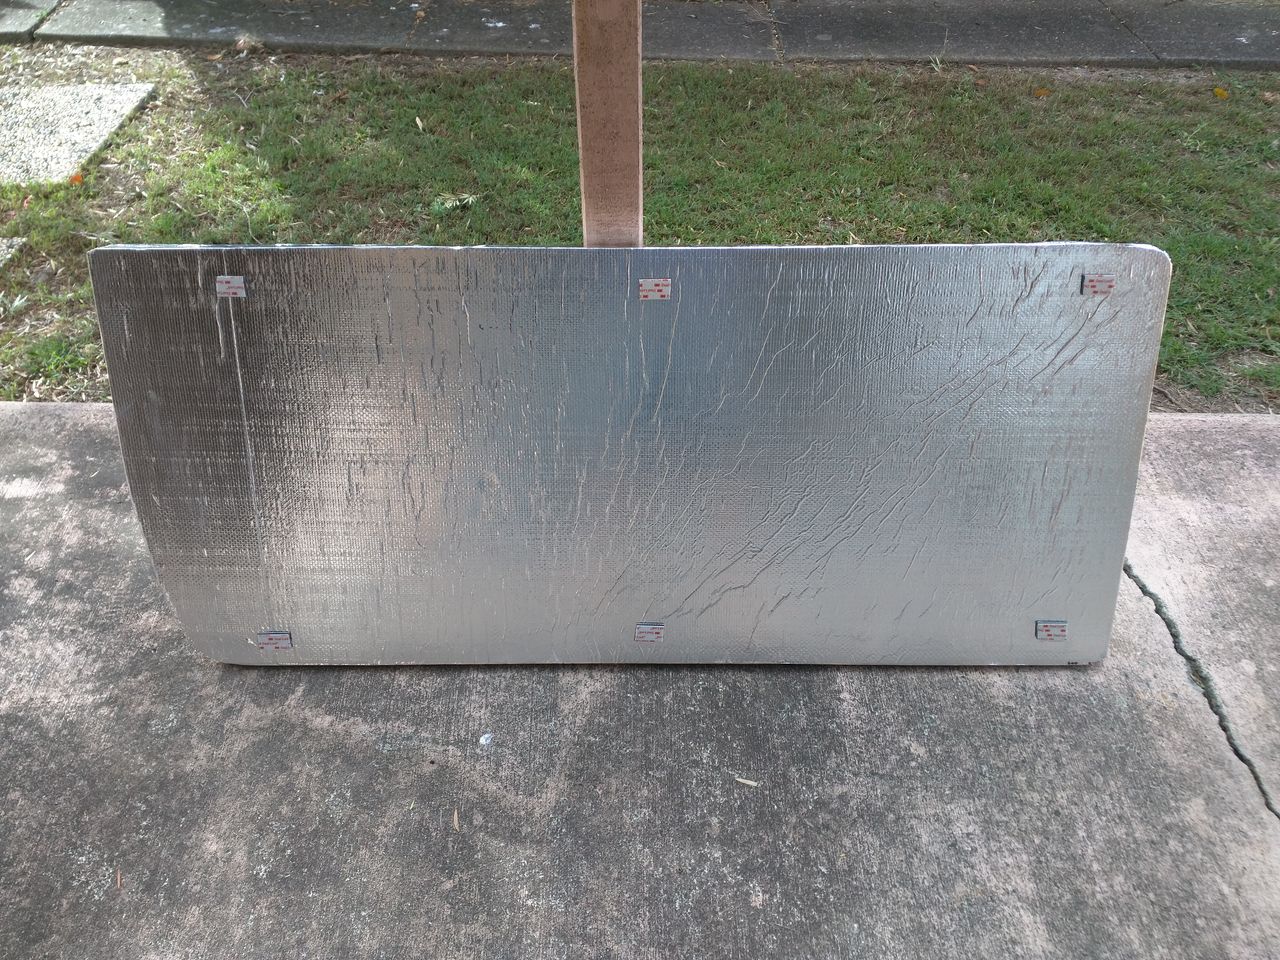
Add heavy duty velcro
Stick to the window
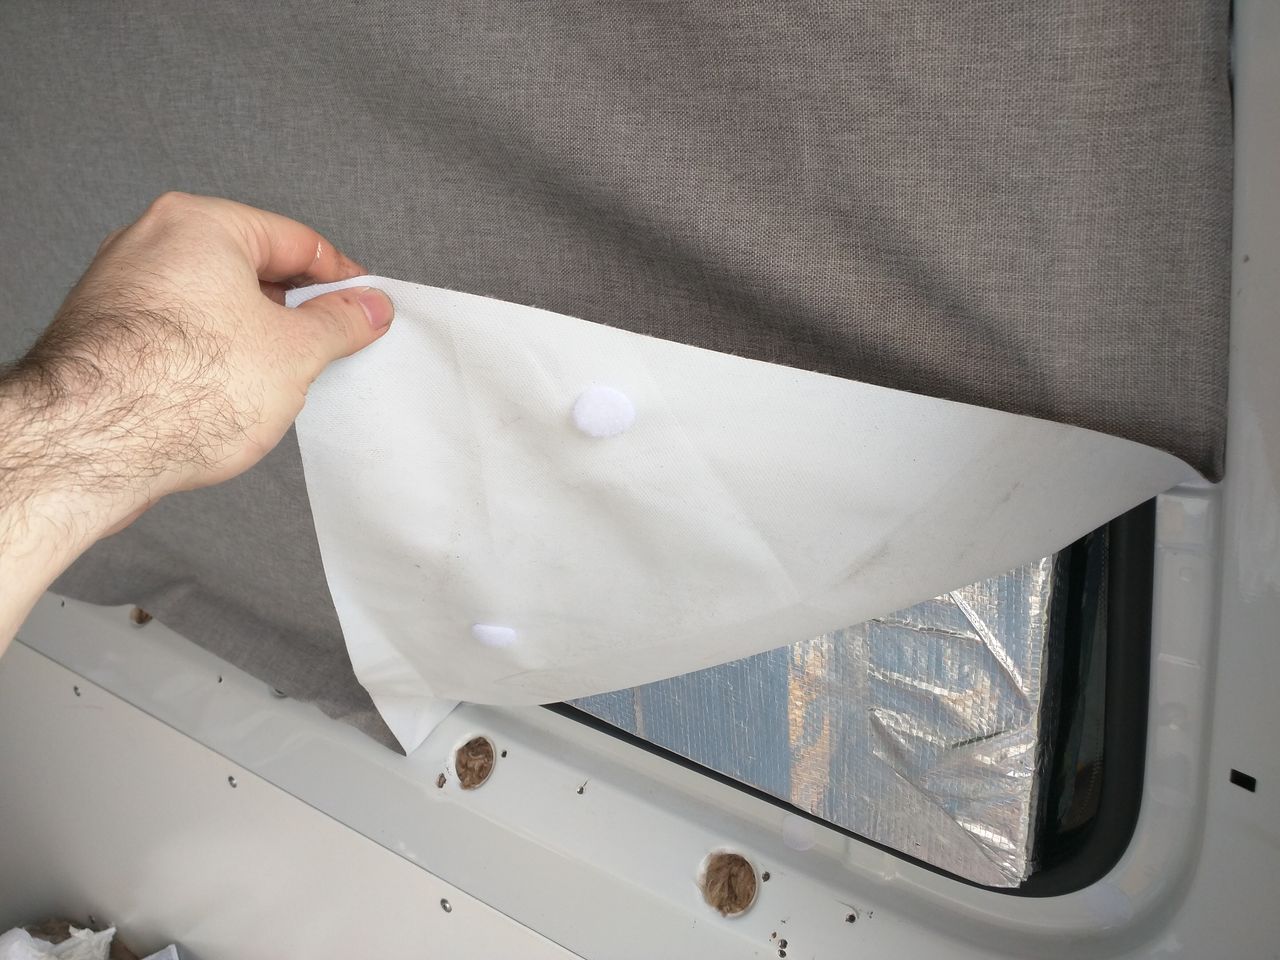
Add blackout curtain over the top
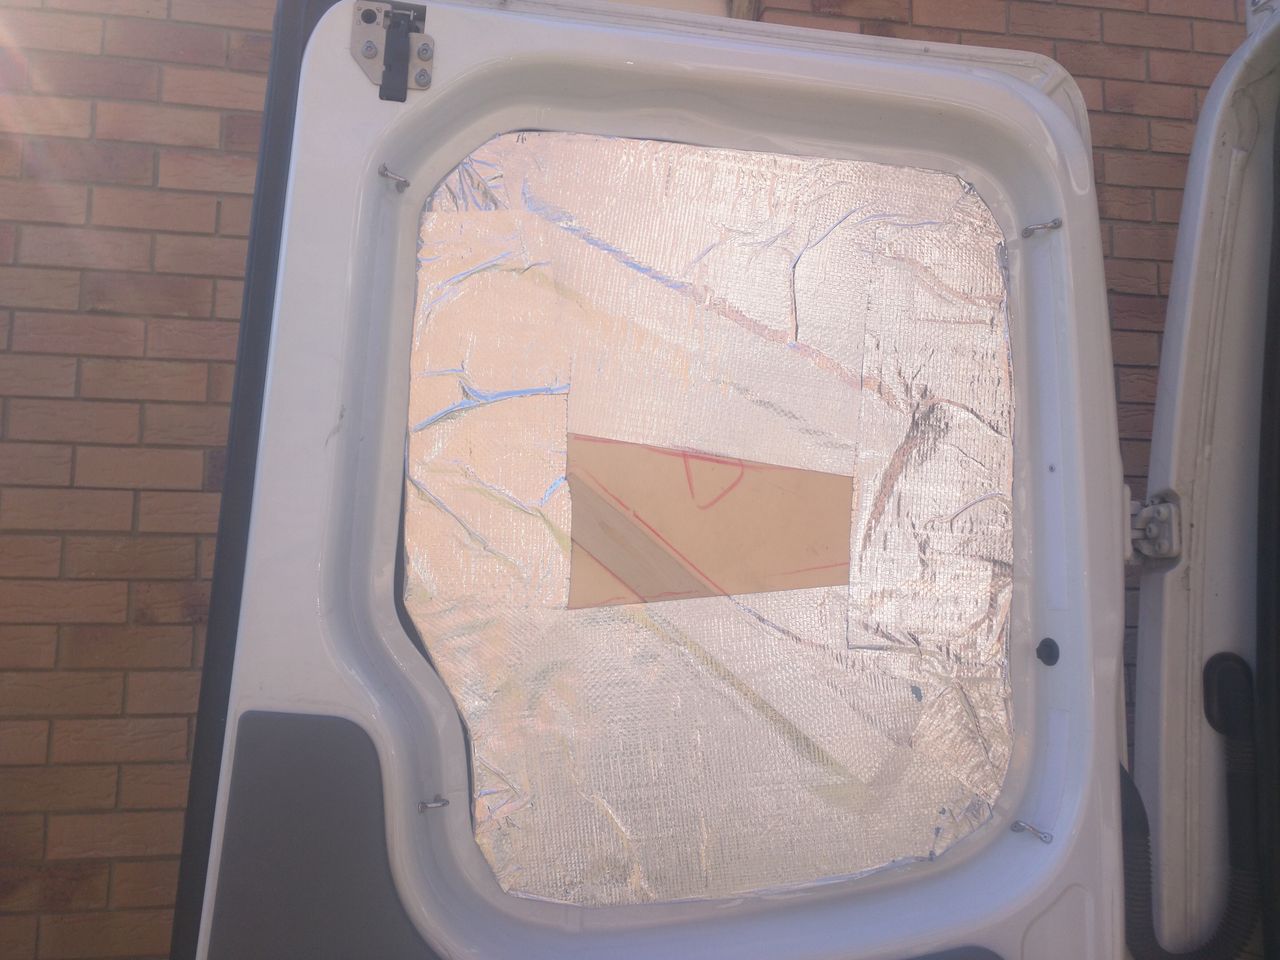
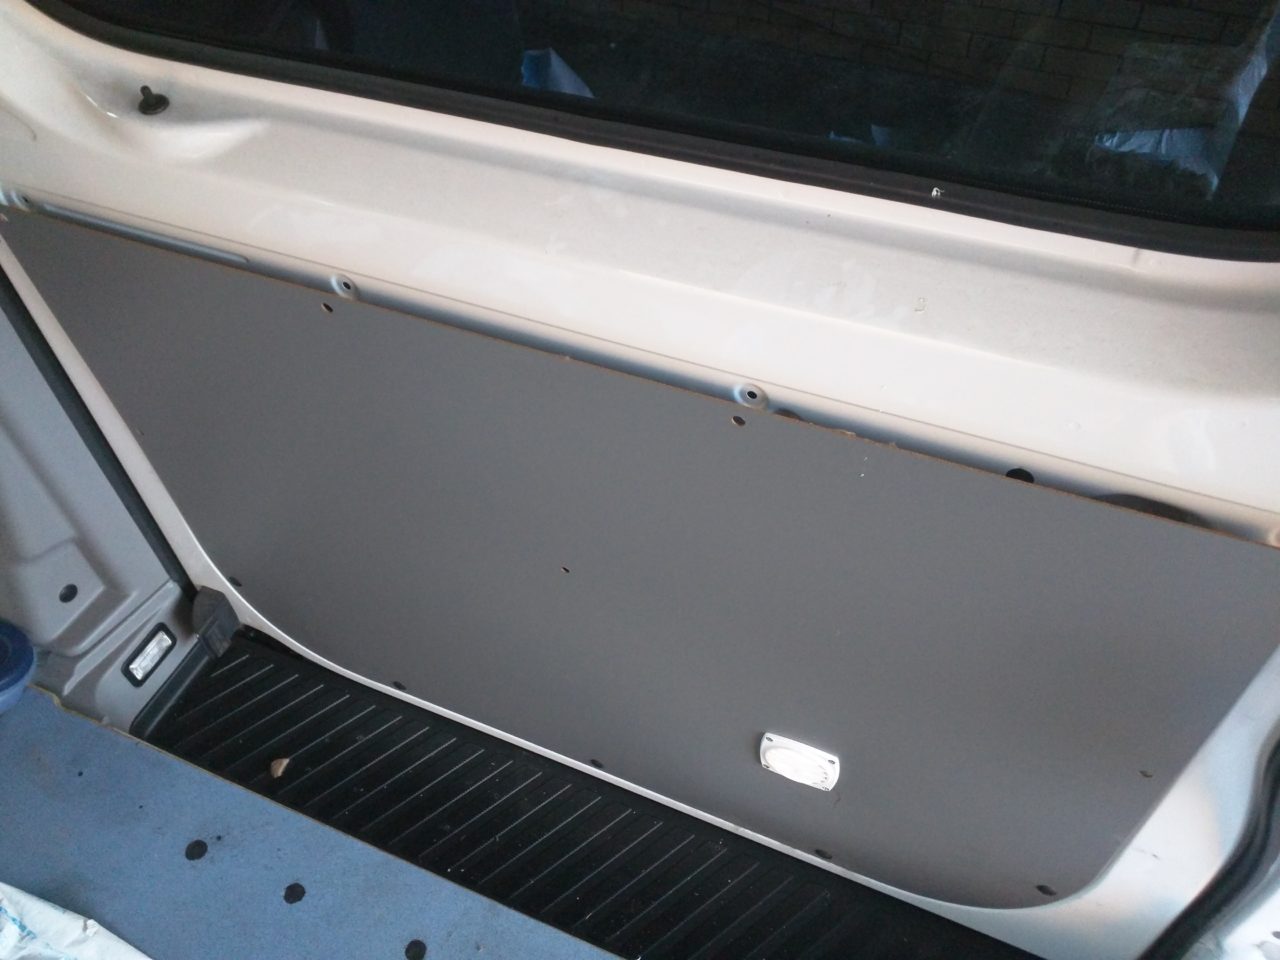
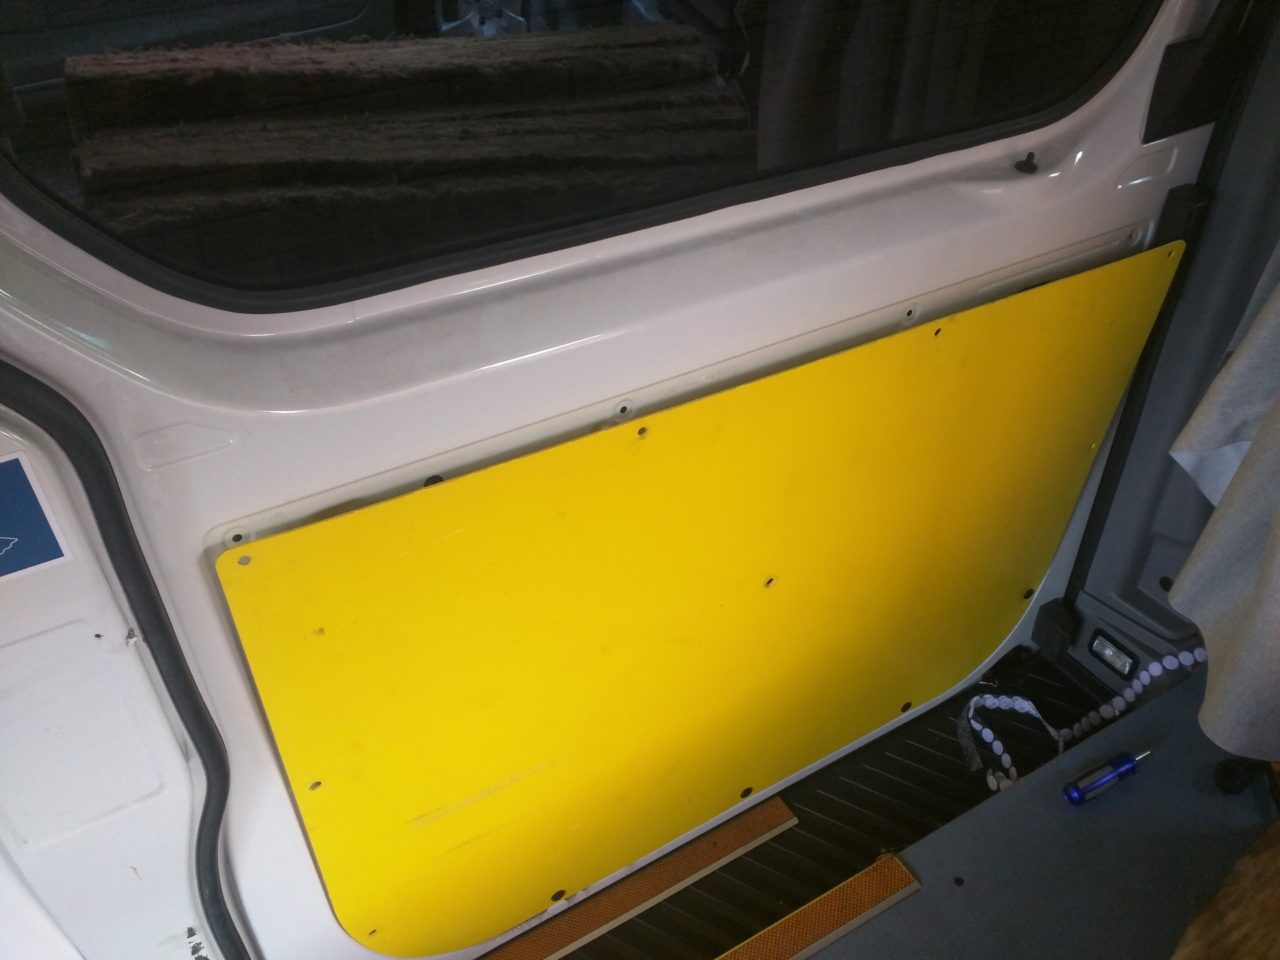
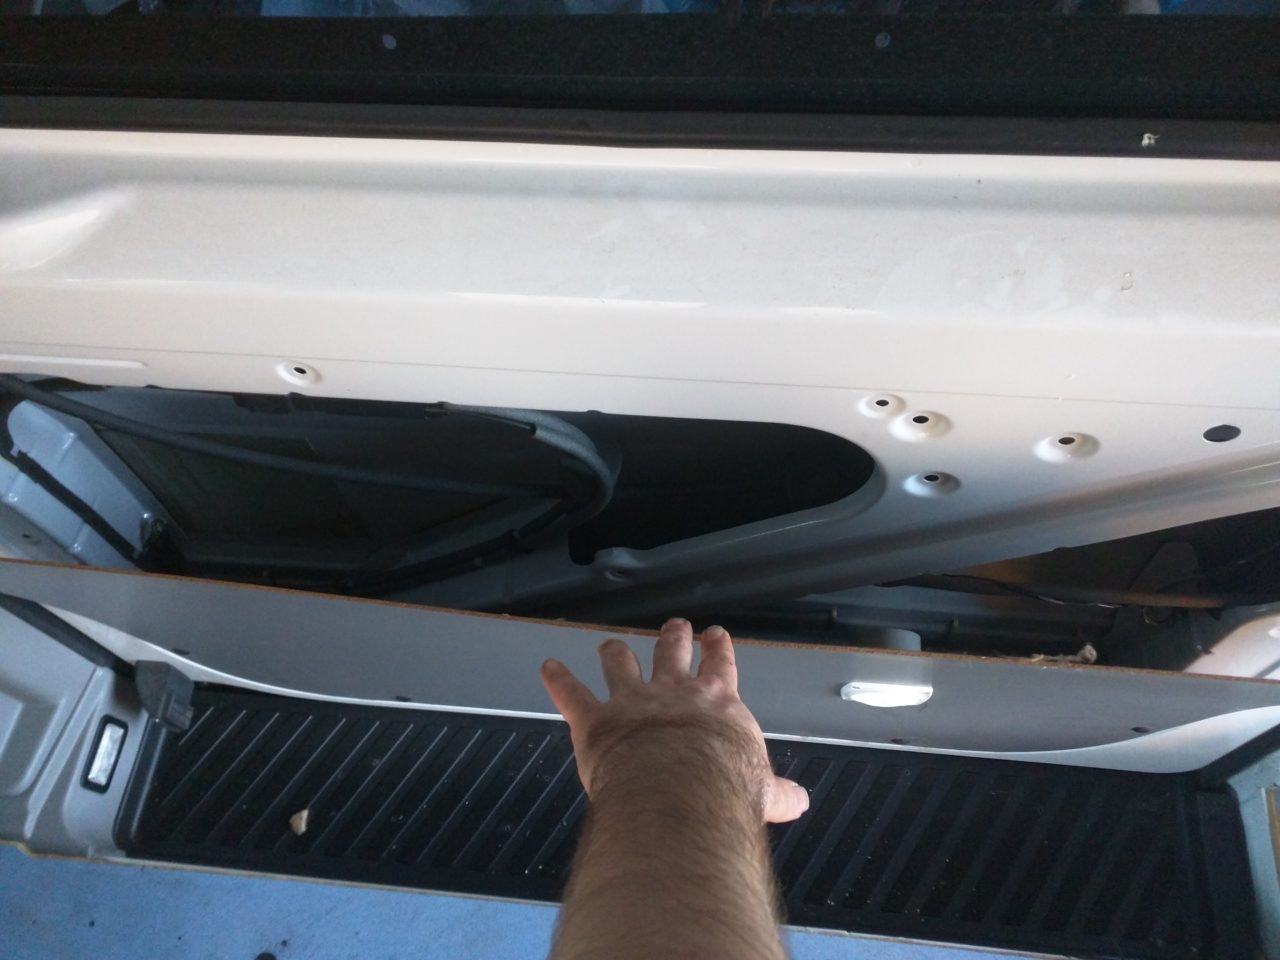
Rear Barn Door Insulation
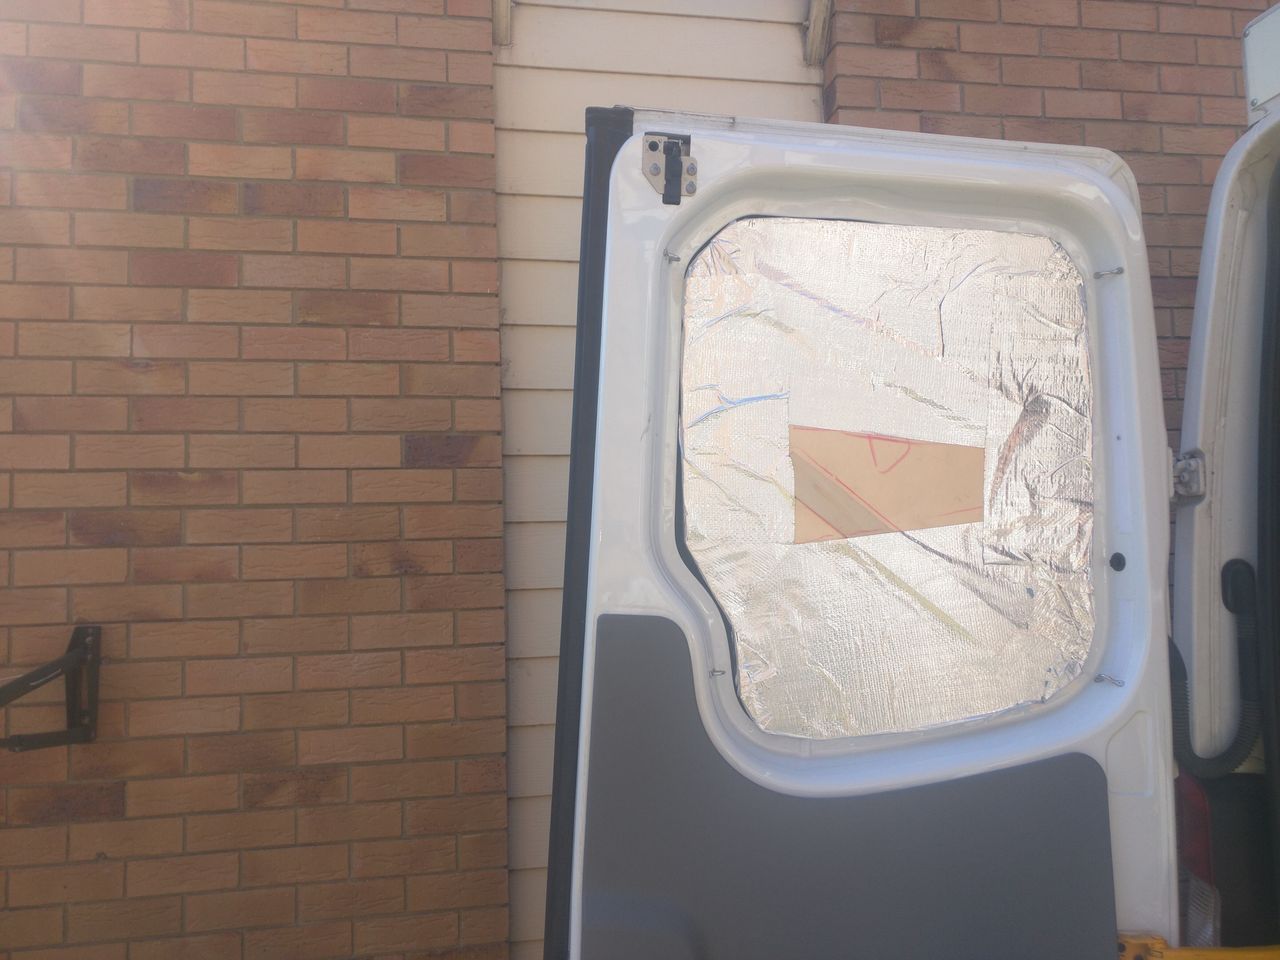
Rear Barn Door Insulation
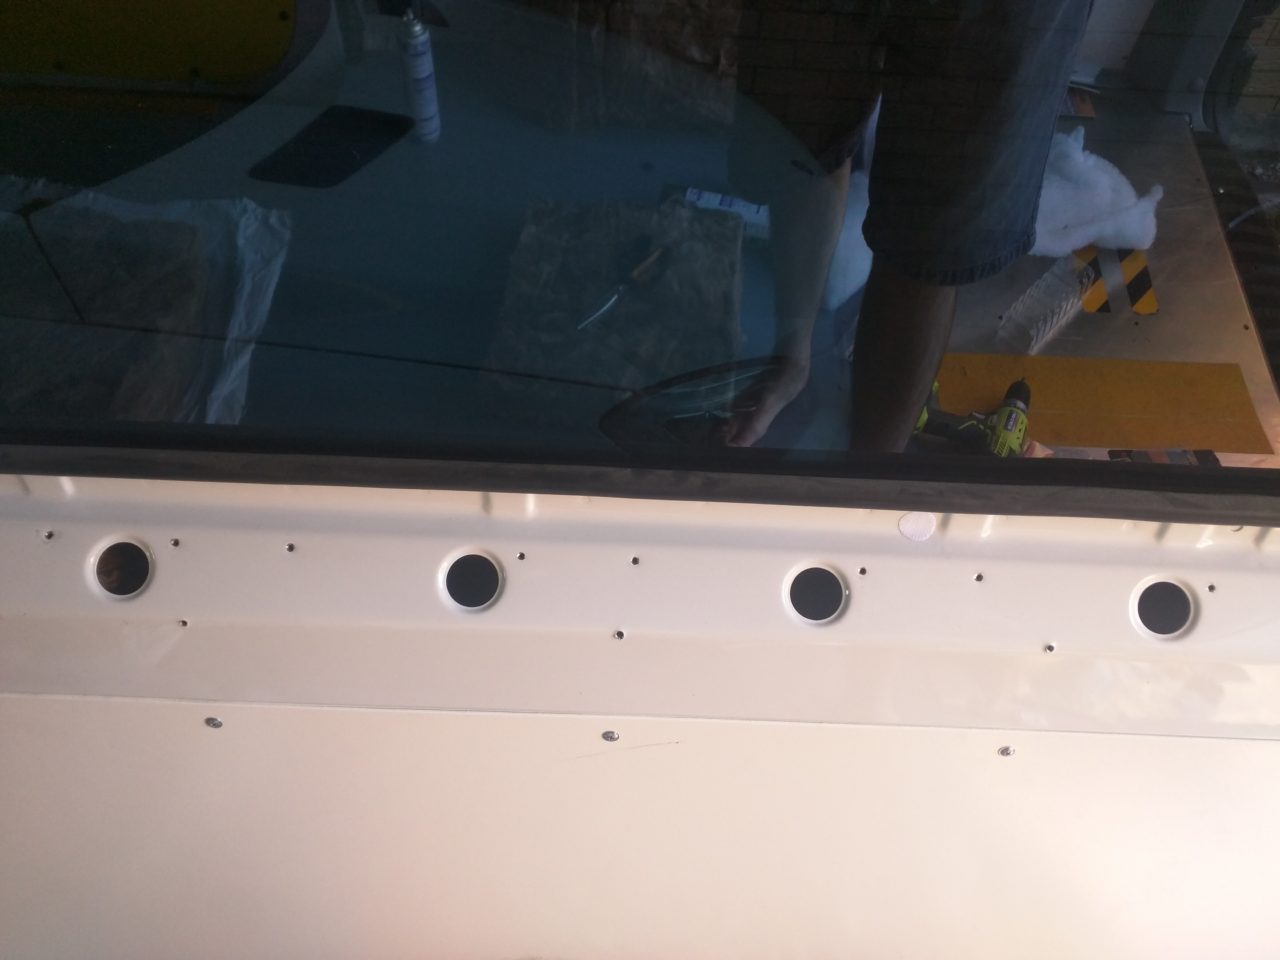
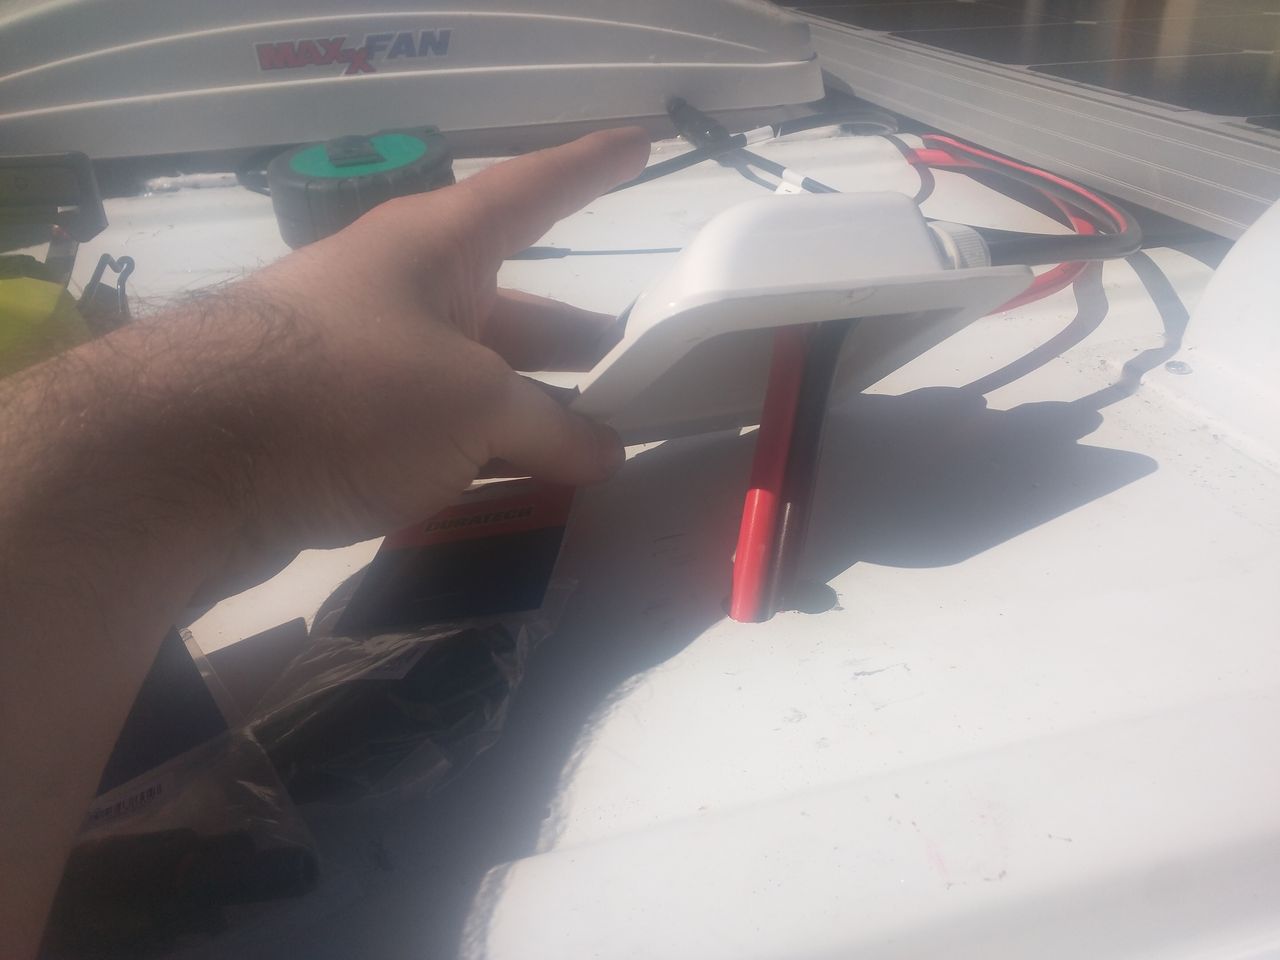
Stage 3 - Adding the Maxx Air Fan
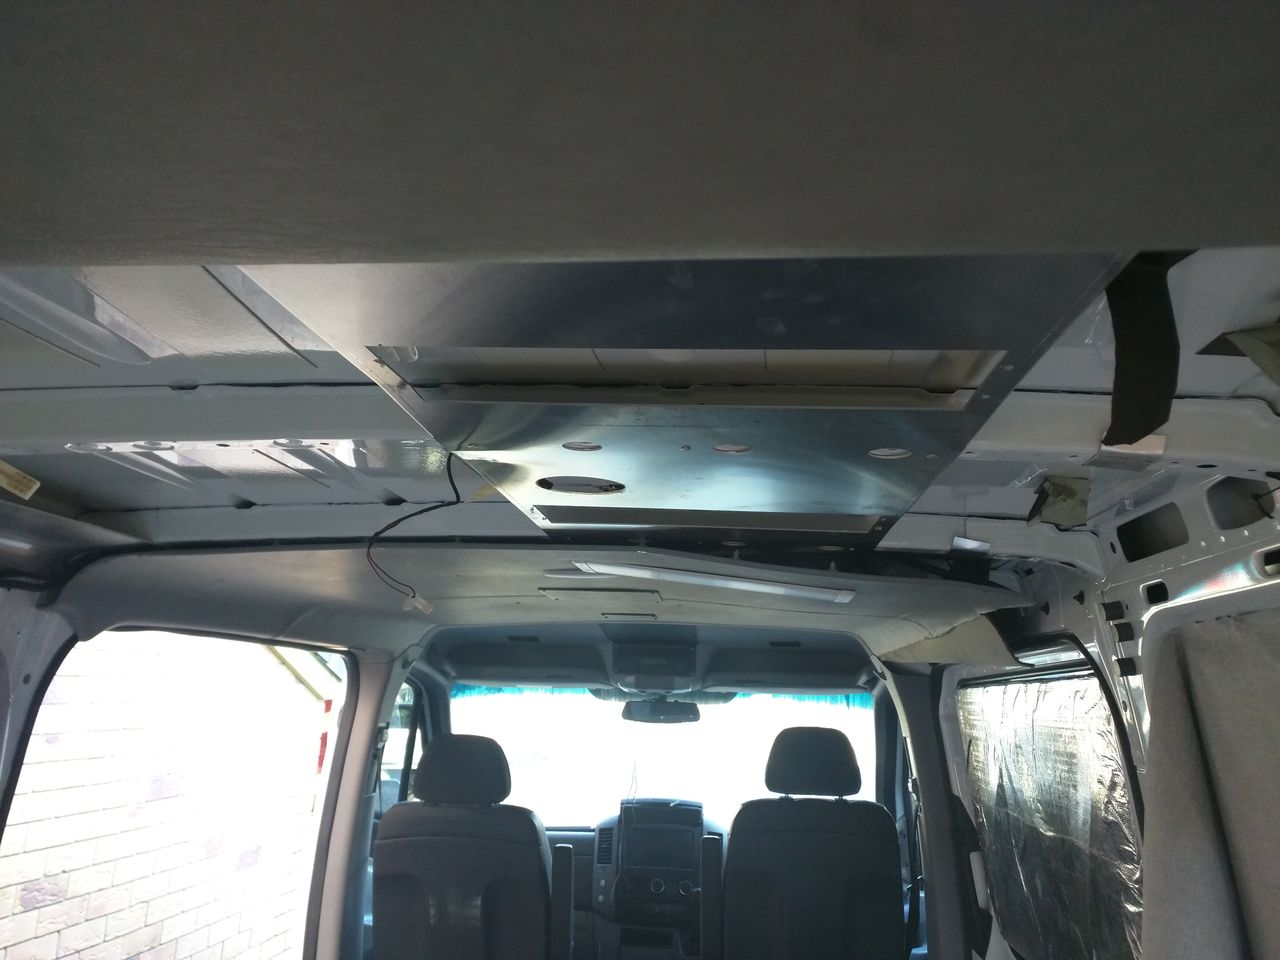
Remove roof panel and find this metal on the roof
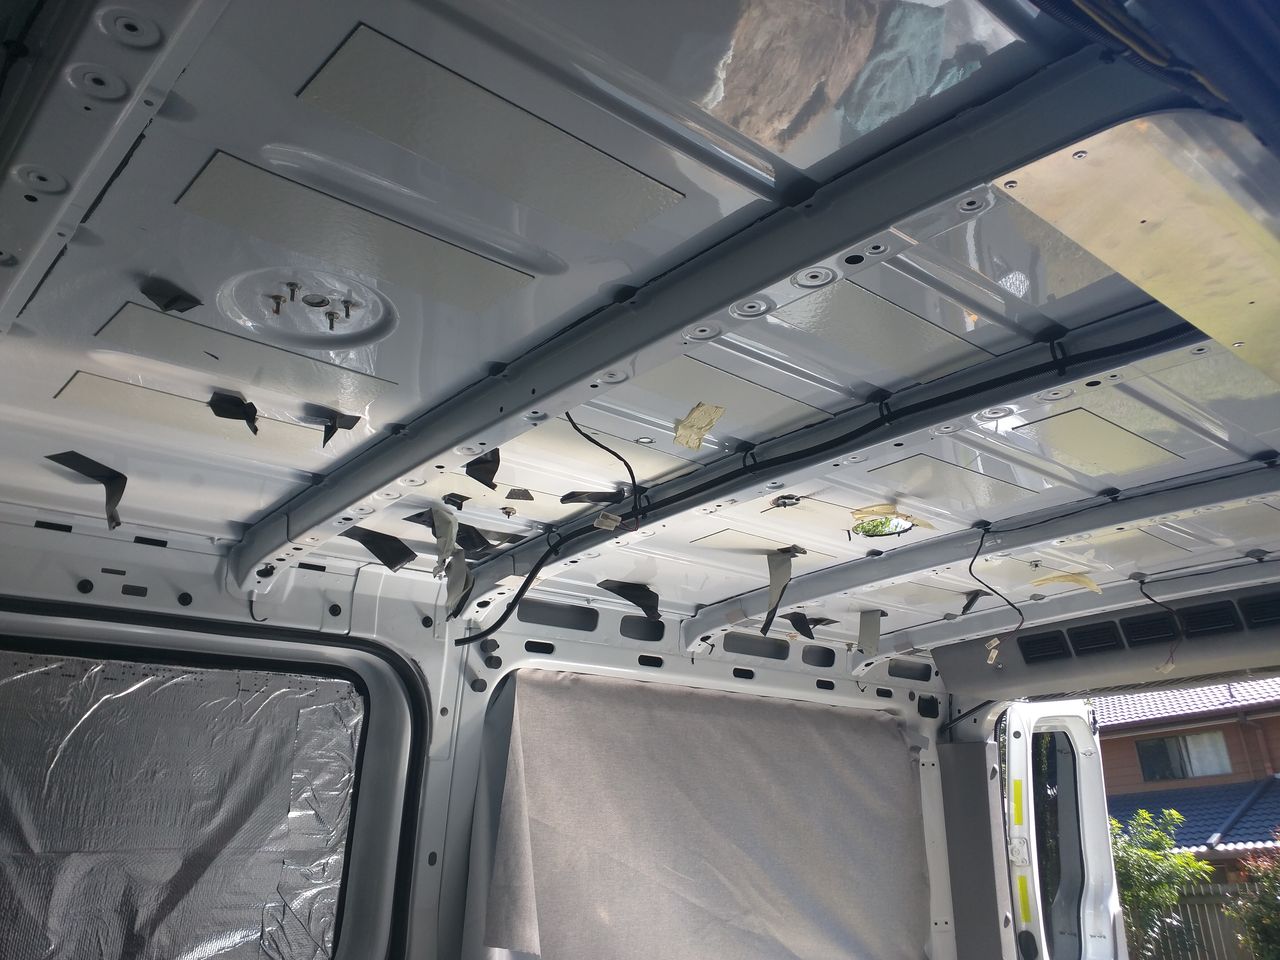
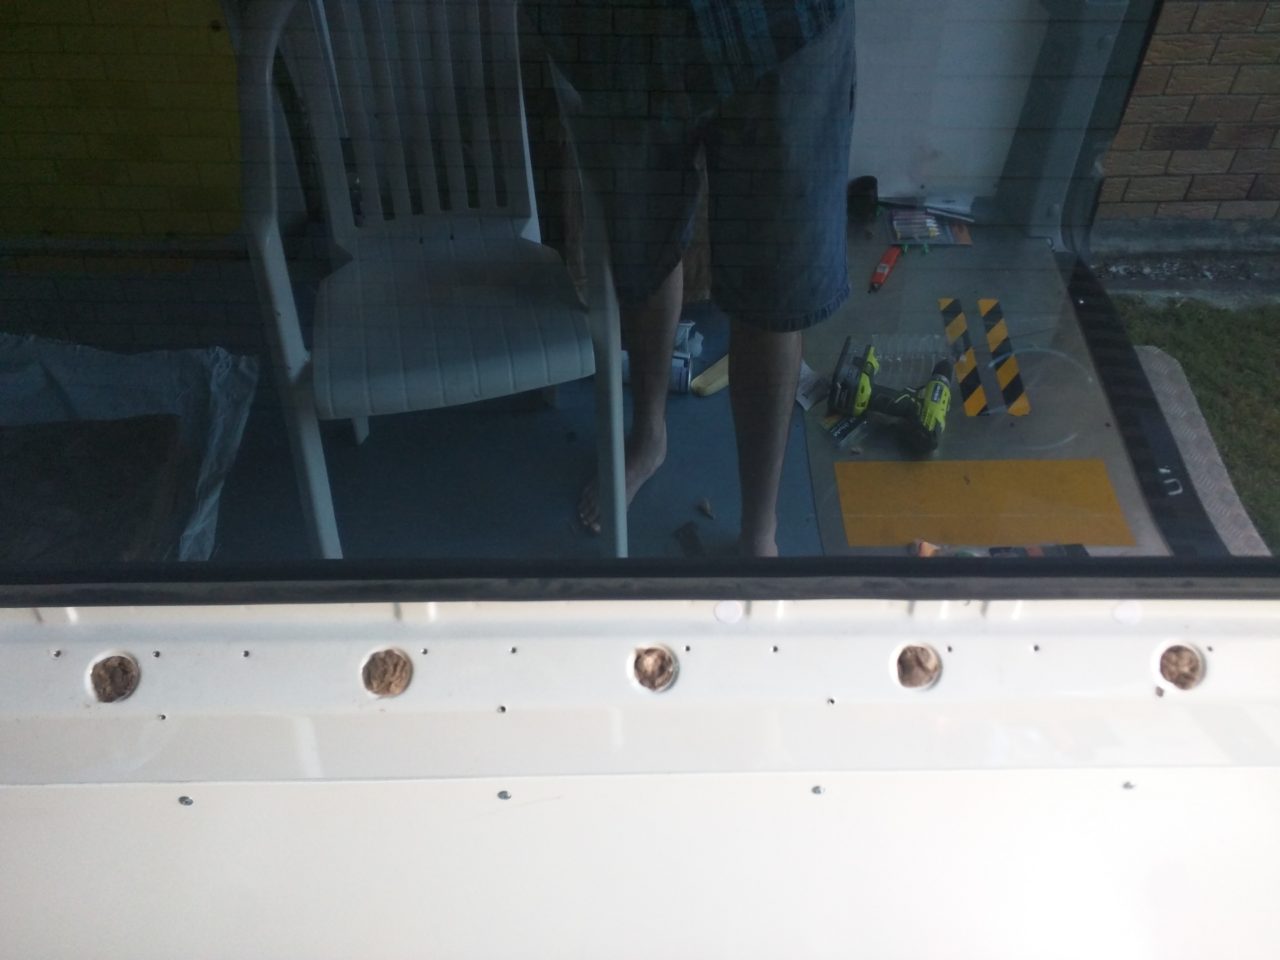
Drill out pop rivets and remove metal on roof
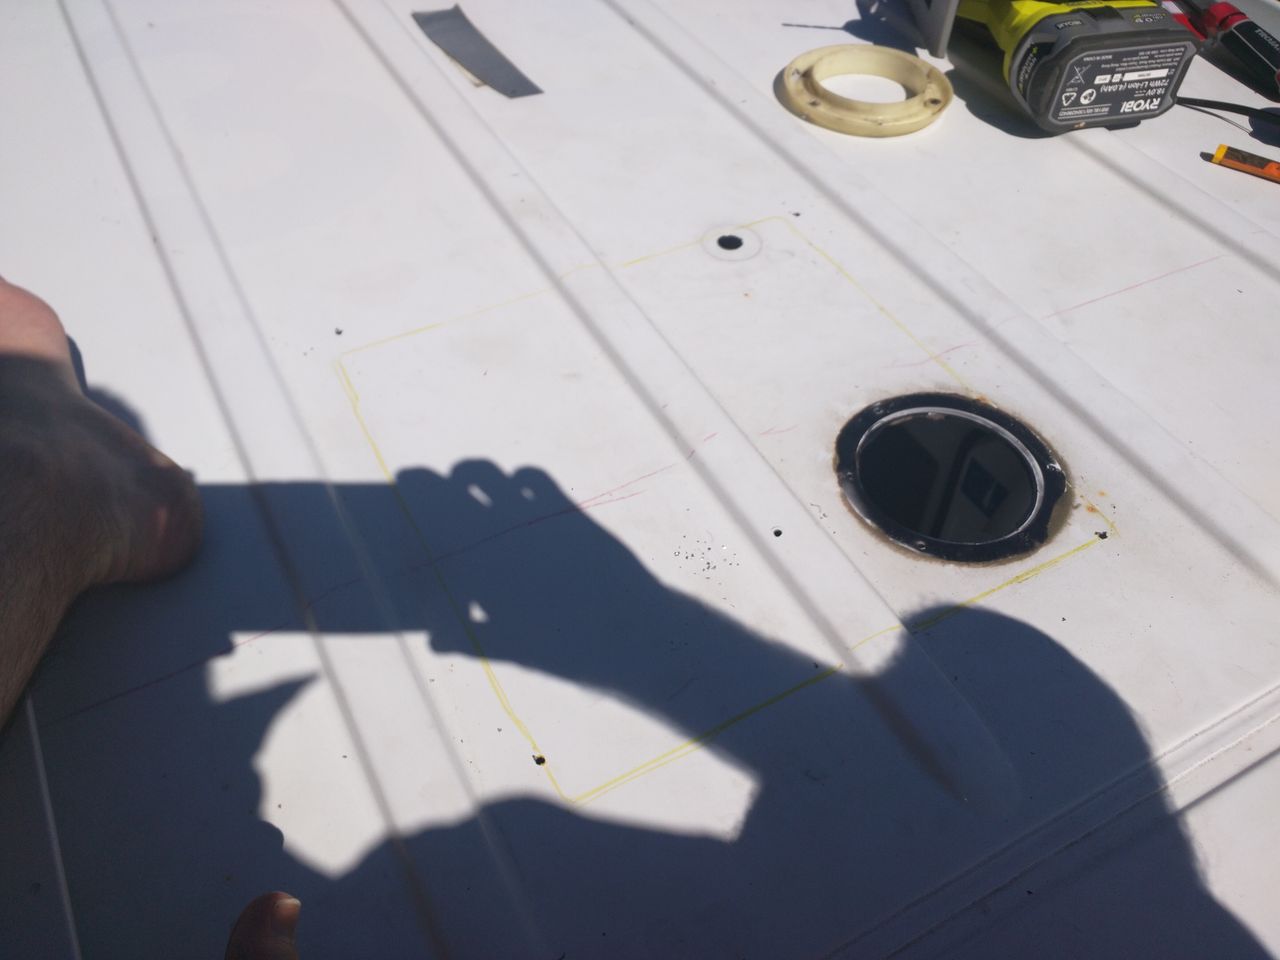
Measure the roof and mark it out
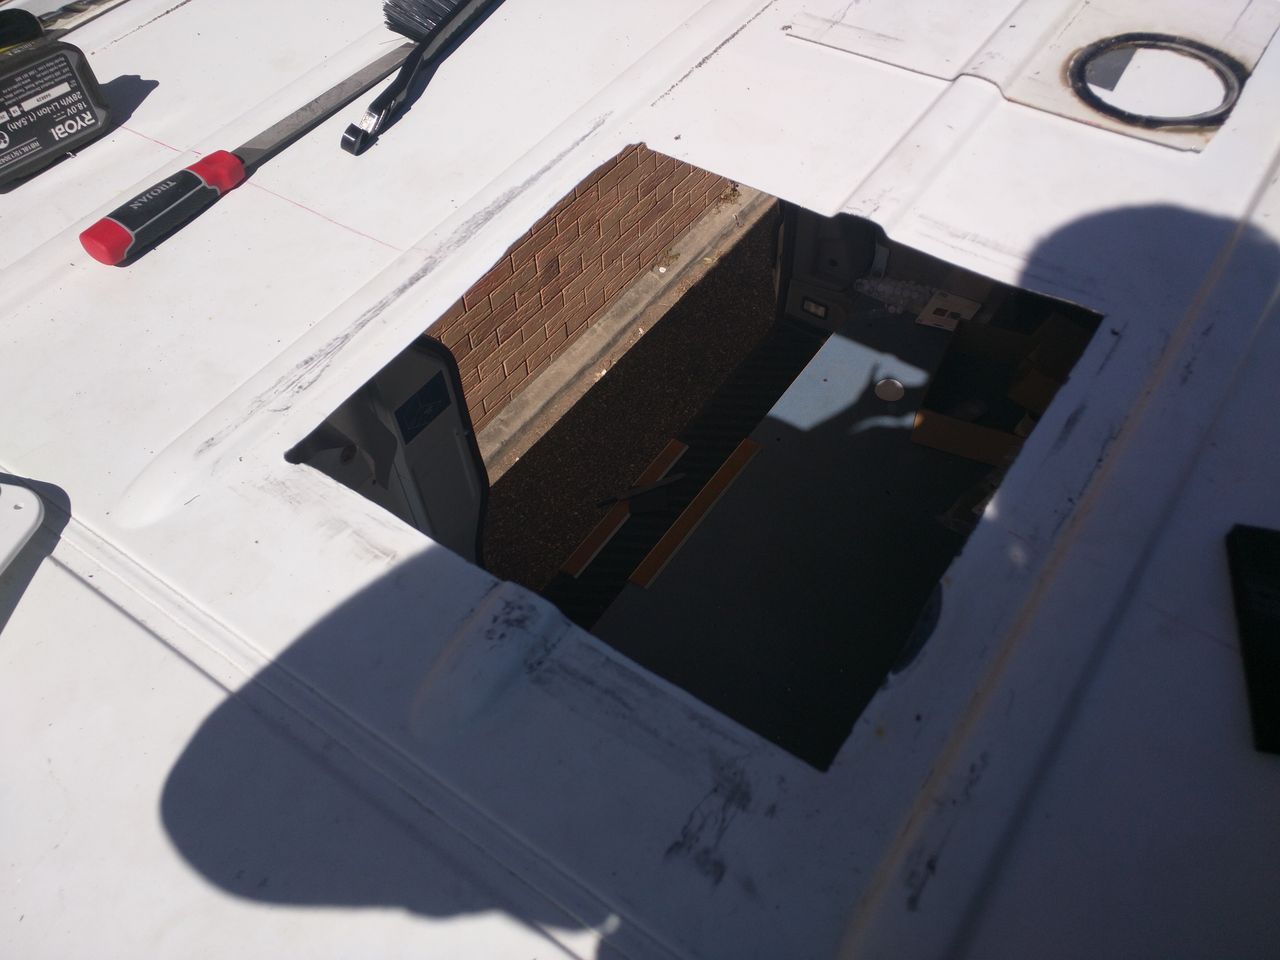
Drill hole in all 4 corners big enough for the jigsaw blade then cut hole, file hole etc
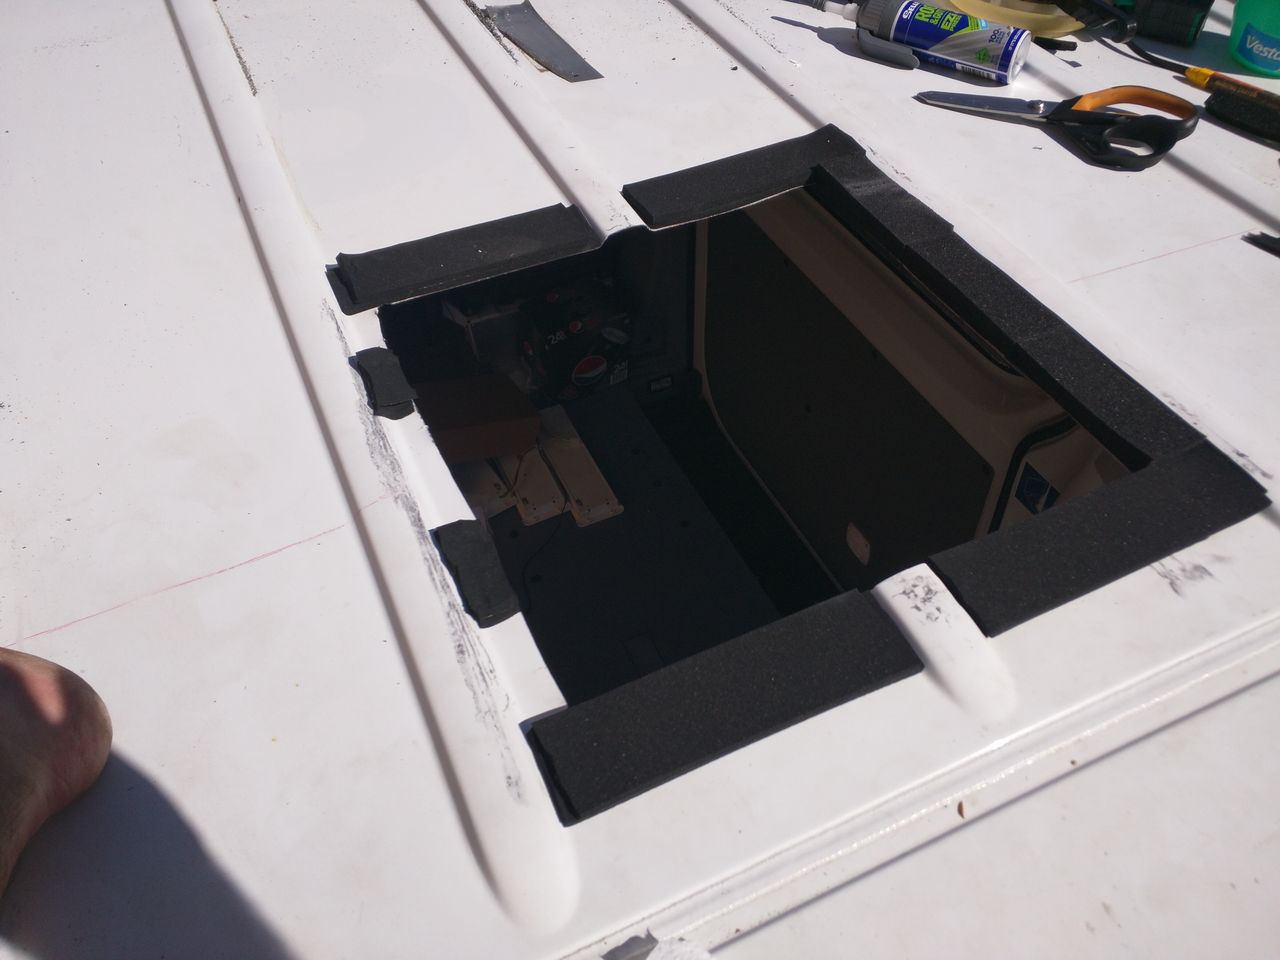
Put down foam to level surface for base
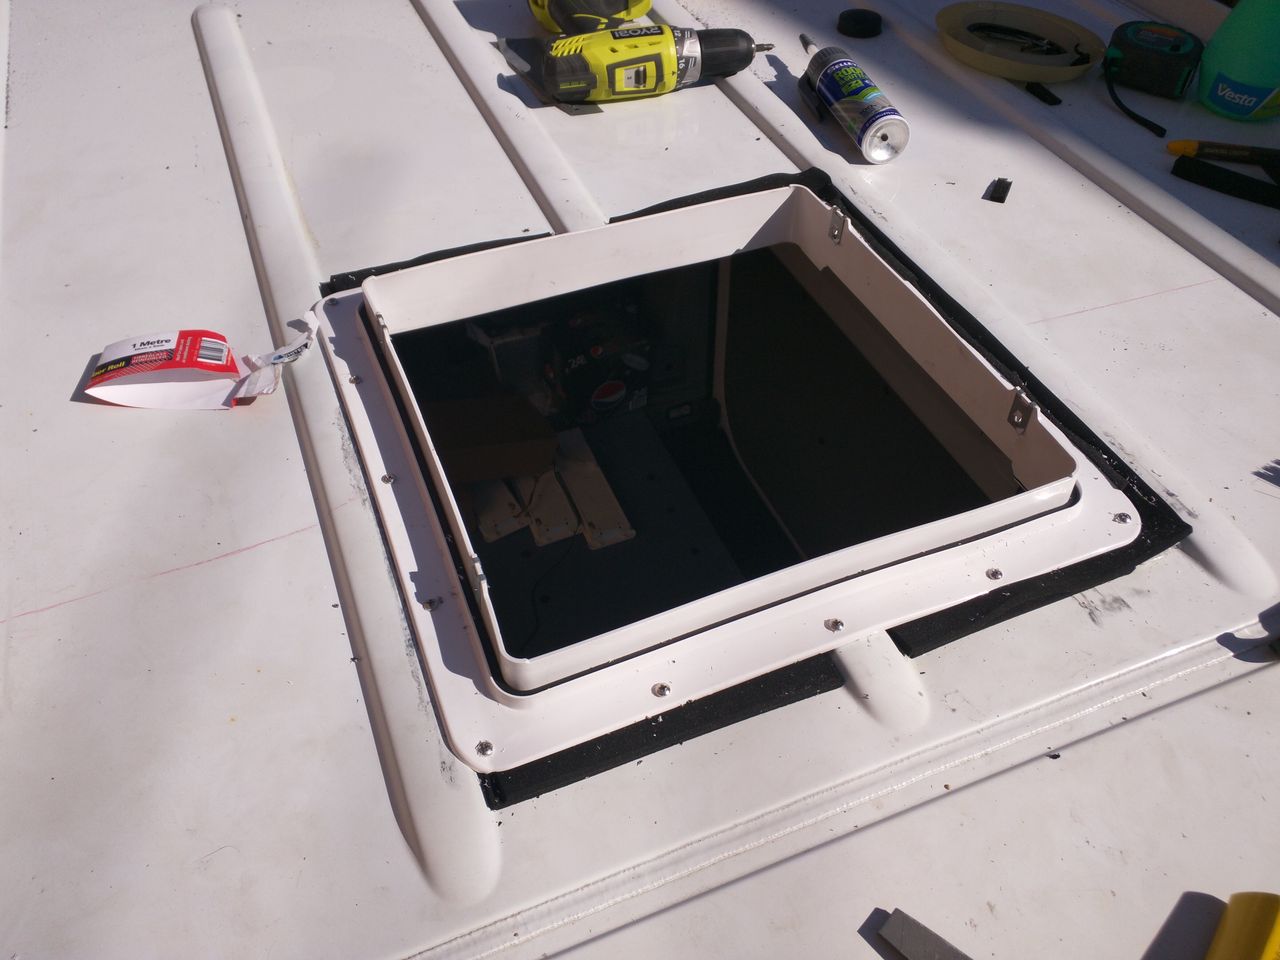
Add the base, drill pilot holes and screw down
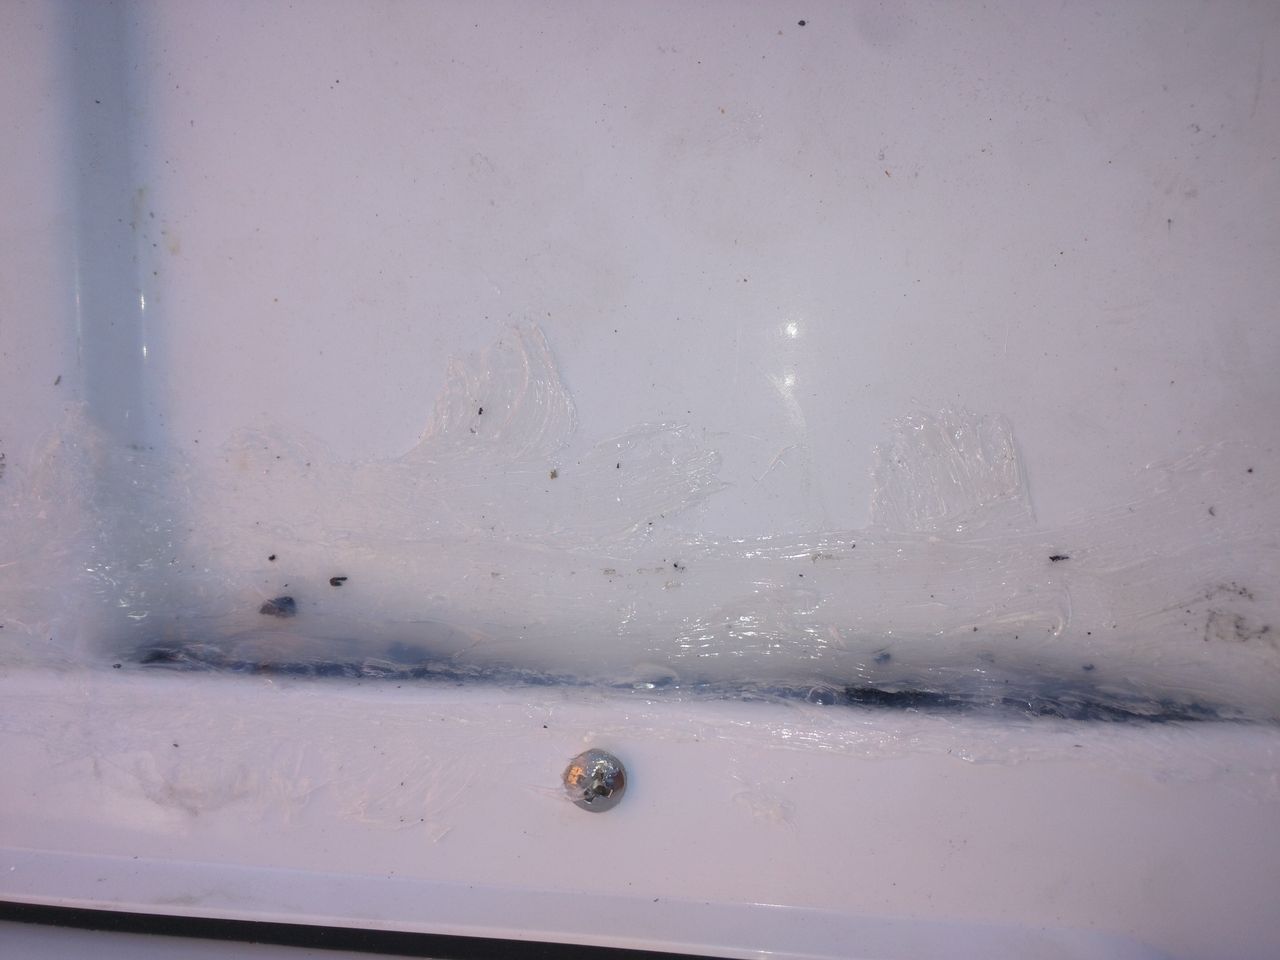
Cut of excess foam then silicone around the base, I cleaned this up later.
Add the maxx air fan, screw it in etc

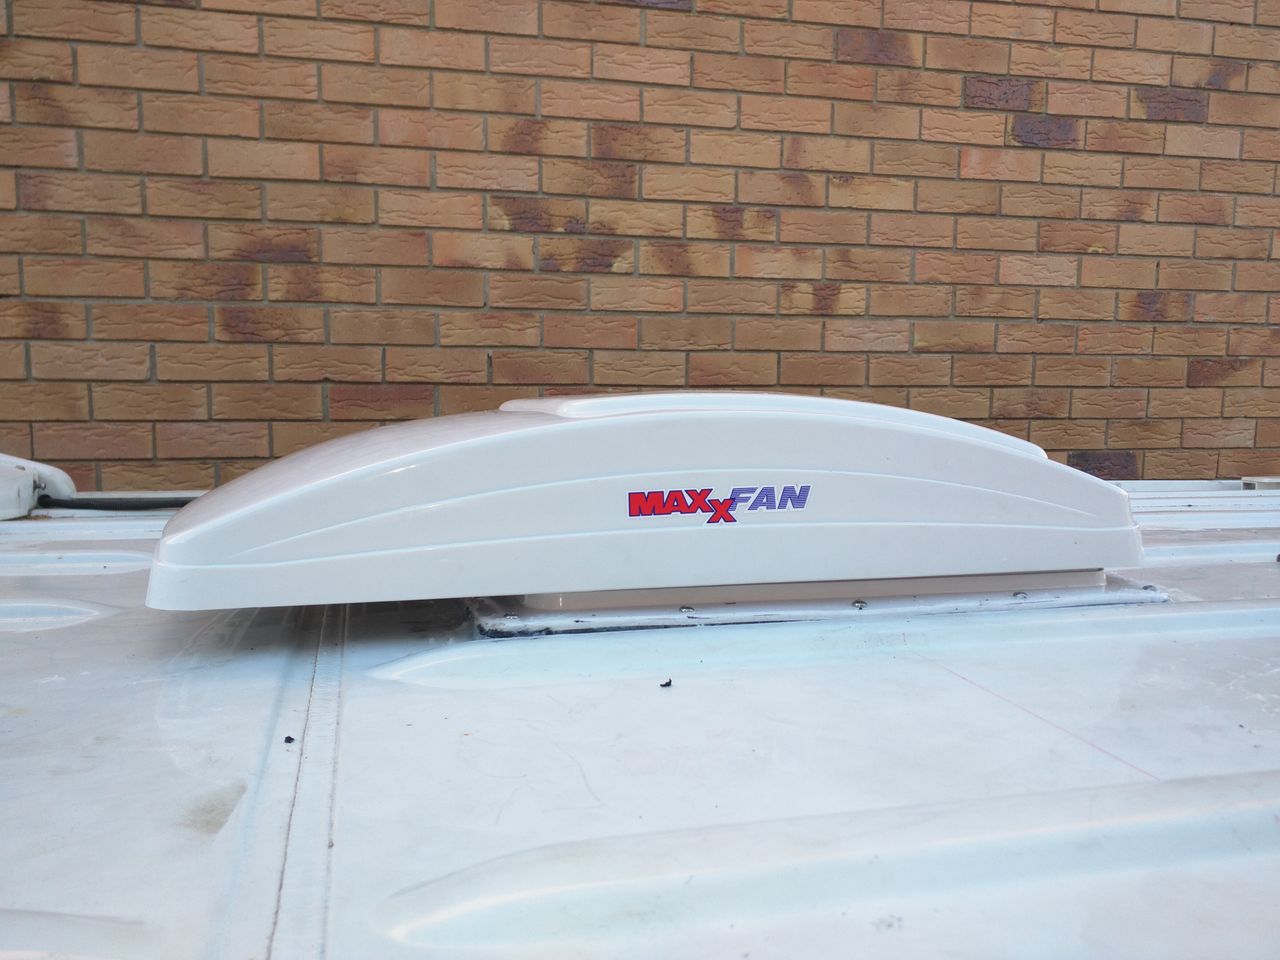
When the fan is fully up
Cutting a big hole in the van probably the scariest part of the build so far but all worked out well and I have an awesome fan on the top of my van.
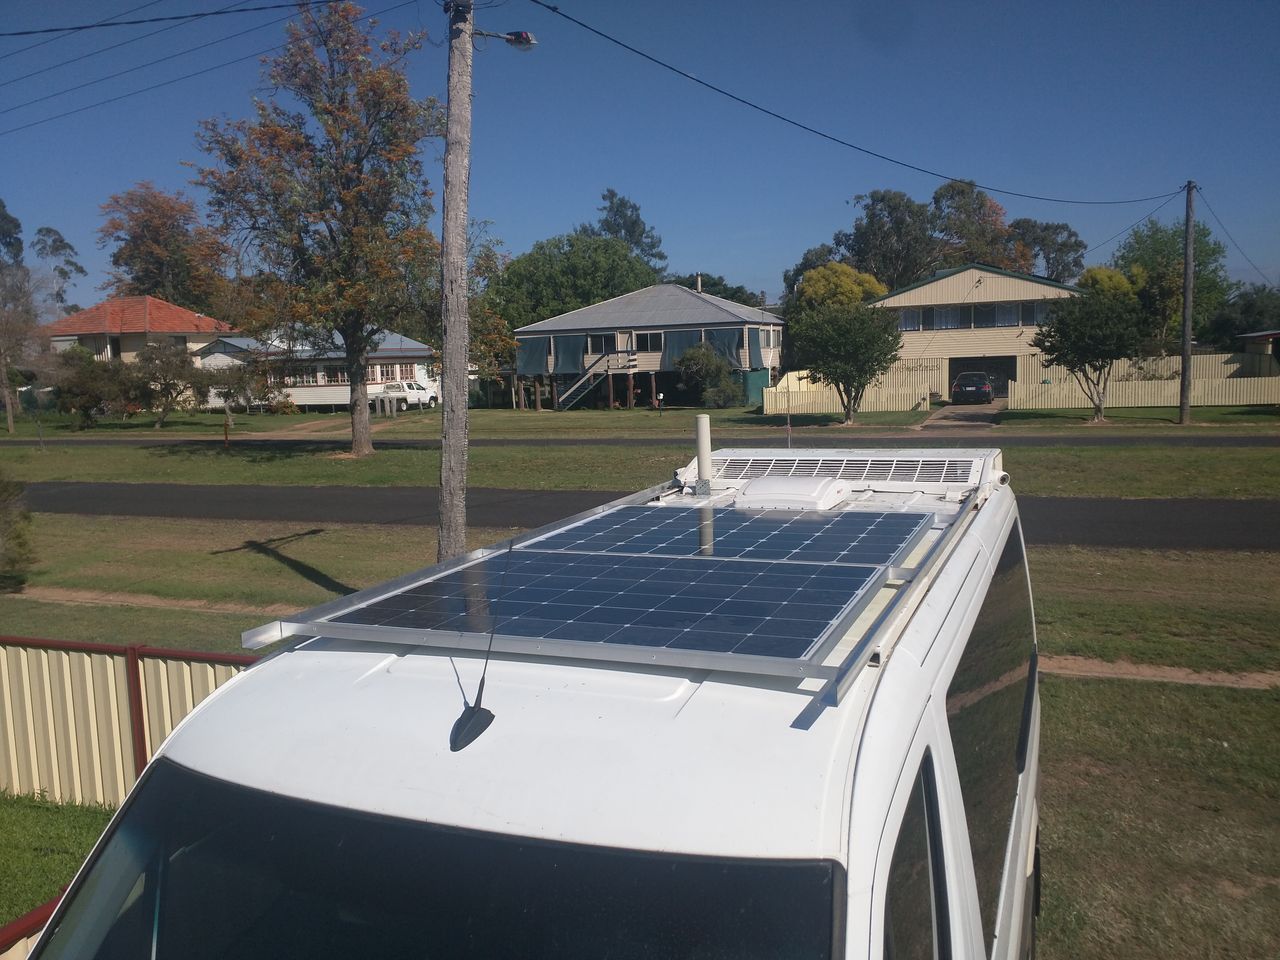
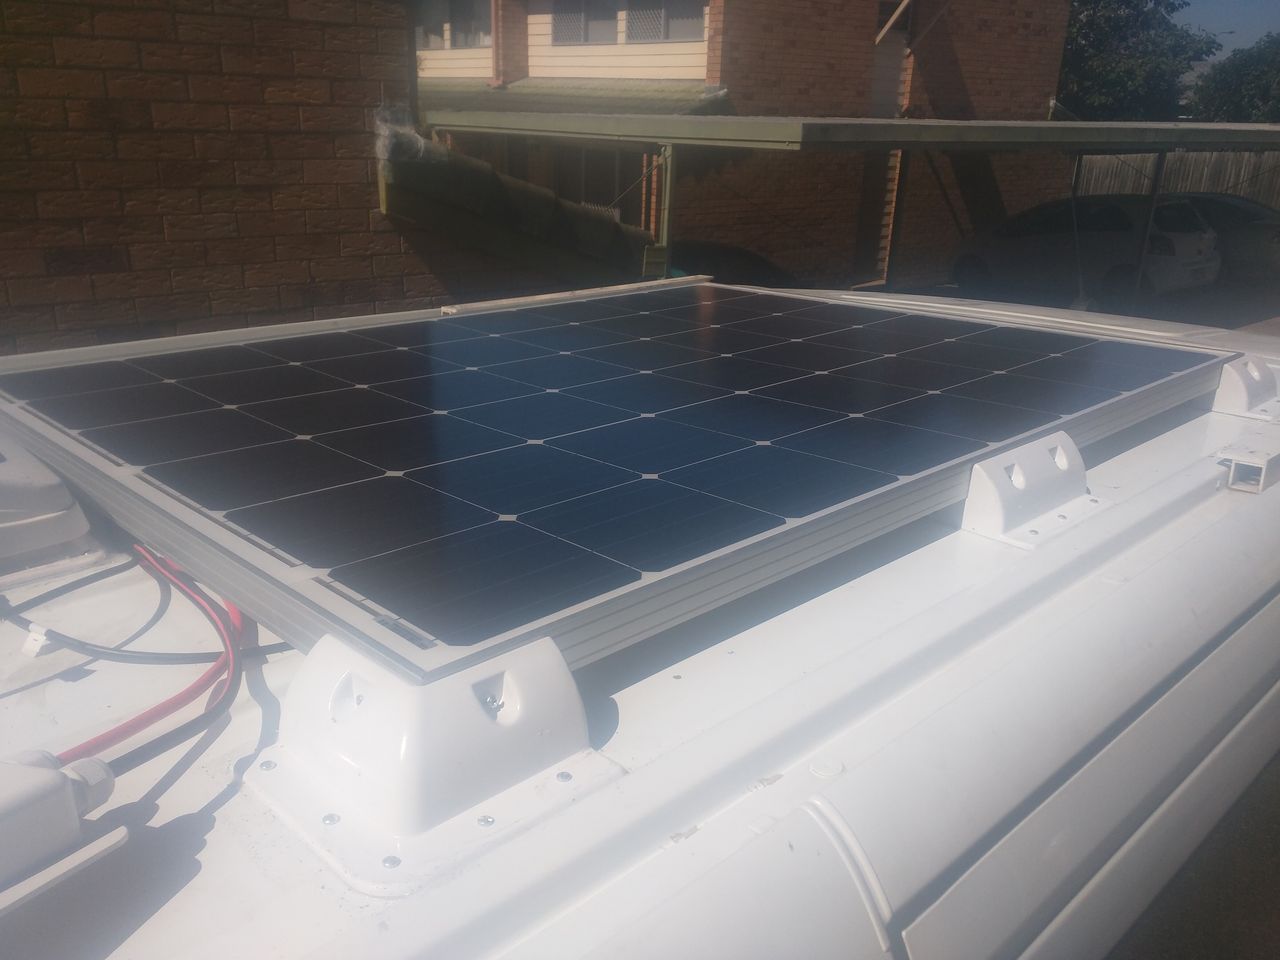
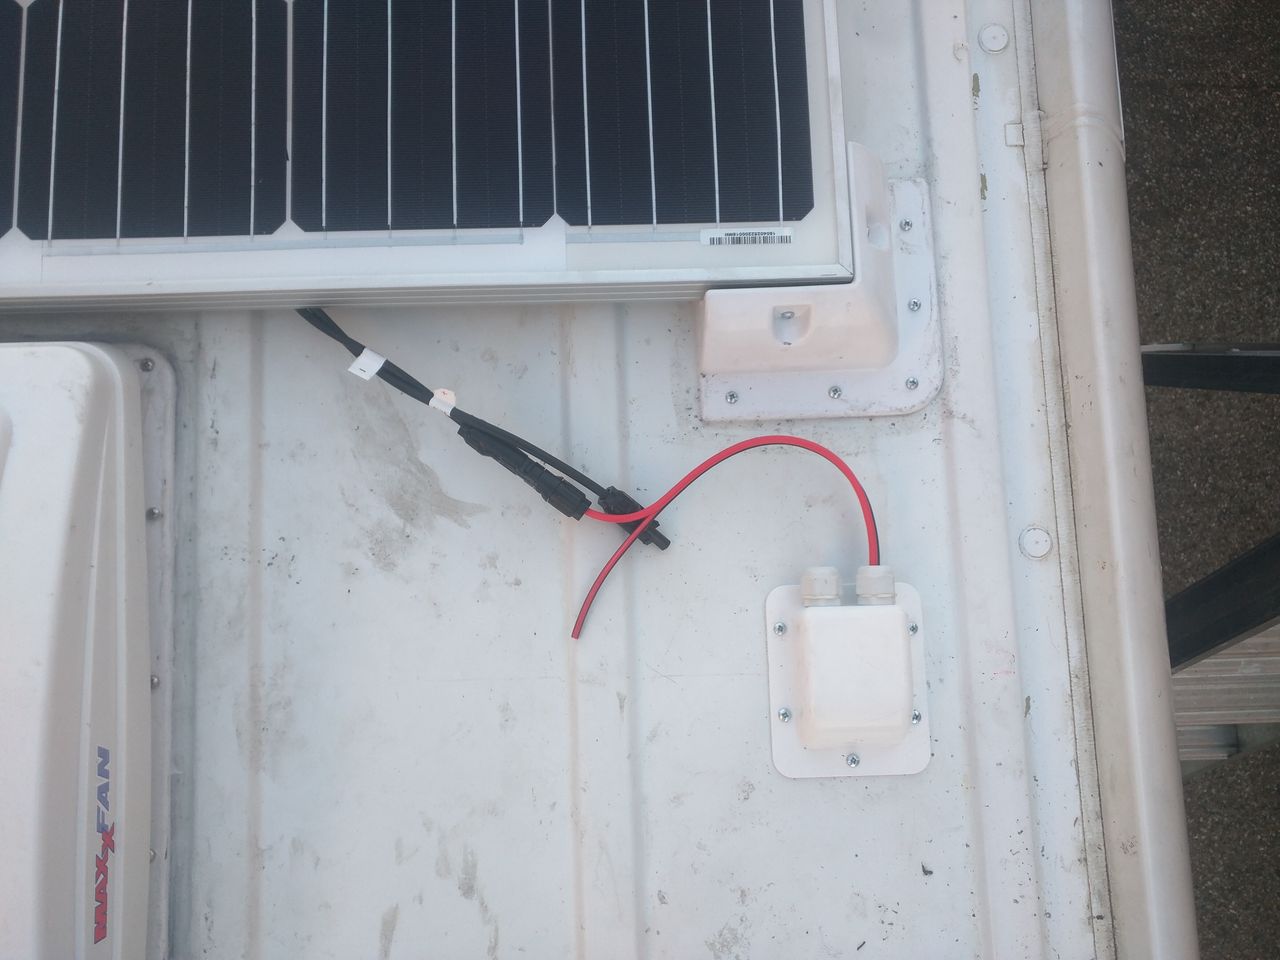
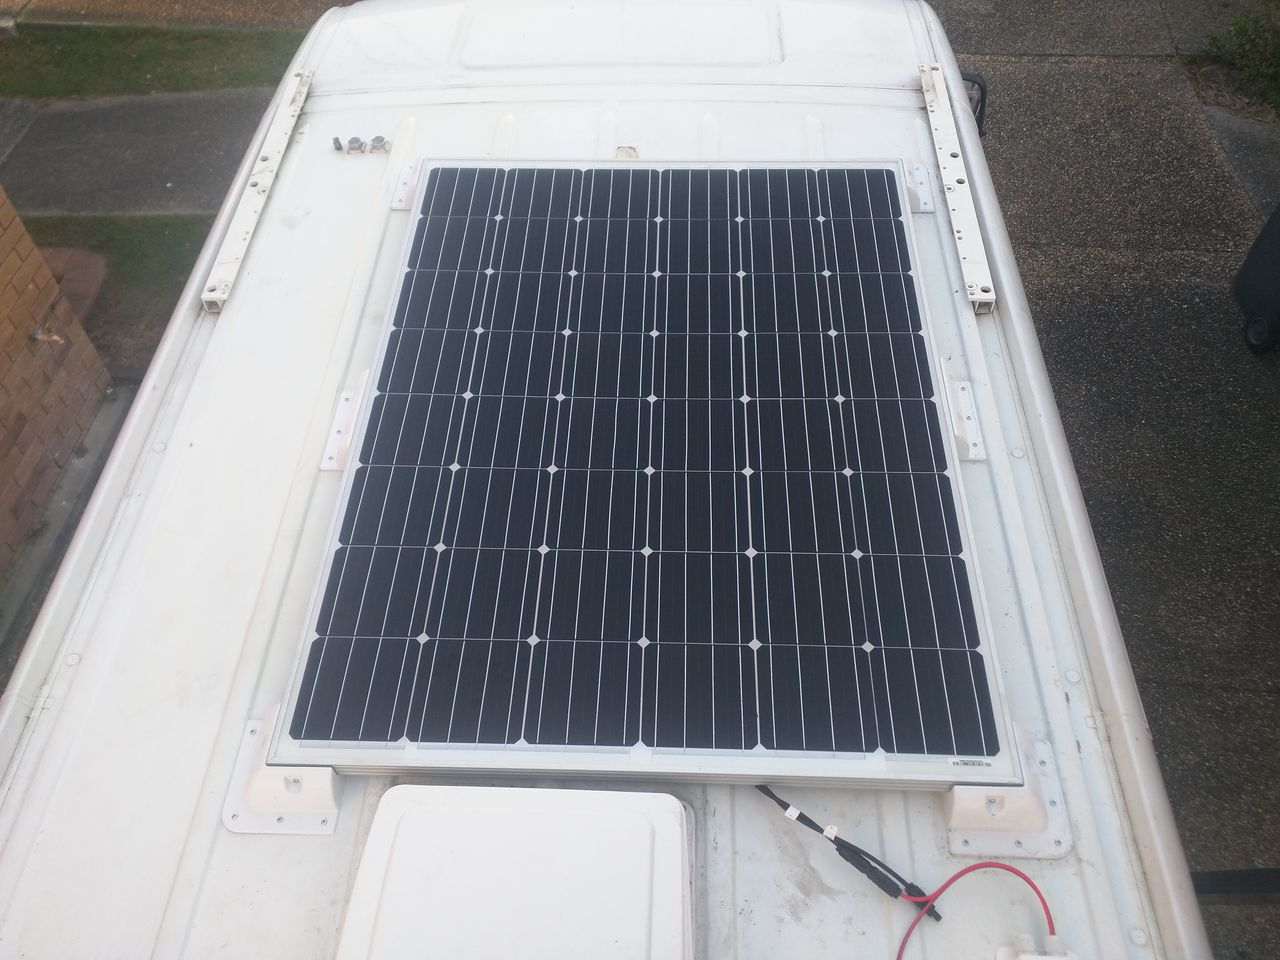
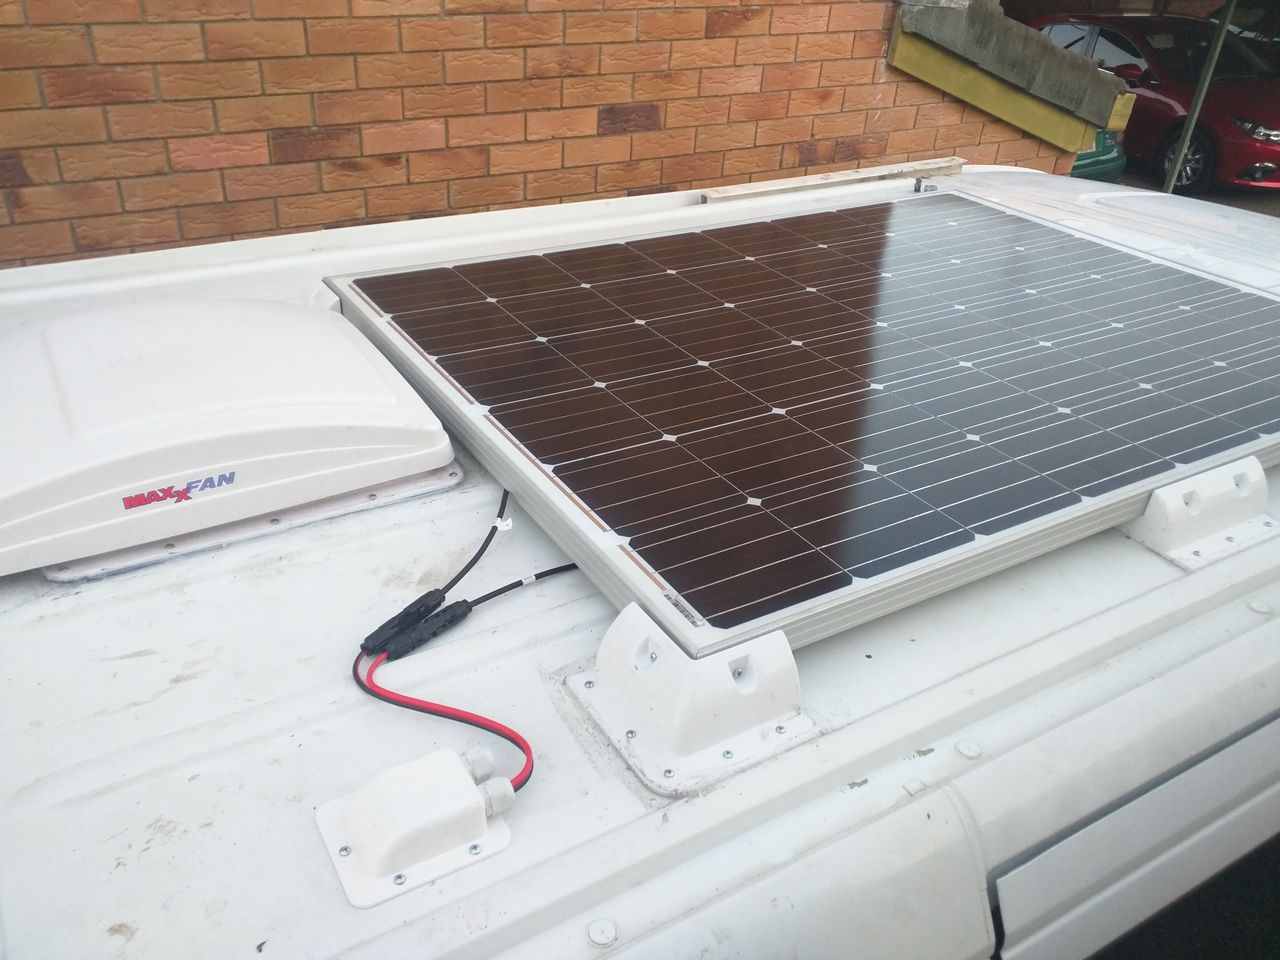
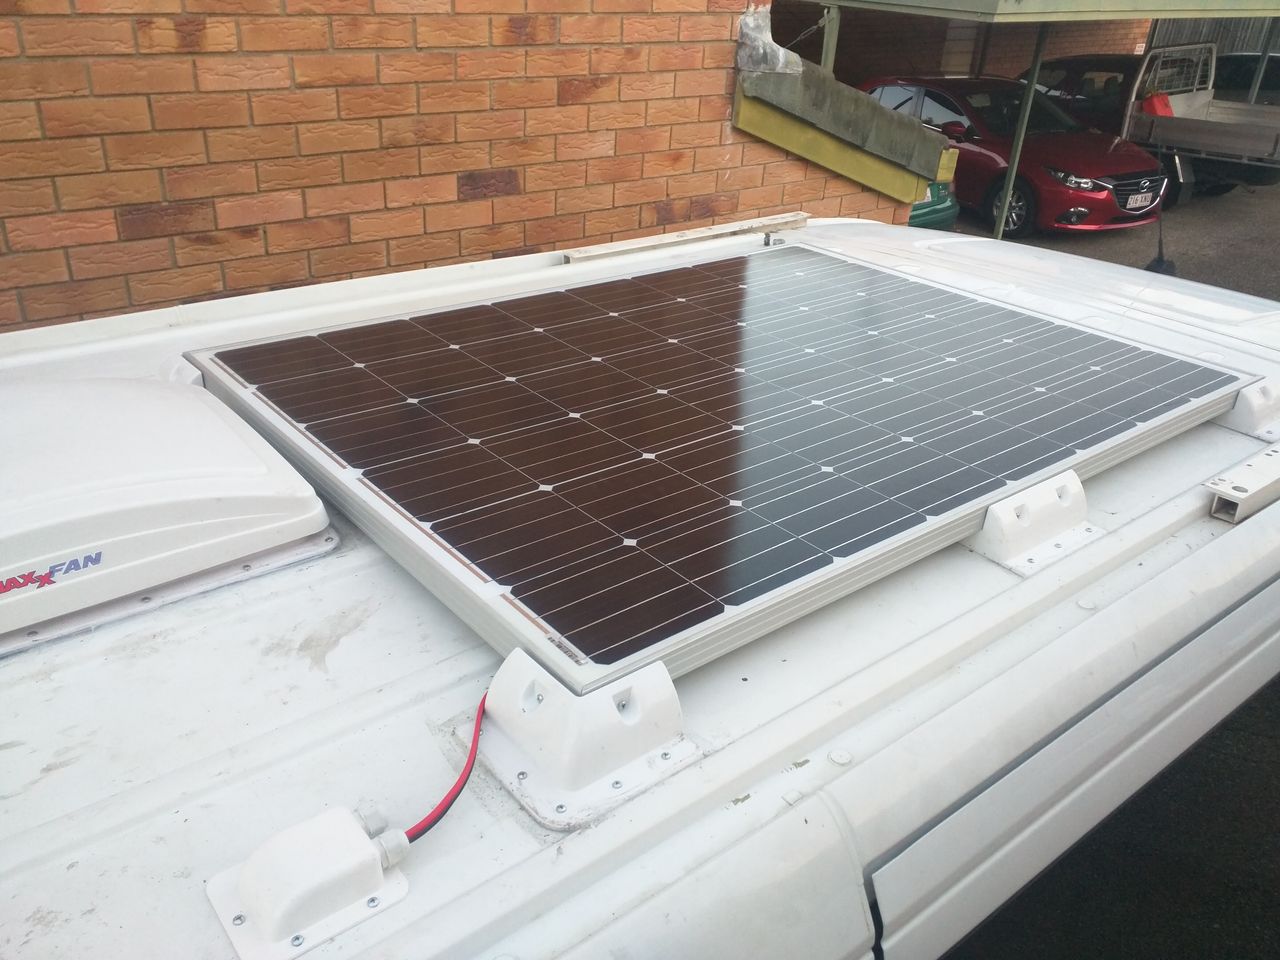
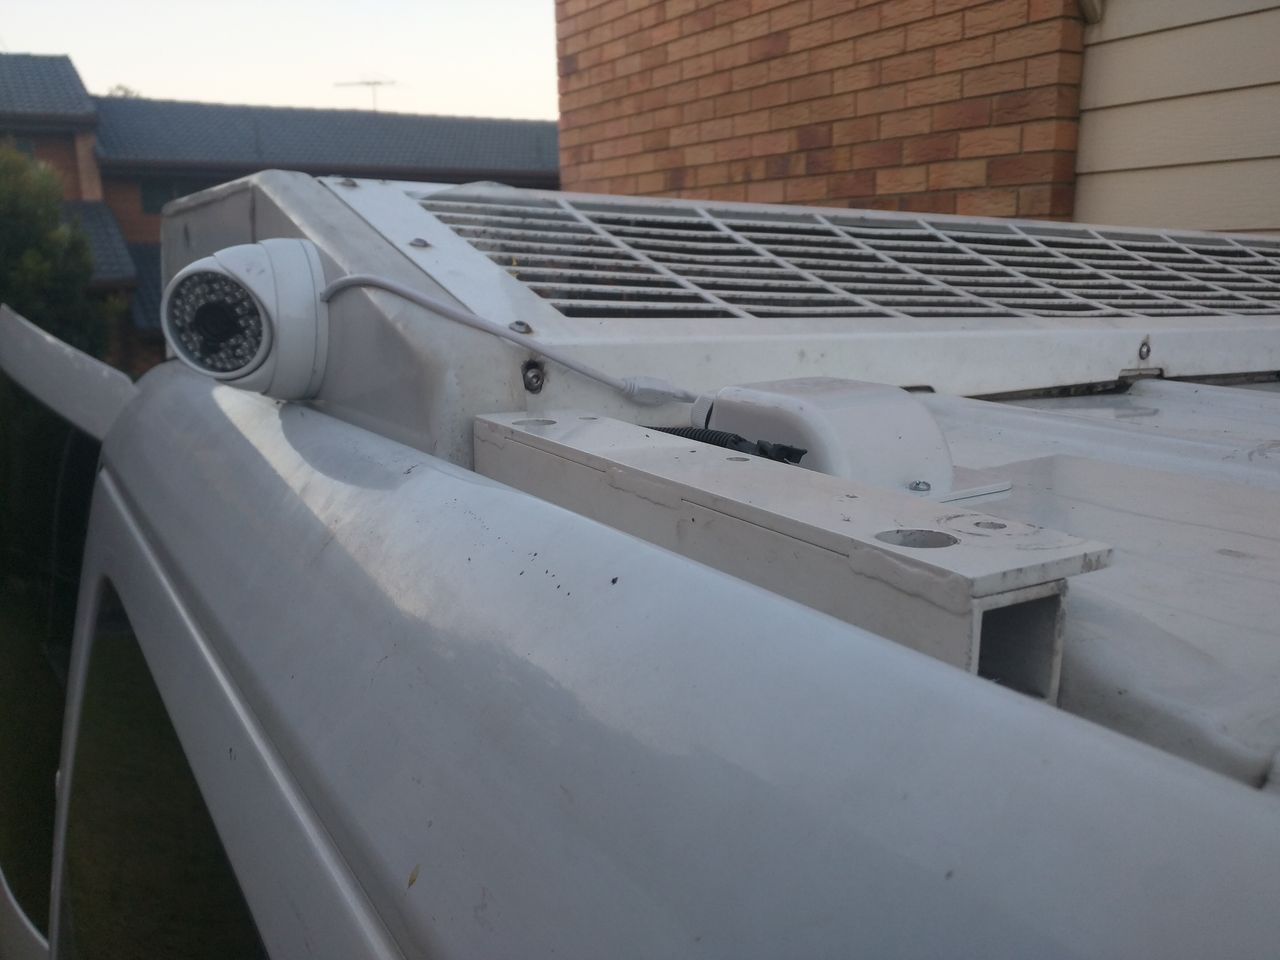
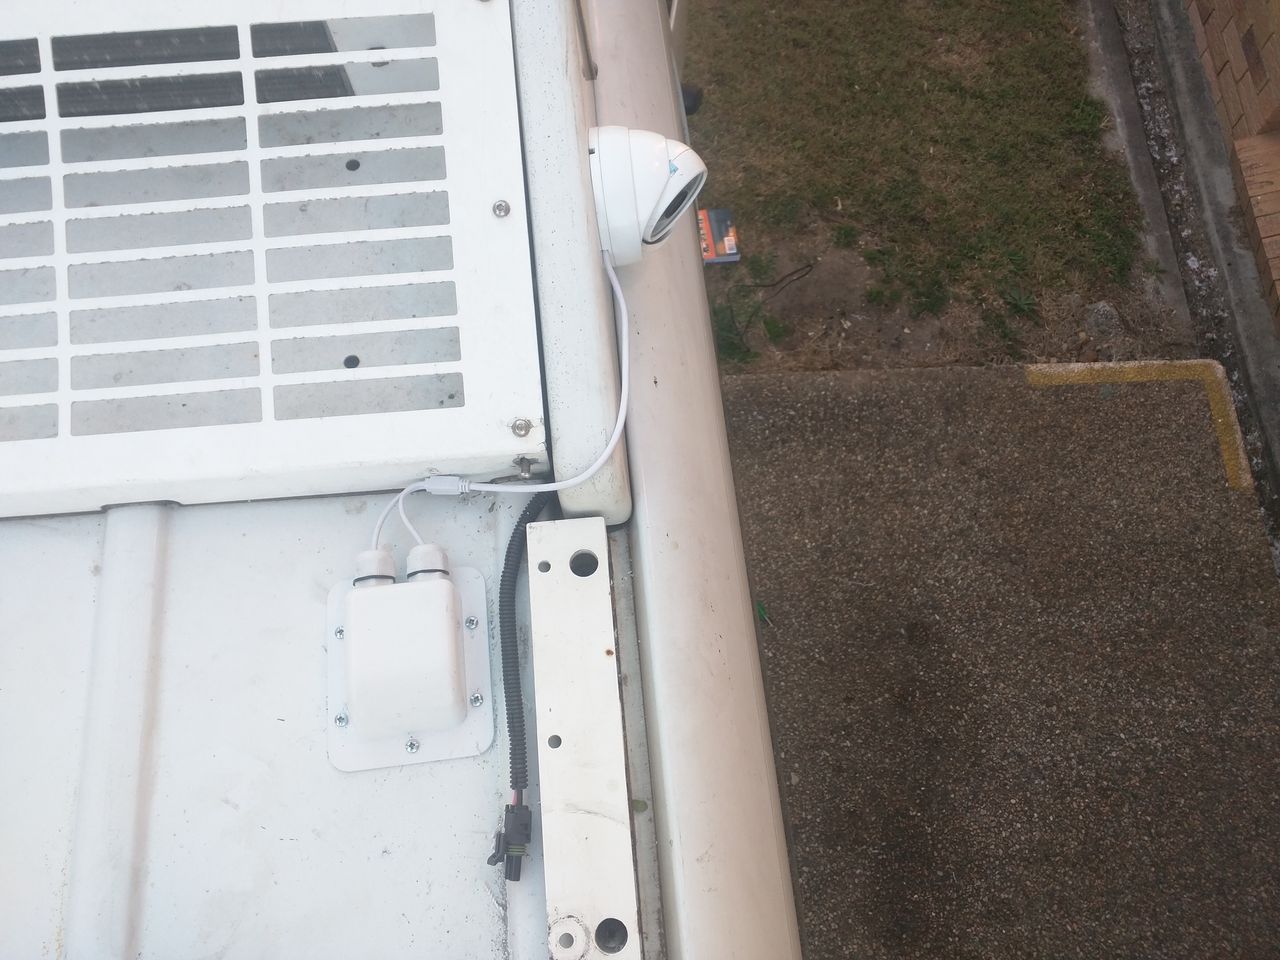
Stage 4 - Solar Panel and CCTV
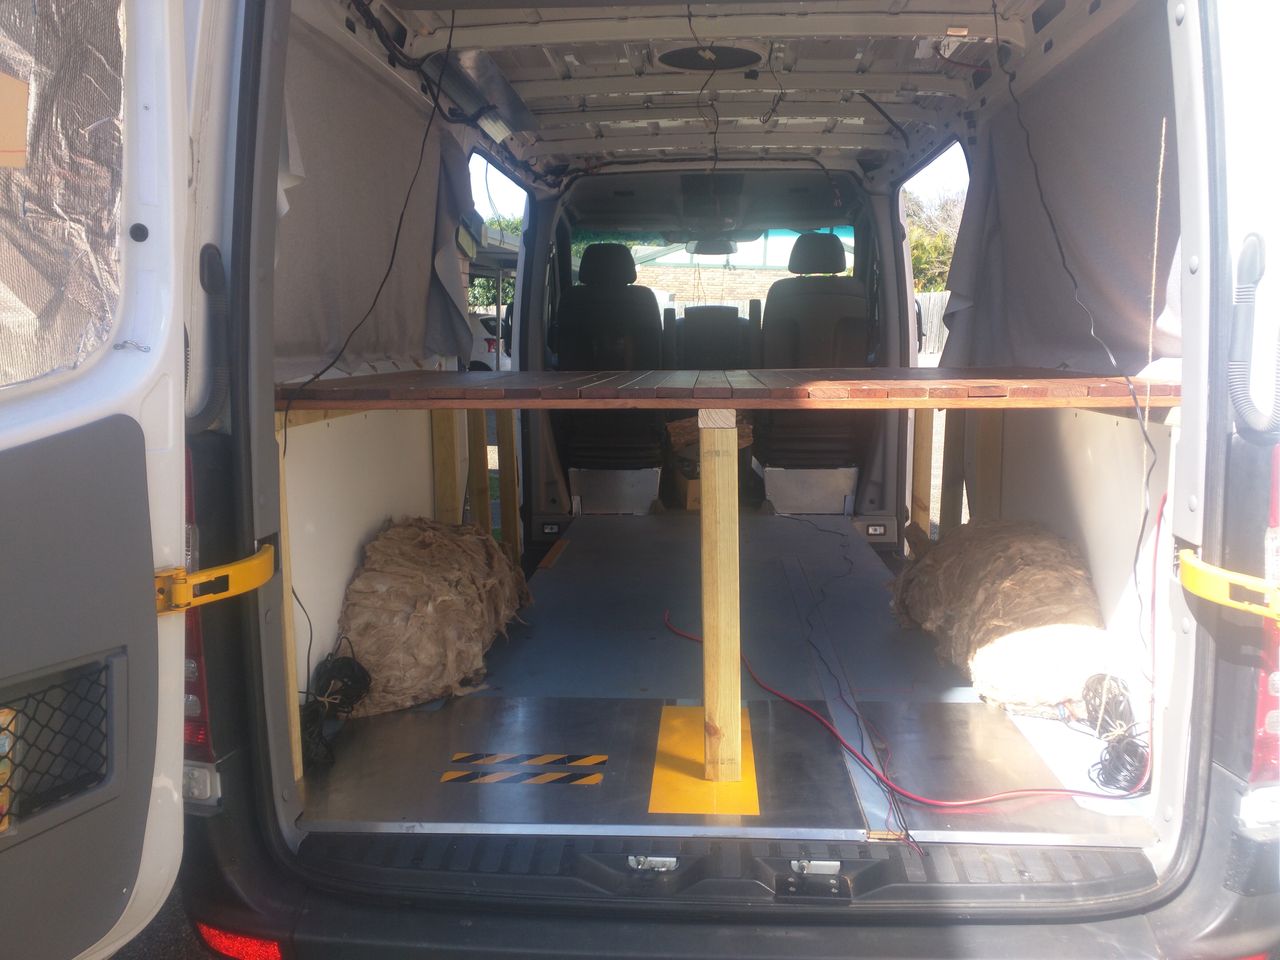
Stage 5 - Building The Bed


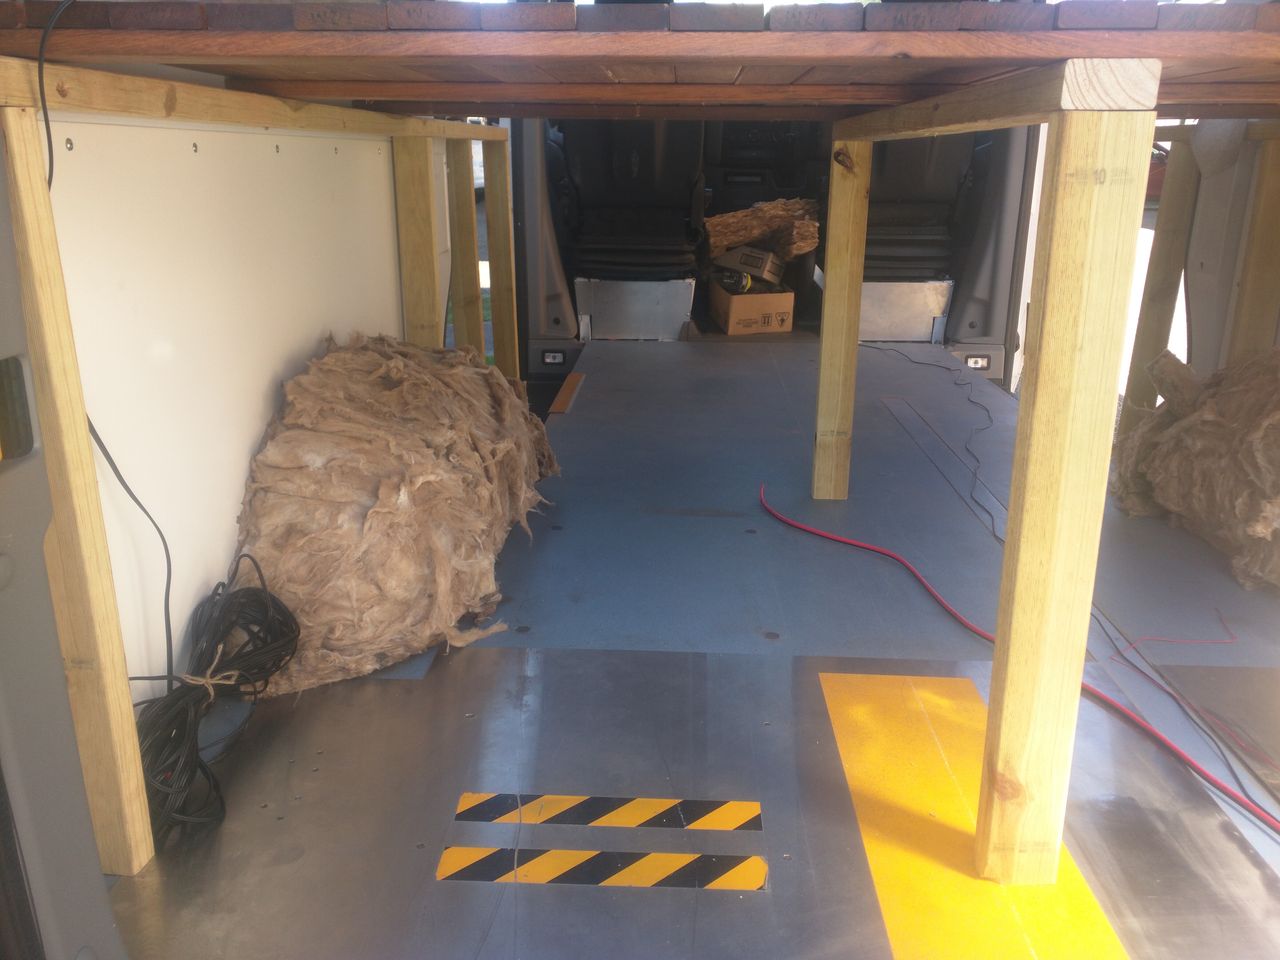
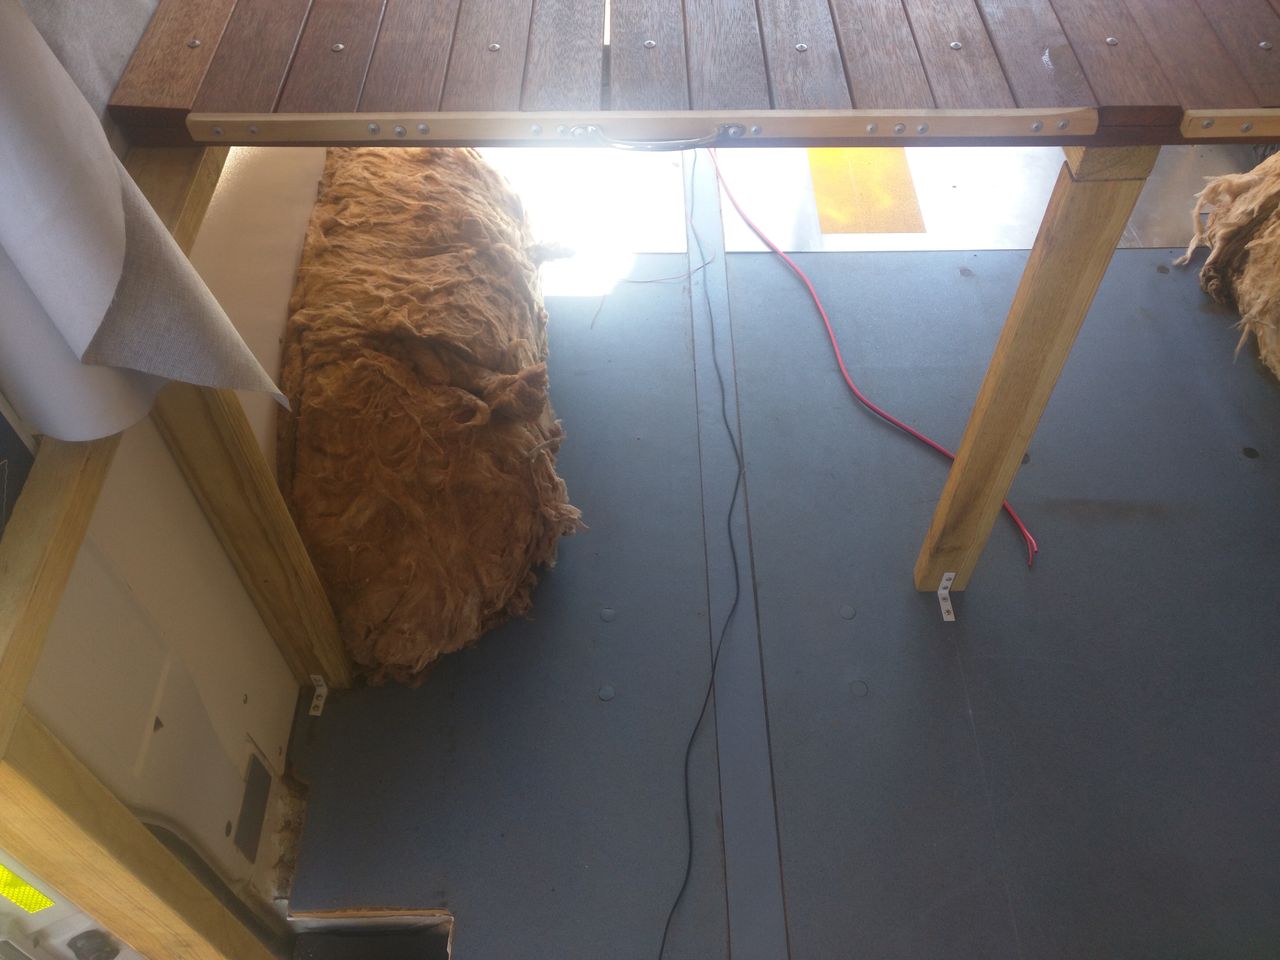

Plenty of storage under the bed
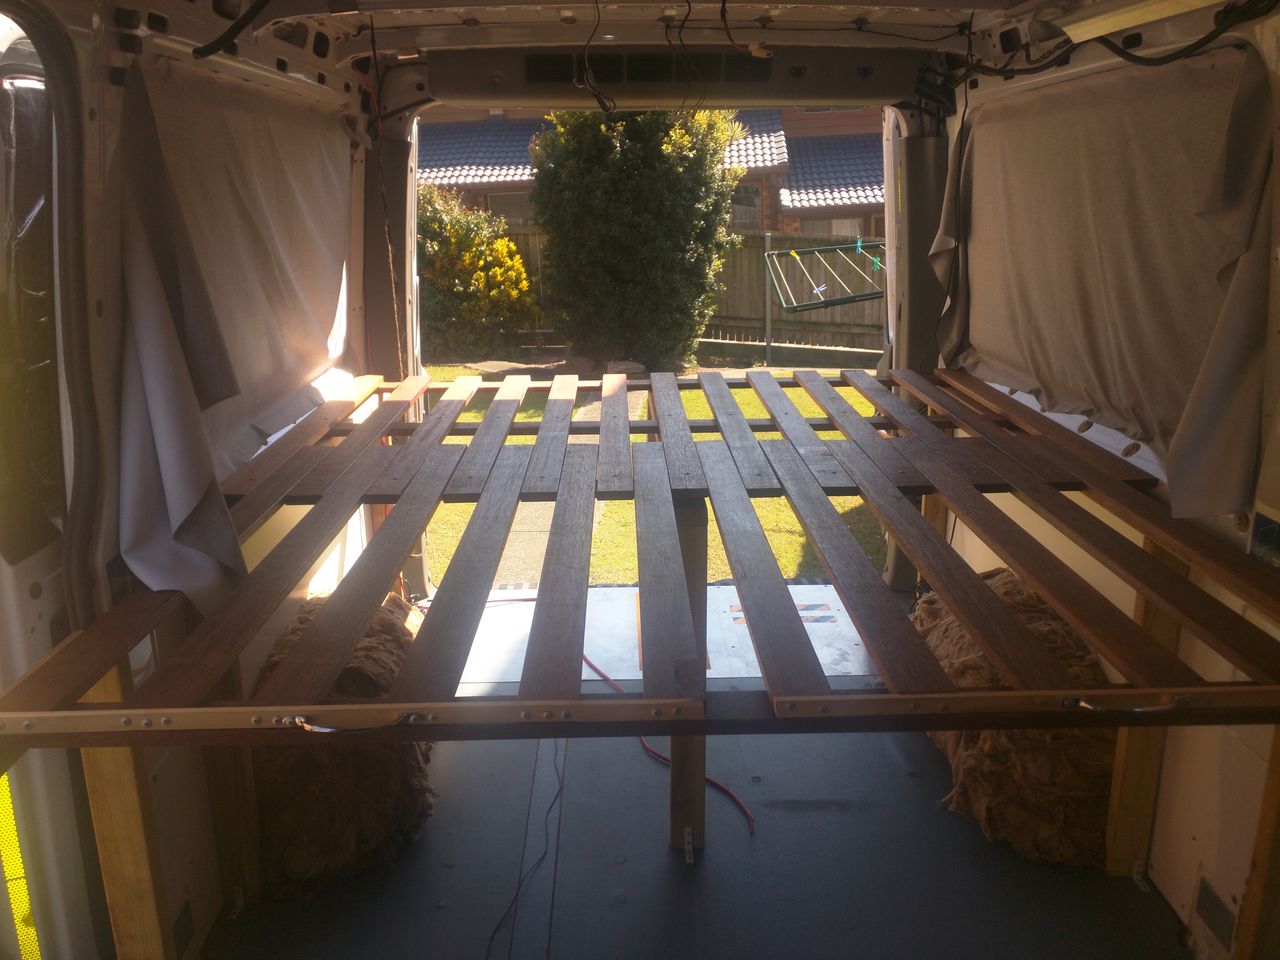
Bed Extended is wider then queen size bed and same length

Bed Not Extended Can Sleep Sideways
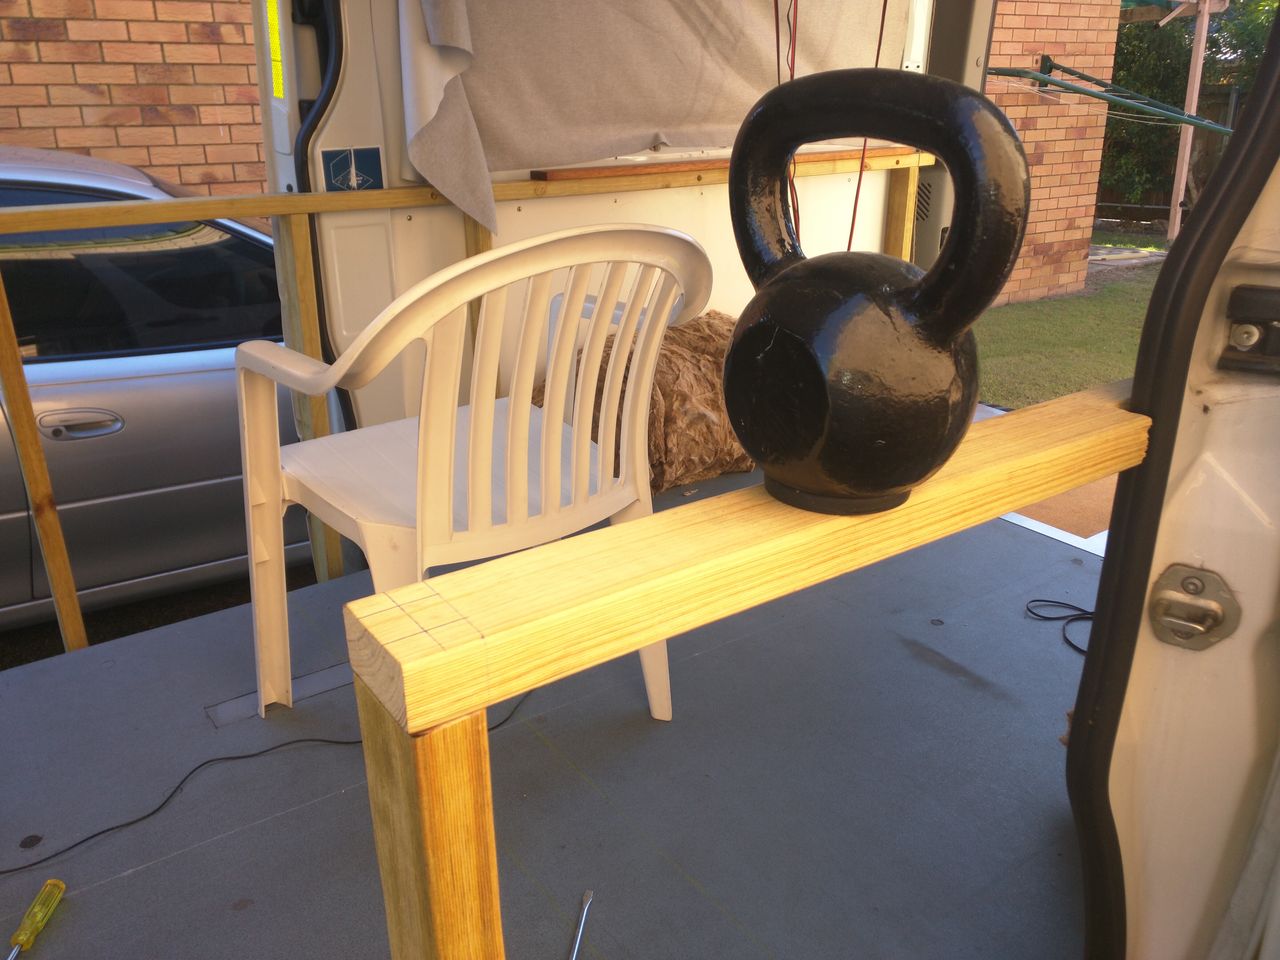
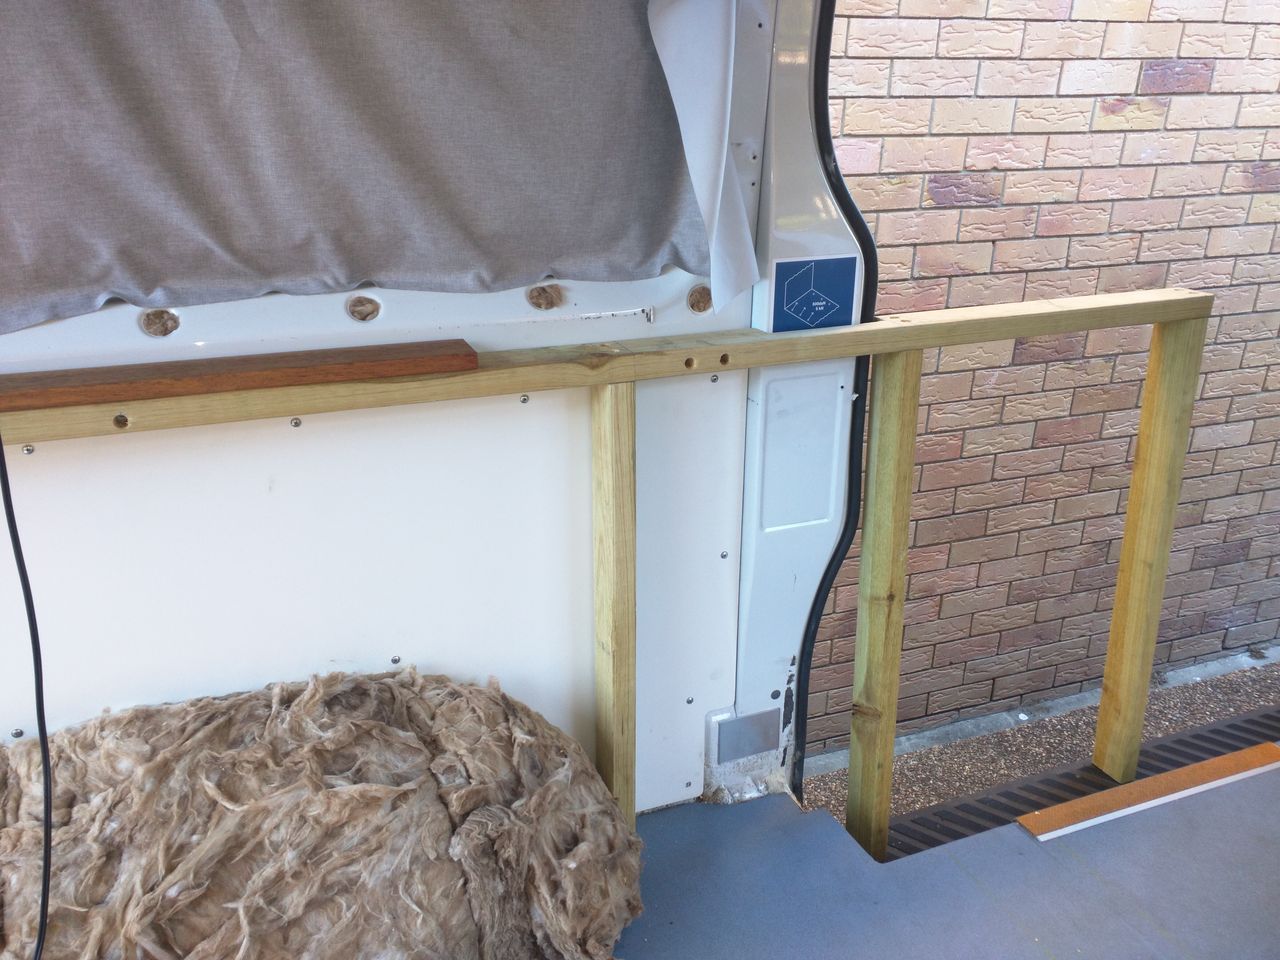
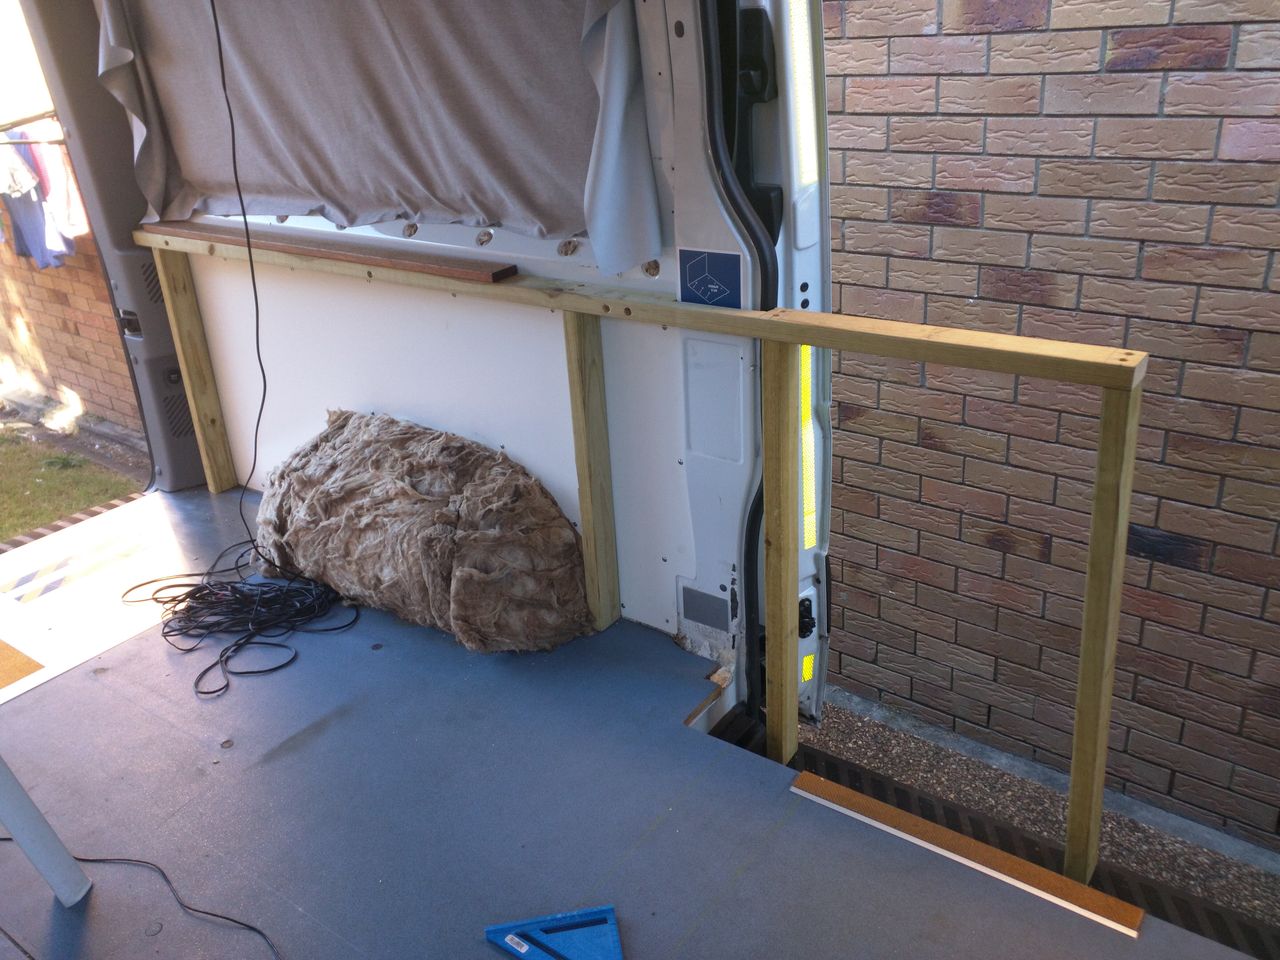
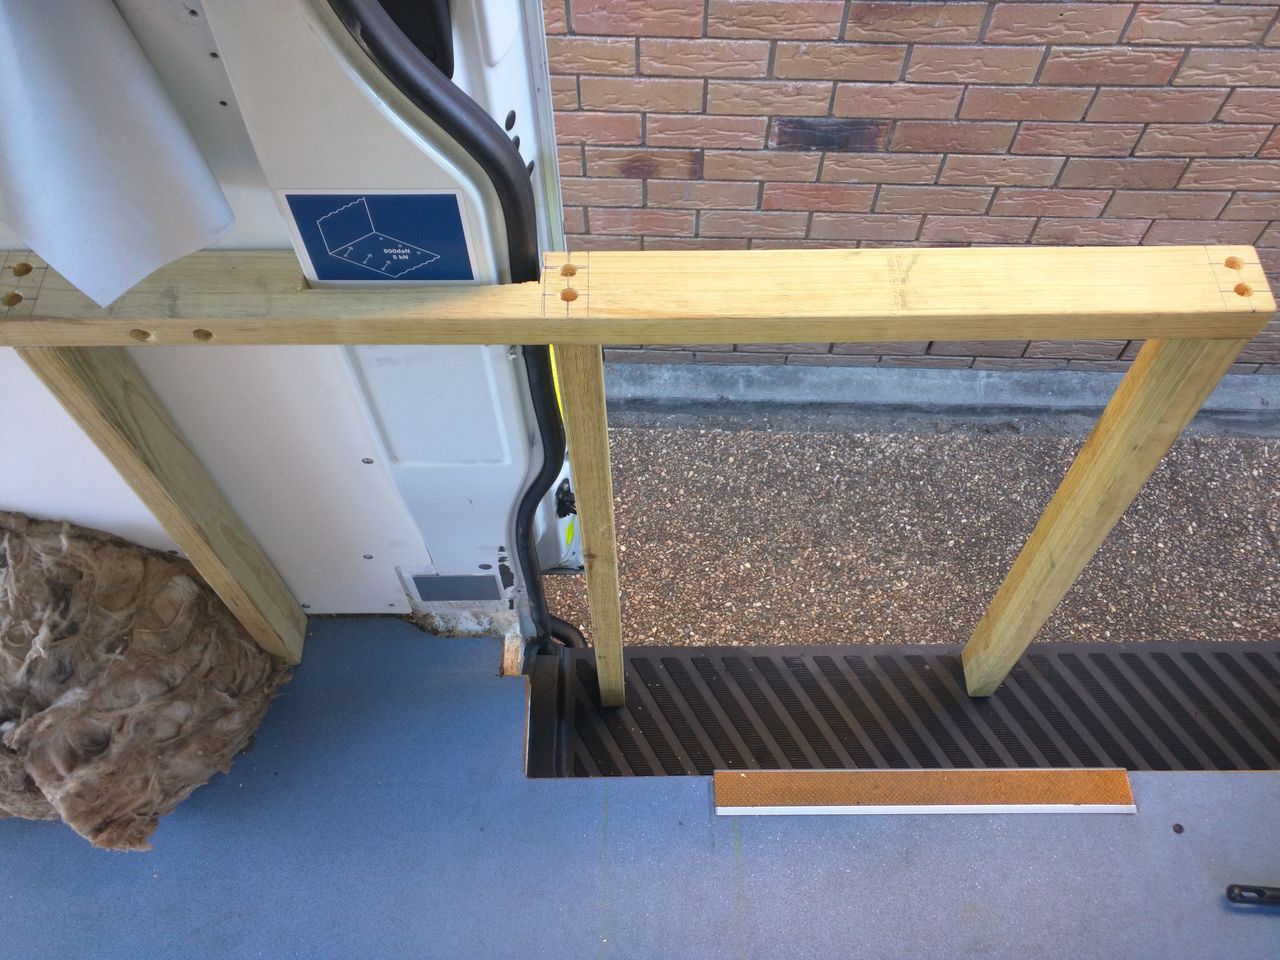
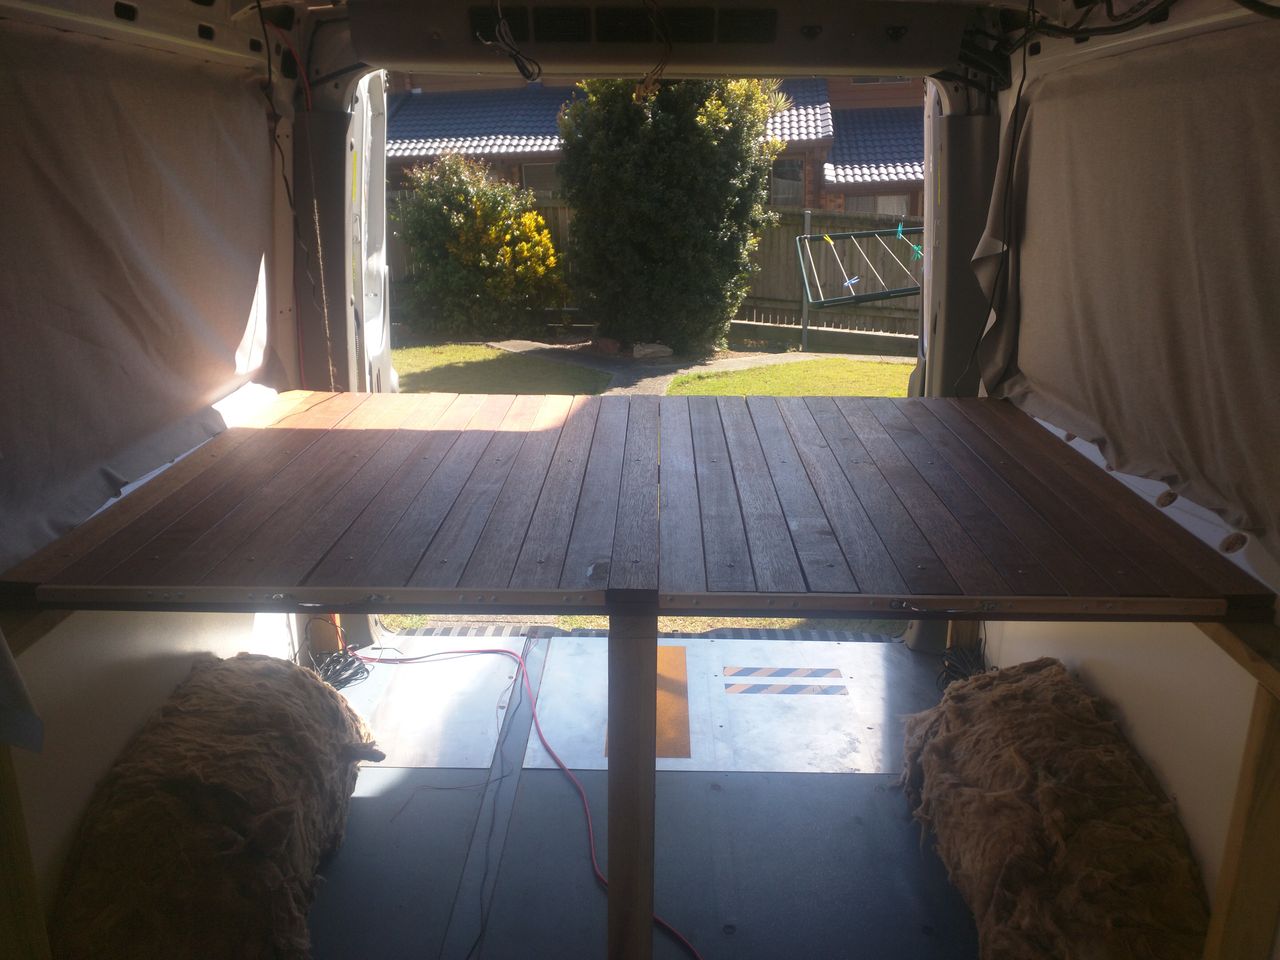
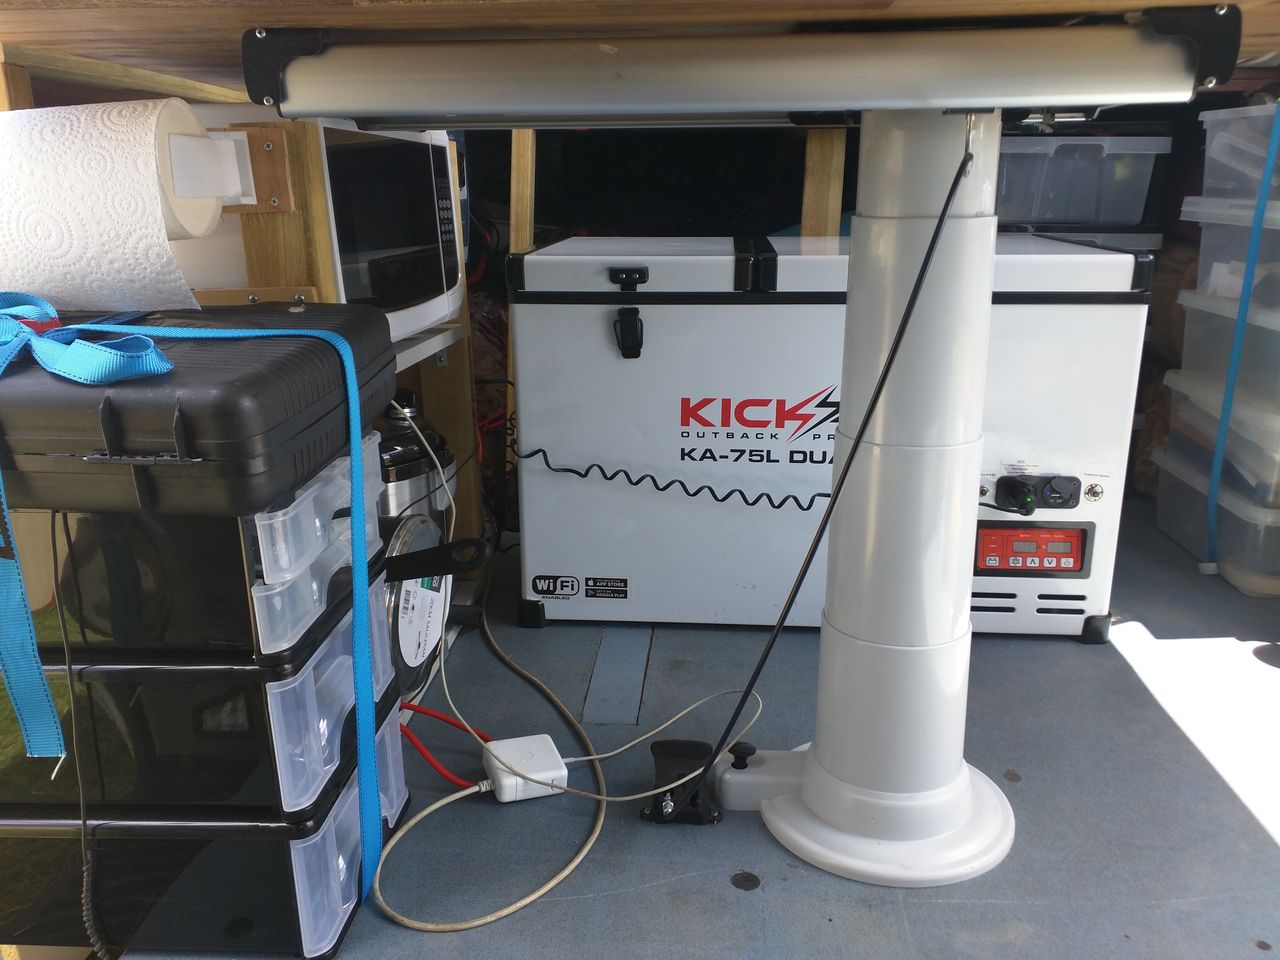
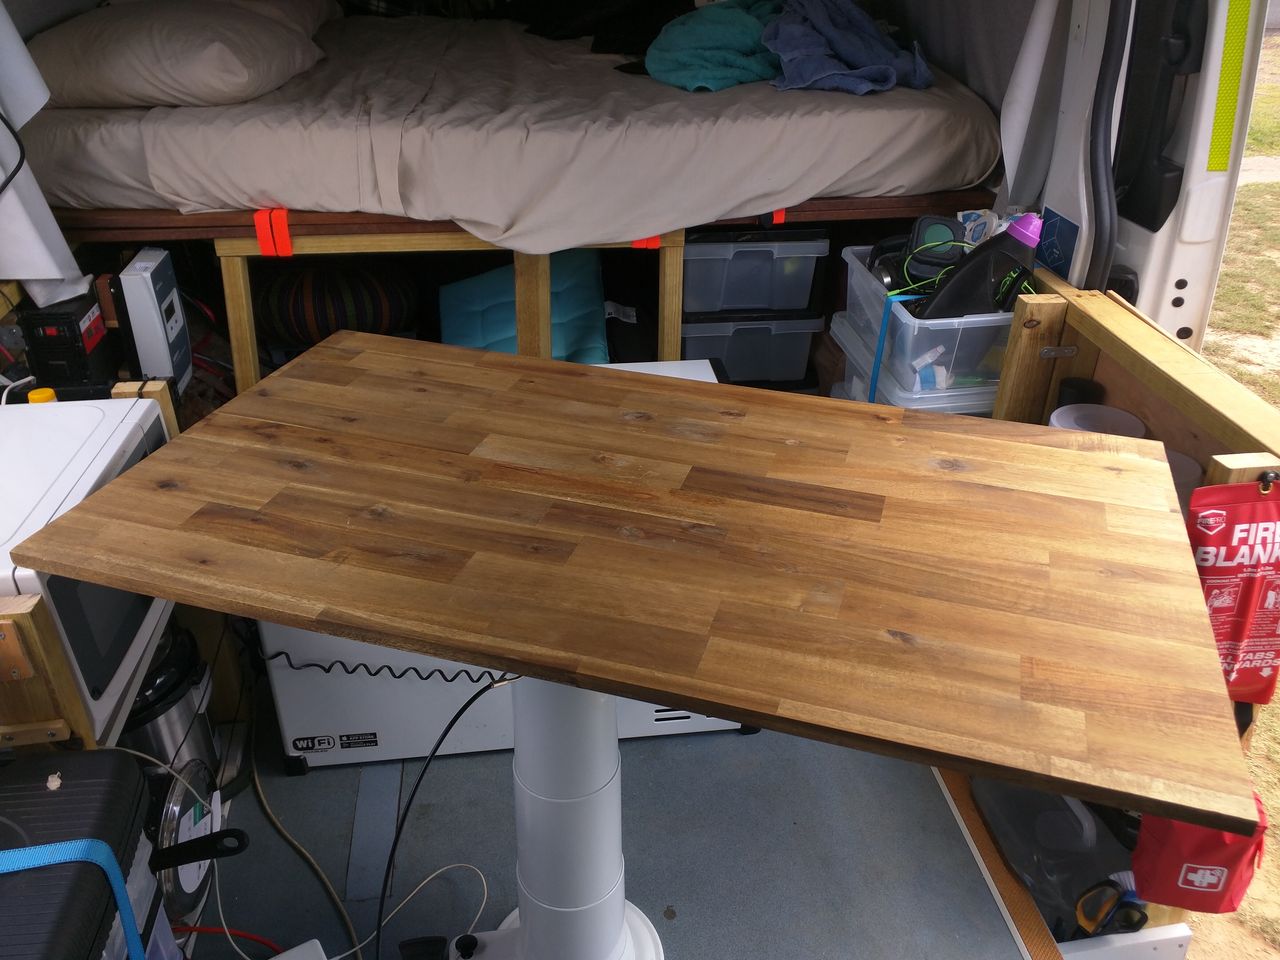
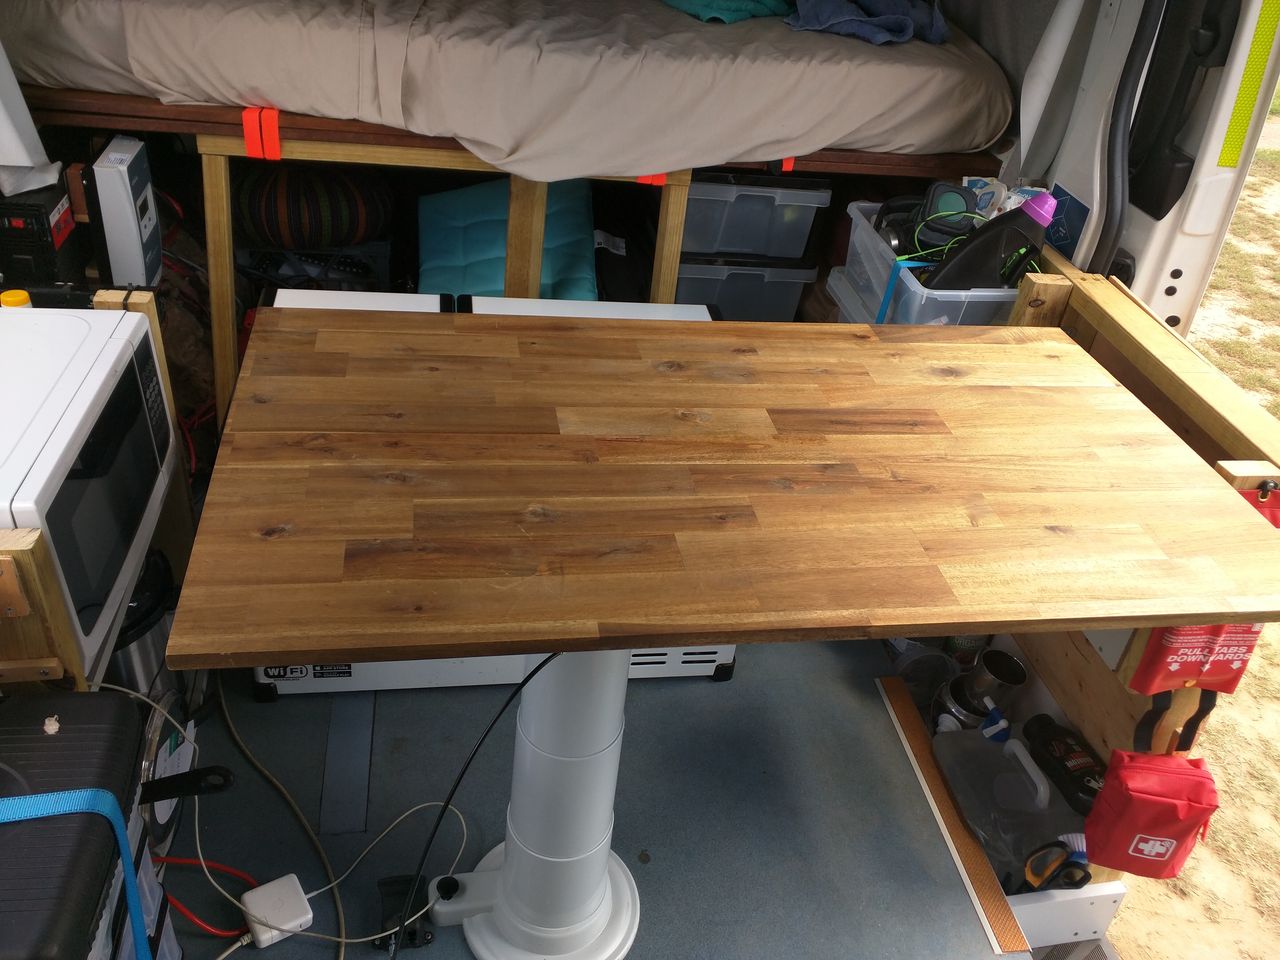
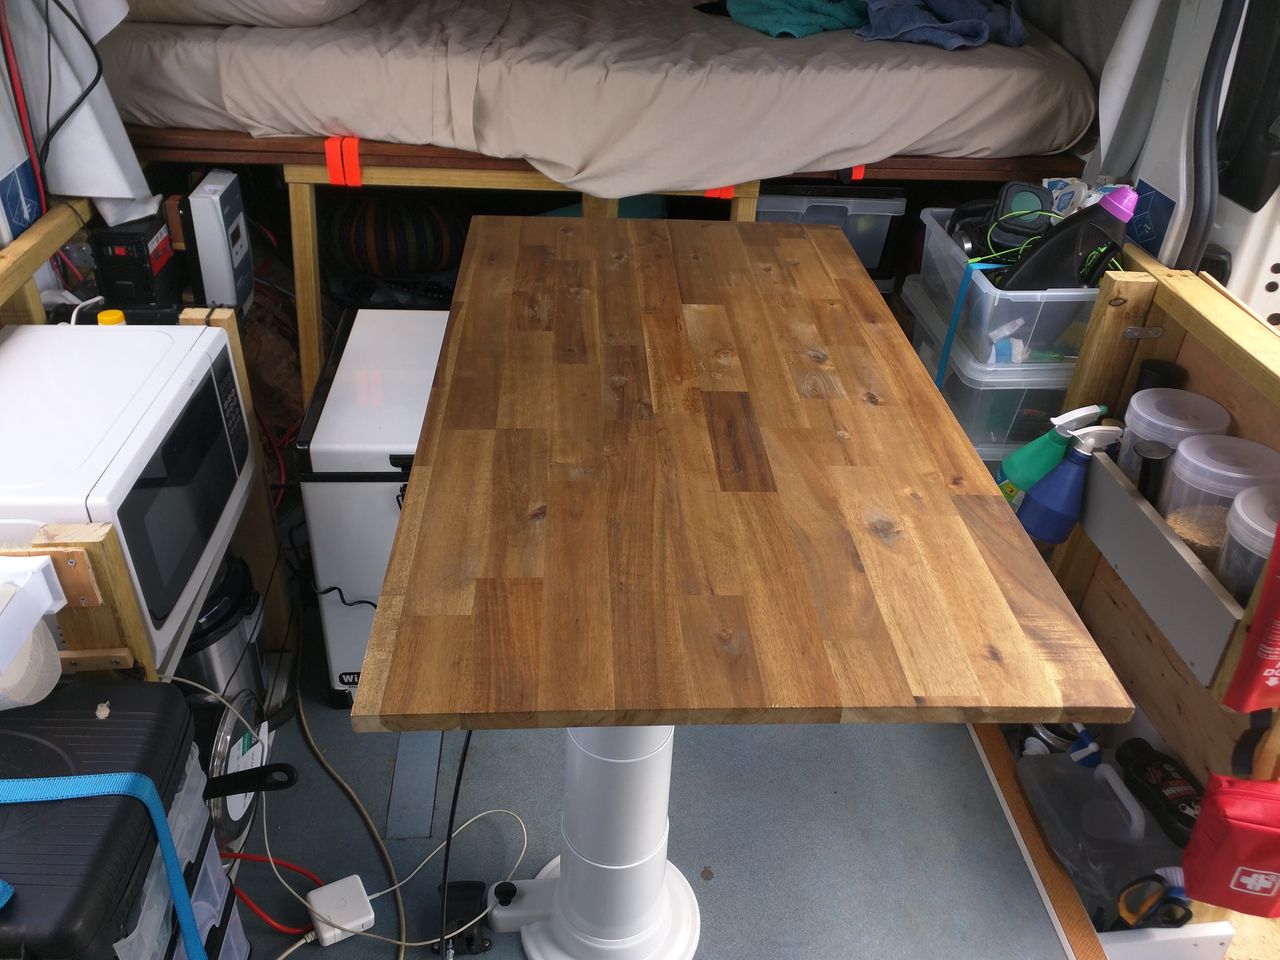
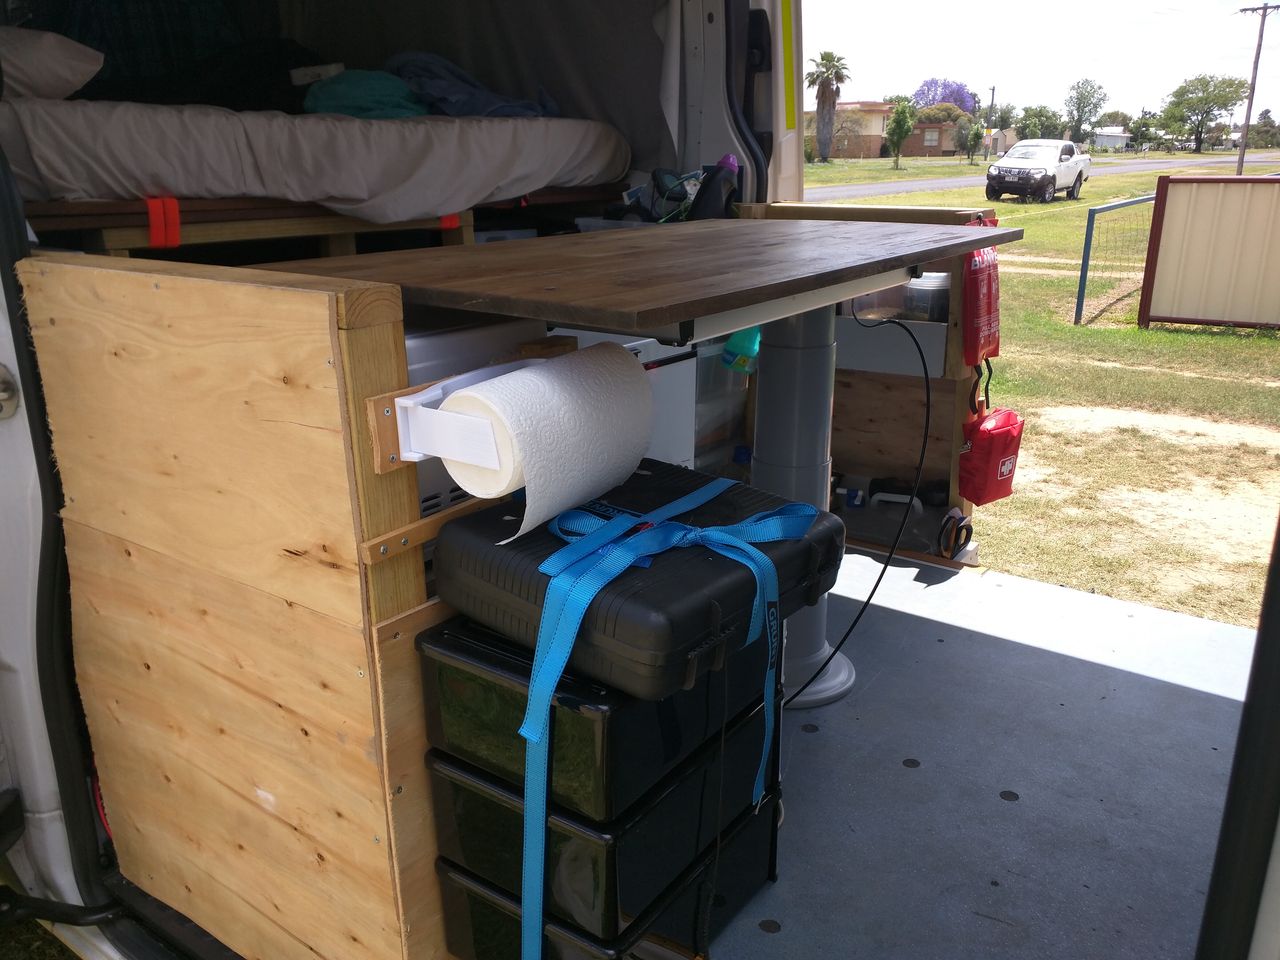
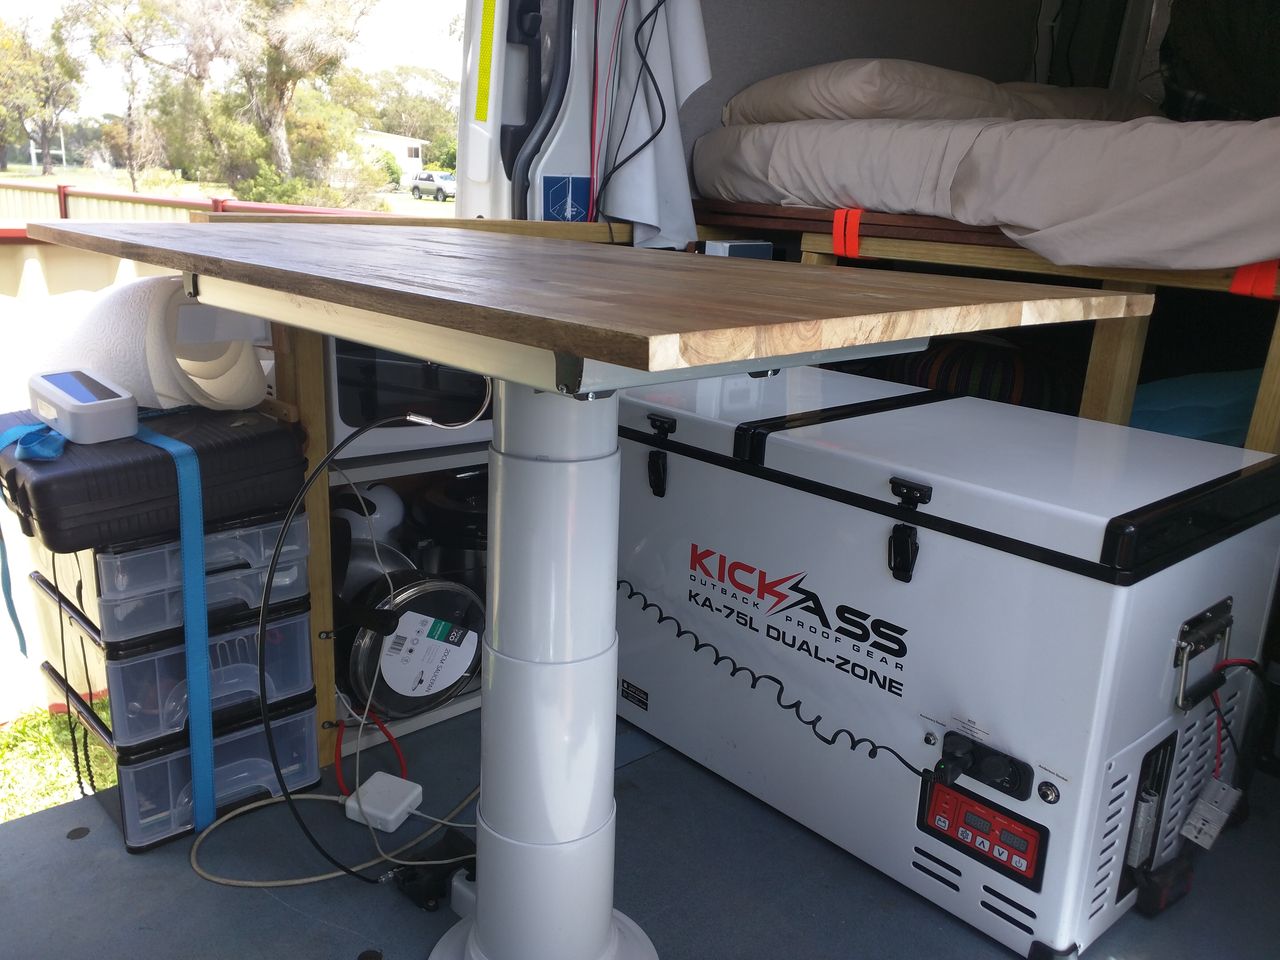
Stage 6 - Table, fridge, microwave etc
I wanted to be able to have a nice work area to use the computer so I have a large part of the remaining living space with the table. I did this because when I was still living in a house the main thing I did when not sleeping was working on the computer so my primary focus was a comfortable place to work on the computer and a comfortable place to sleep.
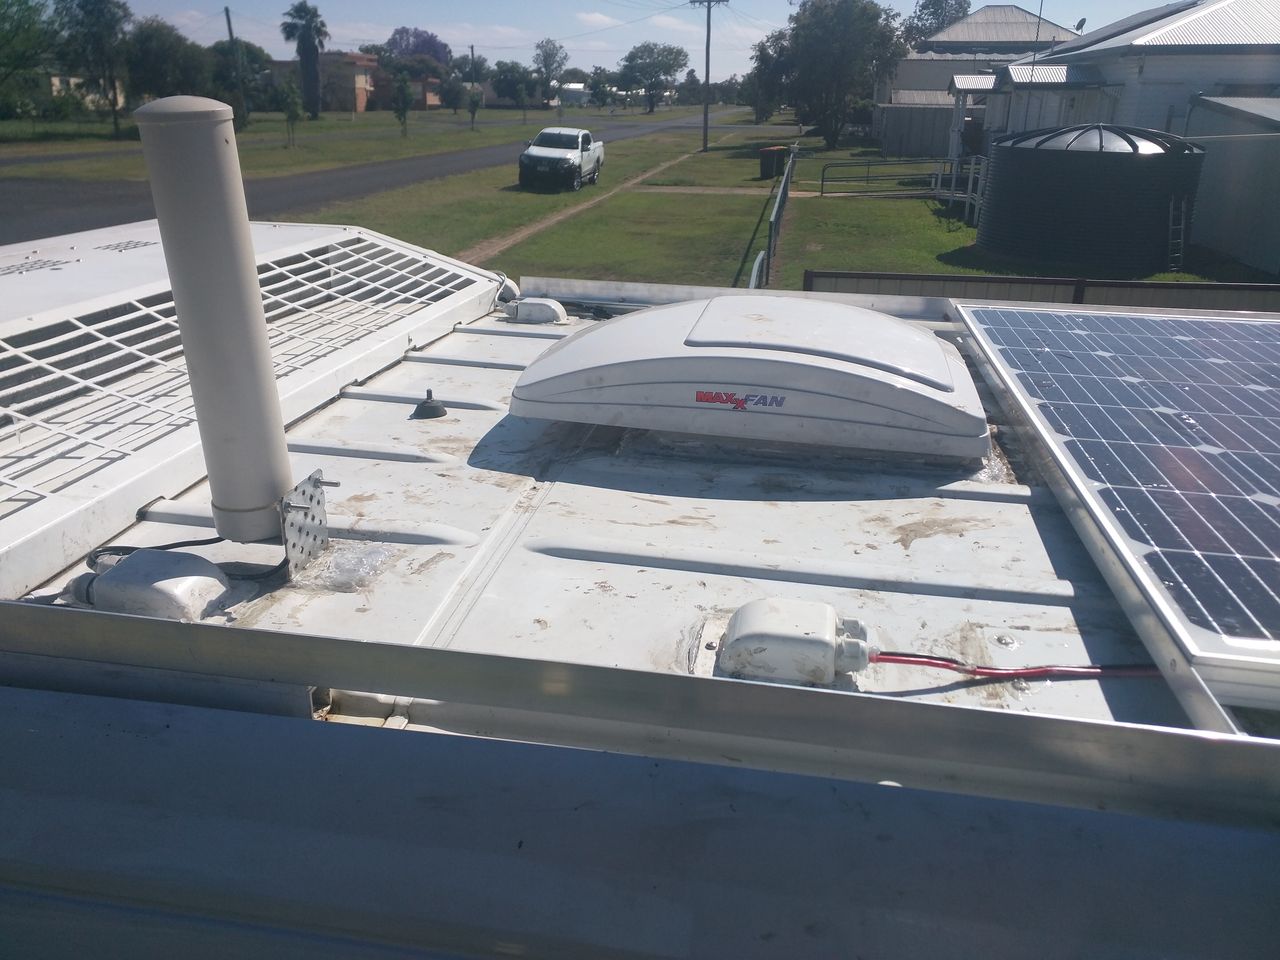
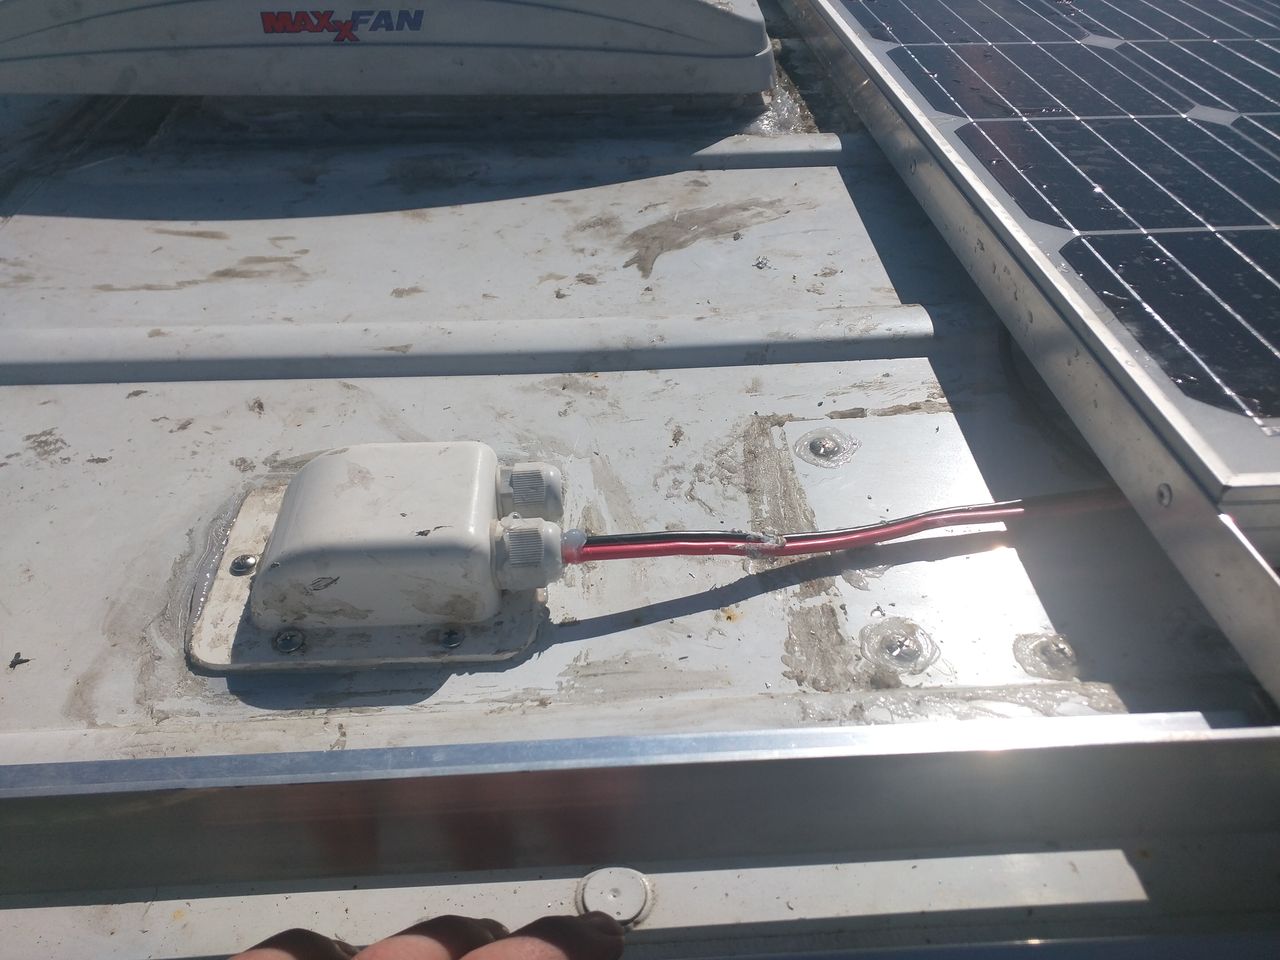
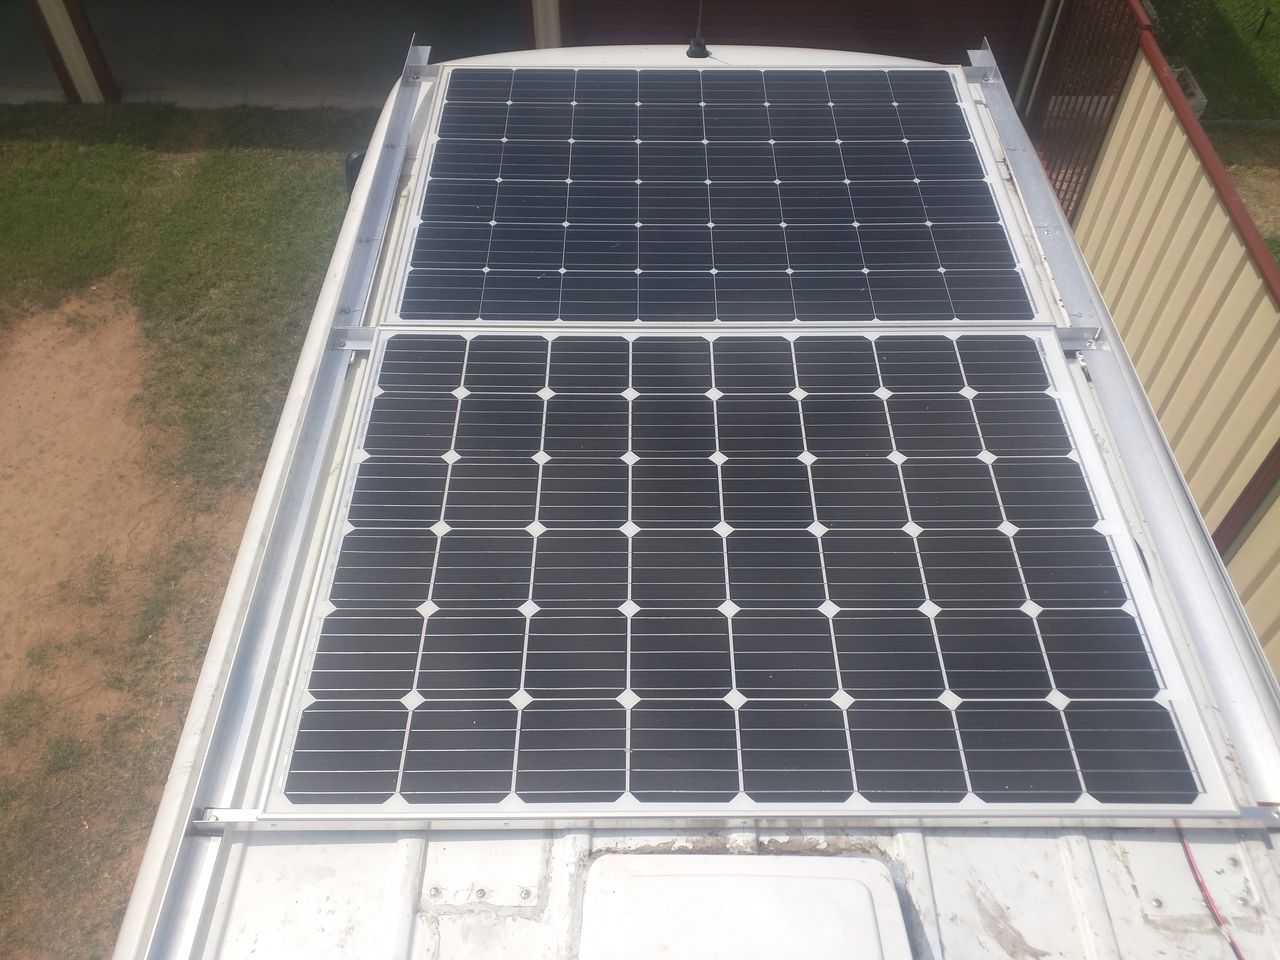
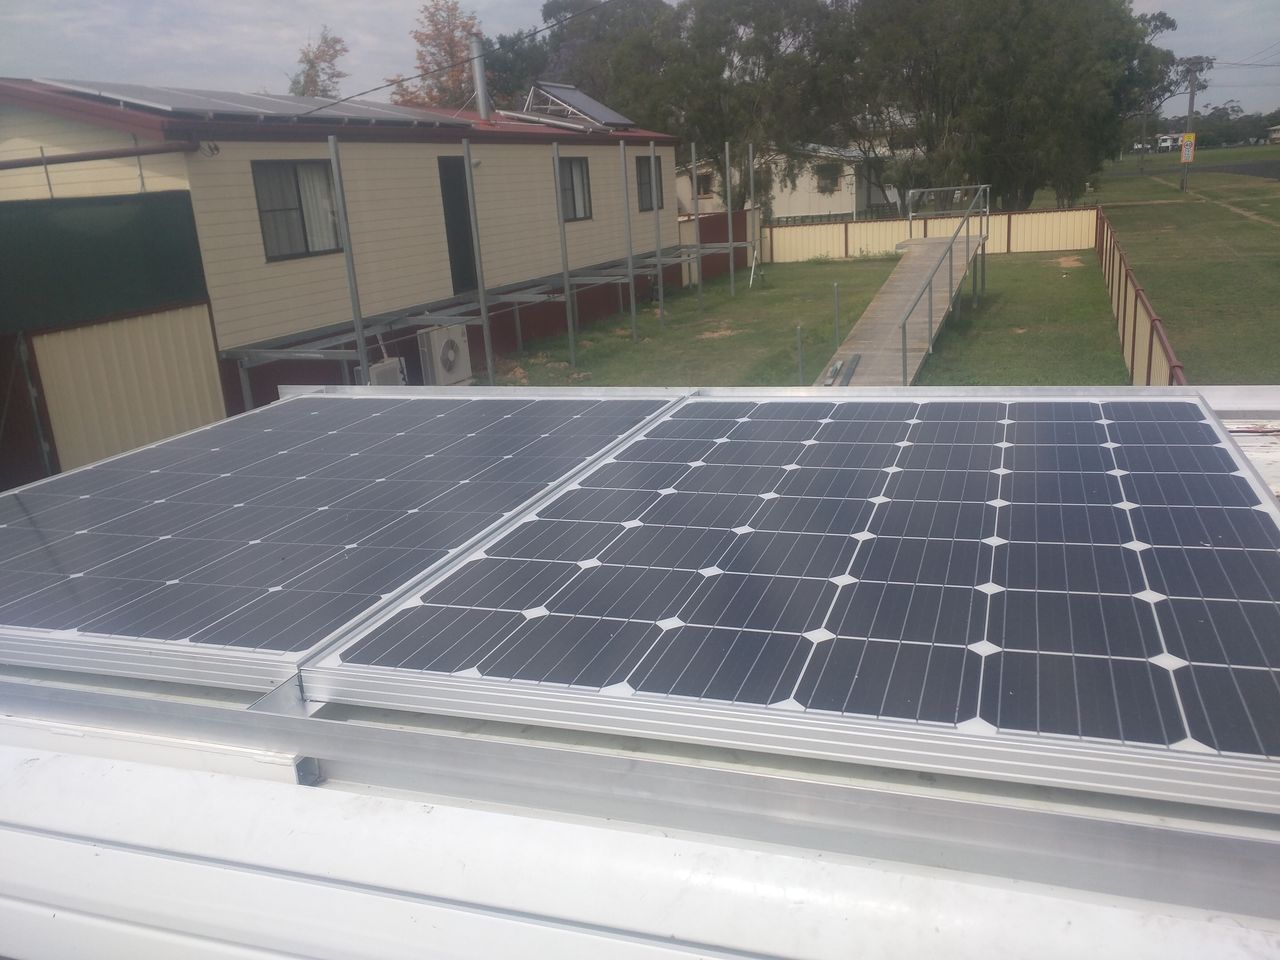
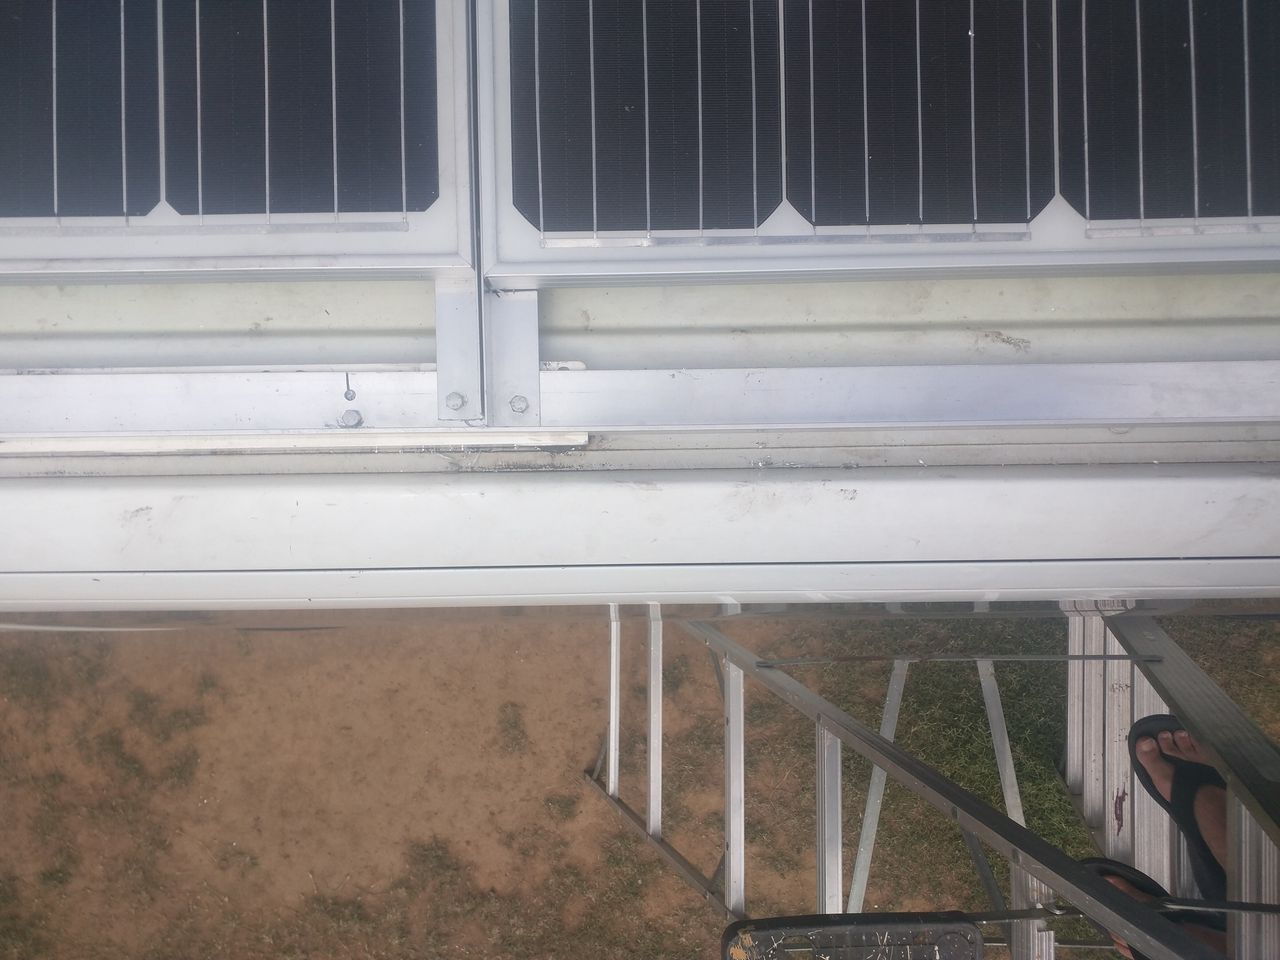
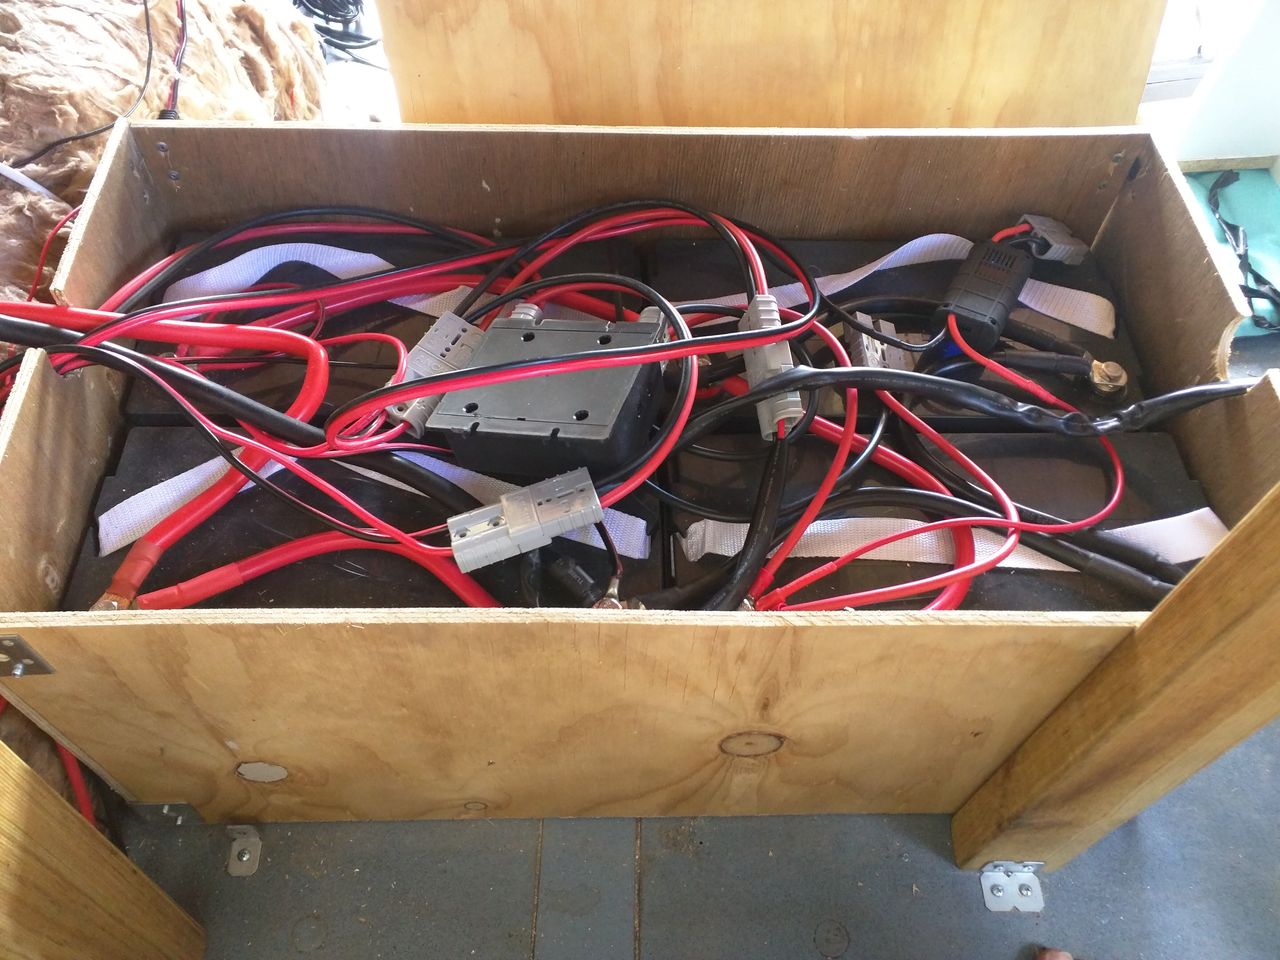
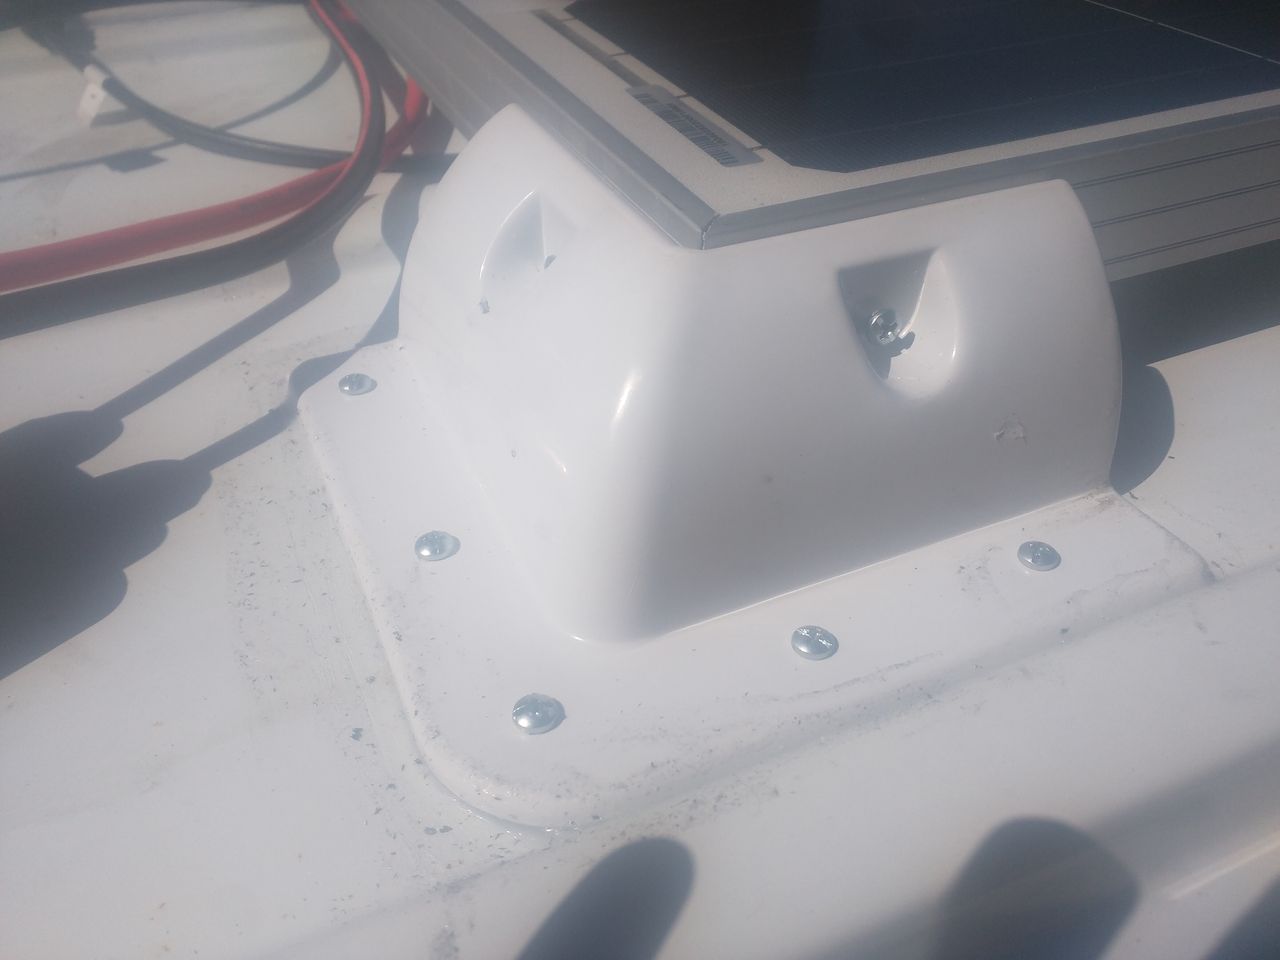
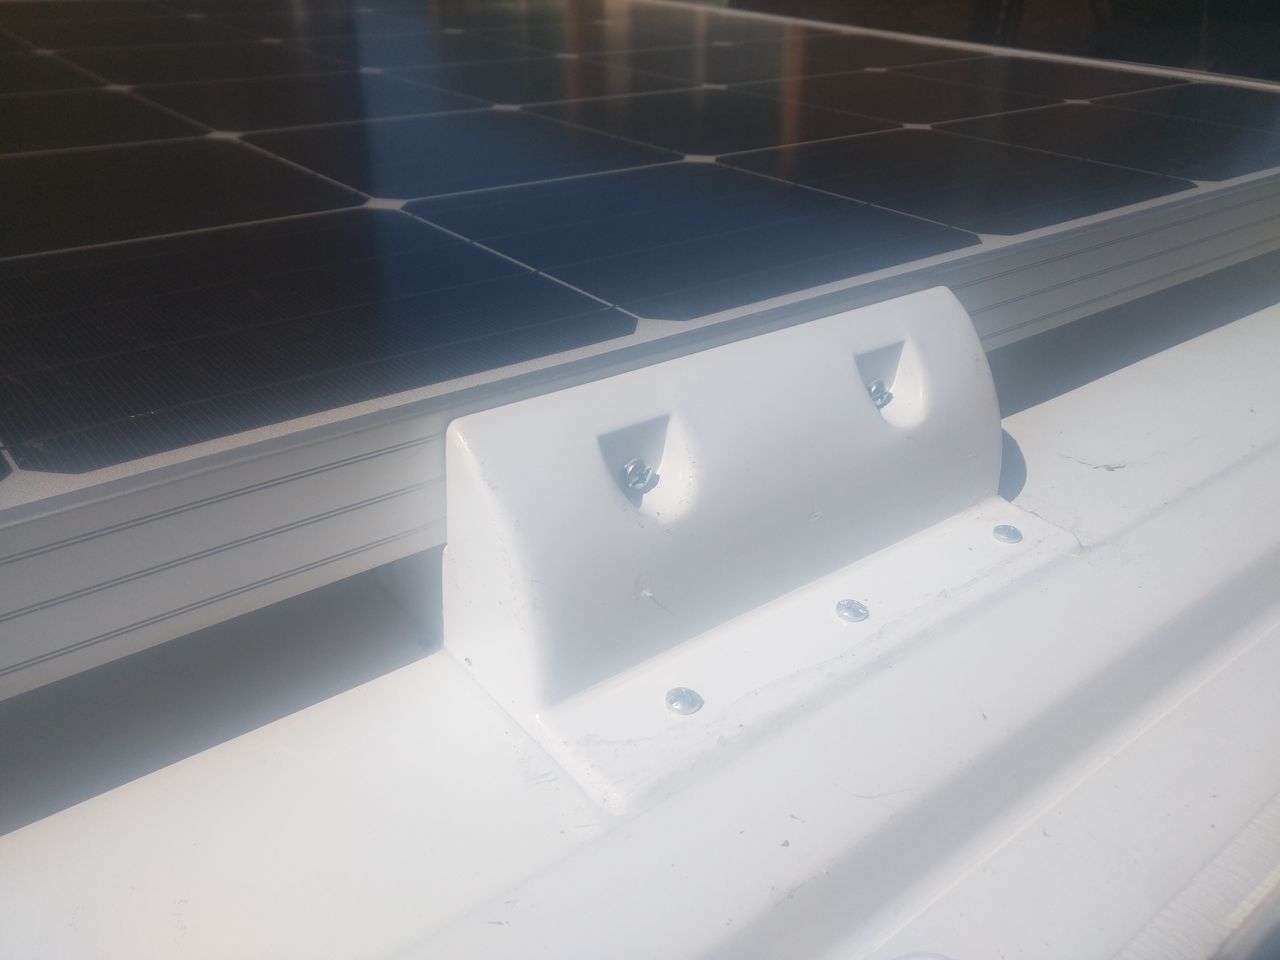
Stage 7 - Solar Power Upgrade, Cellular Booster Ariel and a Proper Battery Box
I decided to max out the solar power I had so I added another solar panel and changed the layout to fit the panel. I now have 600 Watts of solar panels for my four 130ah batteries for a total of 520ah of battery power.
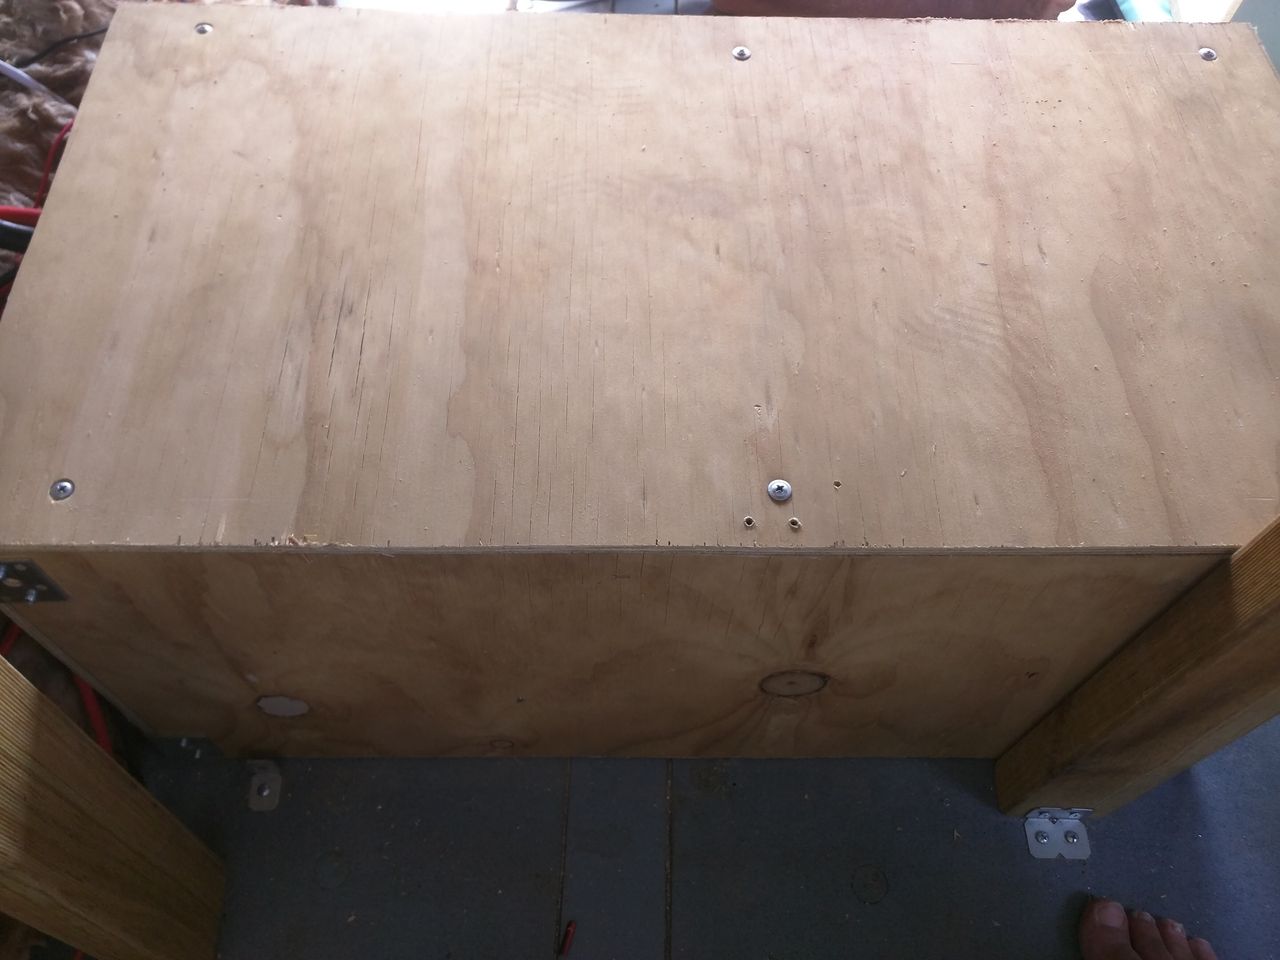
I now have a proper battery box around the batteries so nothing can land on the batteries and accidentally short anything out. The lid on top of the batteries also means I now have storage space on top of the batteries.
The cellular booster ariel is for my cellular 4G Plus internet and should boost the signal where ever I go as long as there is at least some signal I should have rock solid internet because of the booster ariel.